
How to Build Open Source Digital Signage: The DIY Signage Guide
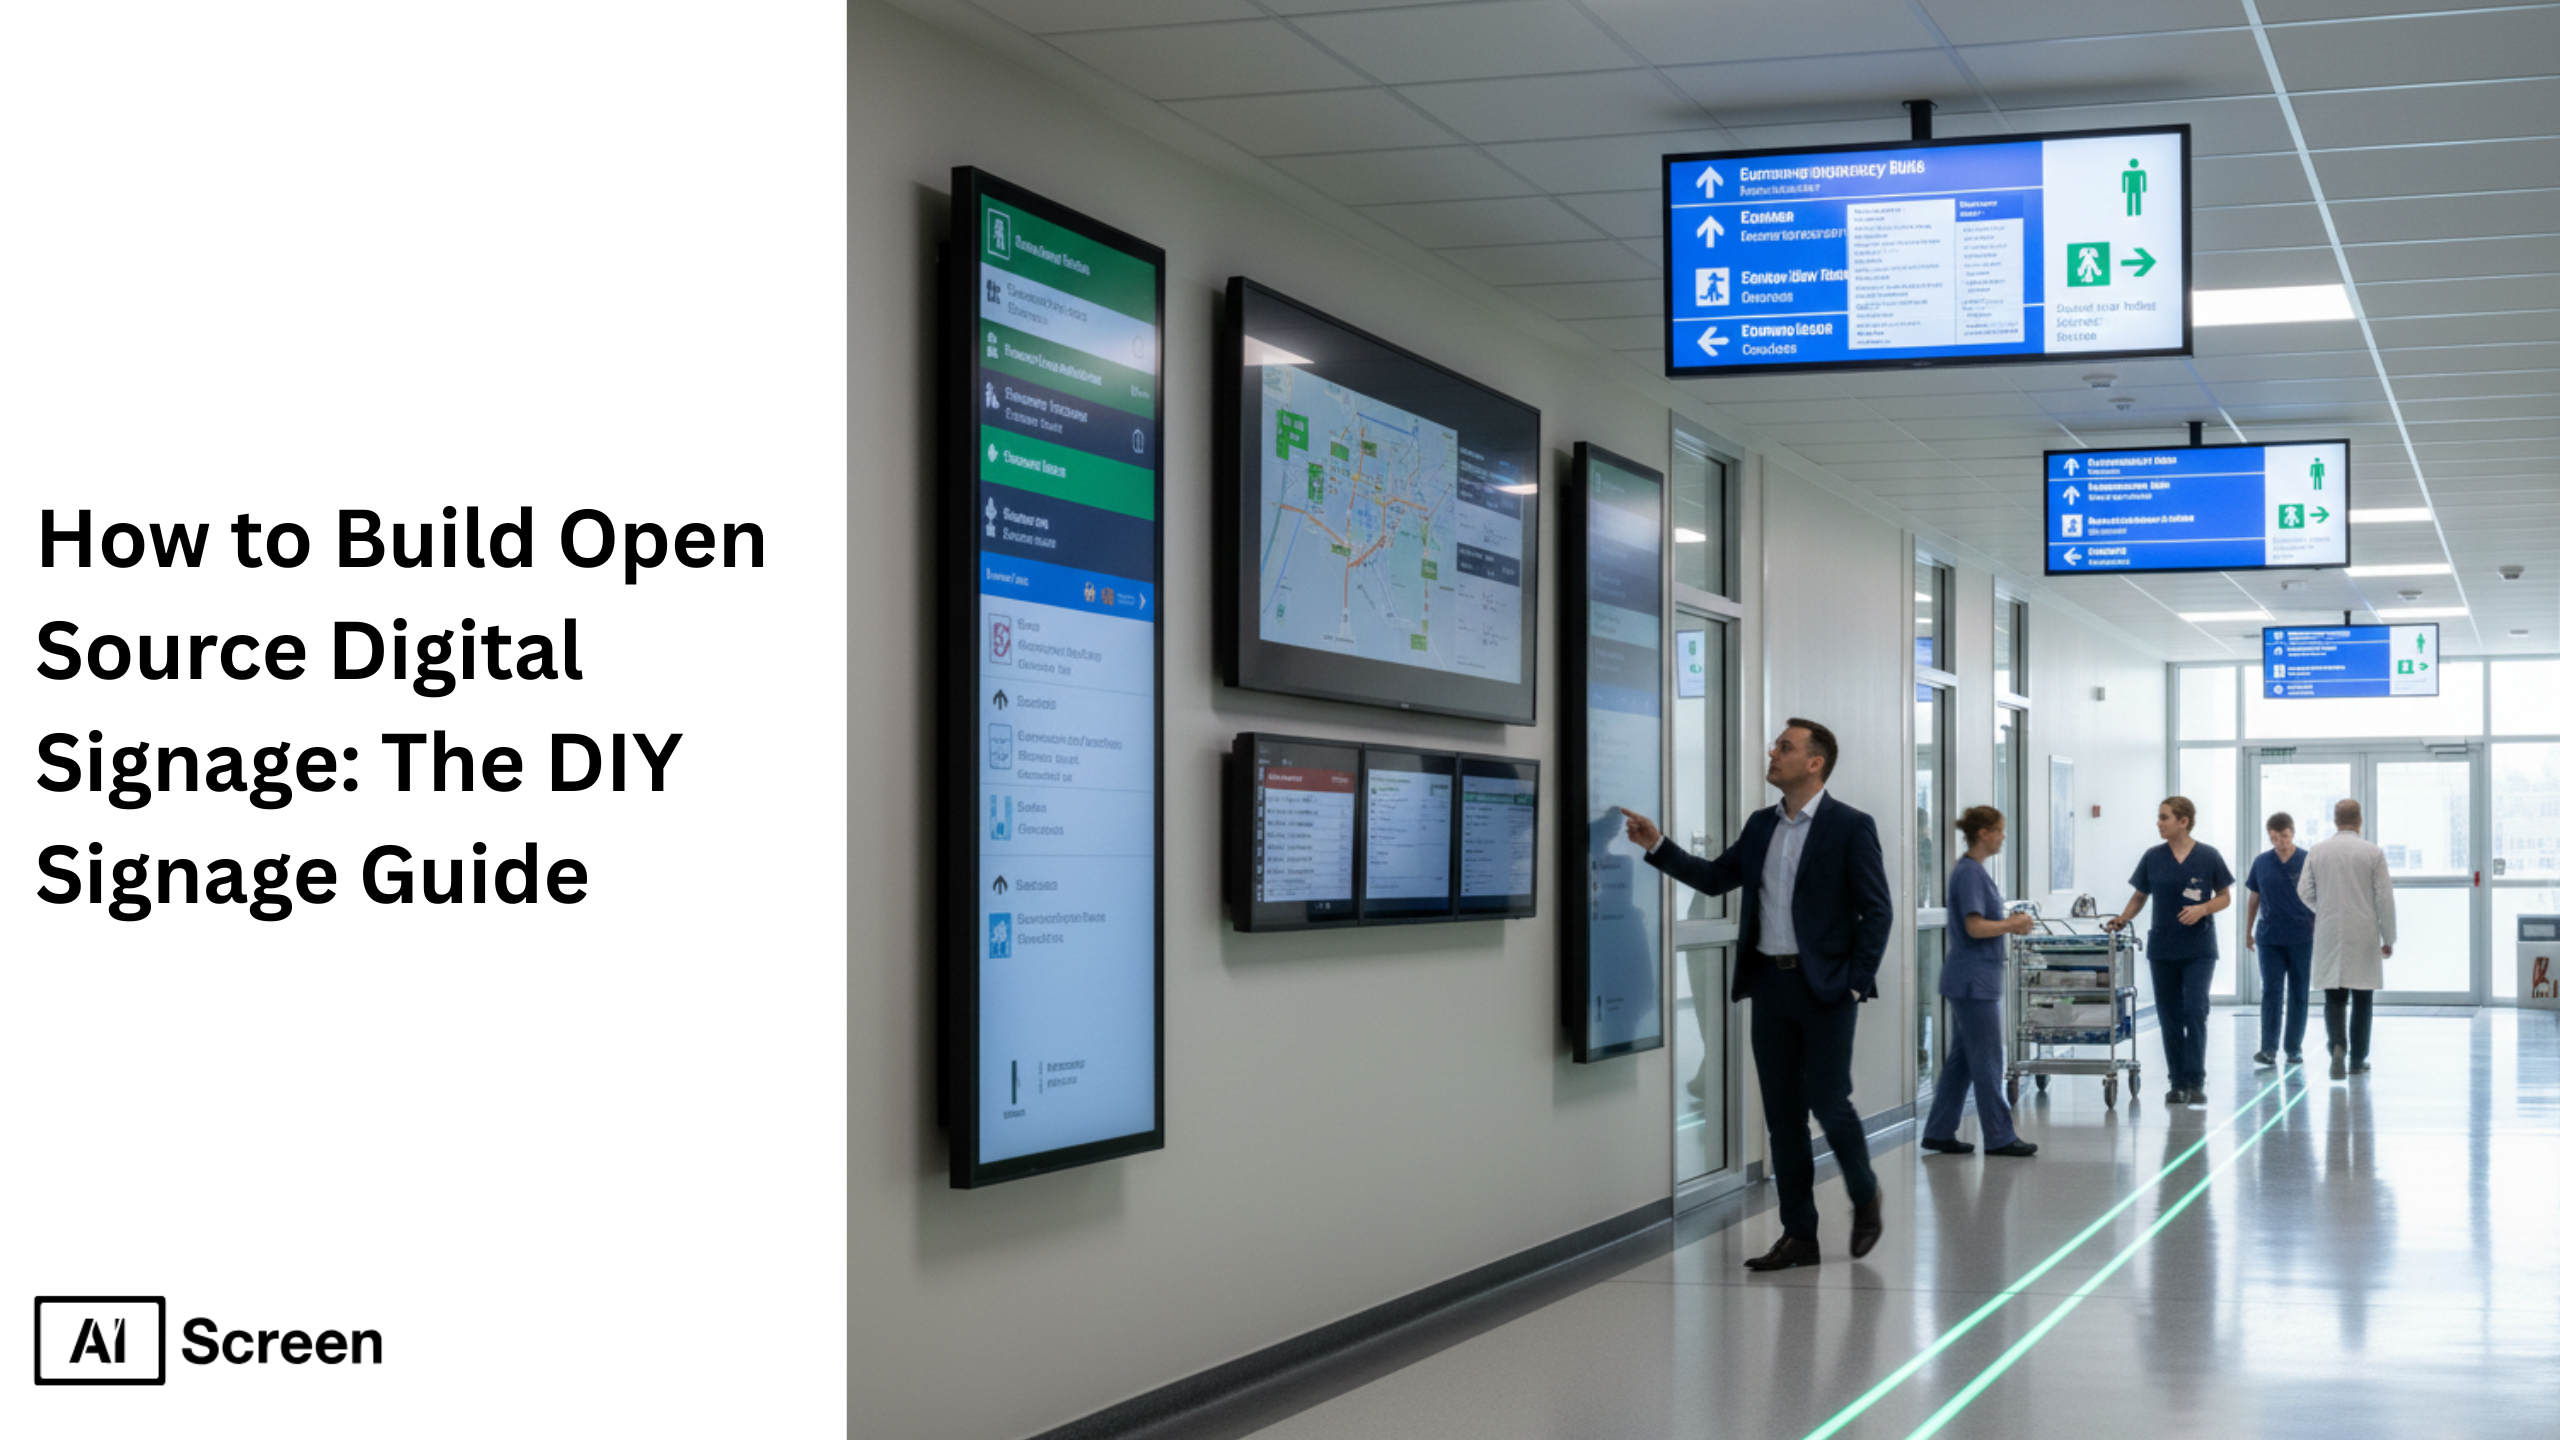
How to build open source digital signage without paying for expensive software licenses? If you’re a small business, school, café, or startup, open source digital signage offers a cost-effective way to run dynamic content across digital screens, without locking yourself into pricey subscriptions. Open source signage software and free tools make it possible to manage playlists, schedules, and multi-location displays on a tight budget. To set expectations, open source software is already the backbone of modern technology. A 2024 industry analysis cited by Intel found that 96% of commercial codebases contain open source components, highlighting how widely organizations rely on open tools and libraries. Building open source digital signage simply extends that proven model to your screens.
In this blog, you’ll learn step-by-step how to create free digital signage using what you already own, how to use a smart TV browser or Chromecast, how to cast slides and web pages, and how to build a dedicated Raspberry Pi player running open source digital signage software. You’ll also learn how to manage a DIY signage network, the key benefits of open source signage, and when to upgrade to a cloud-based digital signage CMS software like AIScreen.
Step 1: Turn Your TV Into a Free Digital Sign Player
Ever looked at the TV on your wall and thought, “There has to be more I can do with this”? Turn your TV into a free digital sign player by starting with what you already own and skipping software costs entirely.
Most modern TVs already include everything you need for basic digital signage. Check whether your screen has a USB port and a built-in media player, because that’s your entry point into digital display software without subscriptions or logins.
Format a USB flash drive using a FAT file system, load it with images or MP4 videos, and plug it directly into the TV. From the TV’s media settings, enable looping playback so your content runs continuously without manual control.
This setup won’t replace advanced open source signage software, but it’s the simplest, cheapest way to get started. For small shops, cafés, and pop-up locations, this approach delivers basic digital signage fast, no cloud tools, no licenses, no monthly fees.
Step 2: Showcase a Website From A Smart TV Browser
Ever wished you could update your screen content without touching the TV at all? Showcase a website from a smart TV browser and your display instantly becomes more flexible and easier to manage.
If your TV includes a built-in web browser, you can open signage presentations directly online. Create slides in Google Slides or PowerPoint, publish them to the web, and load the link in the TV’s browser for a simple form of android digital signage that works without extra hardware.
You can also build dynamic slideshows using WordPress plugins like Smart Slider or WPScreens, turning a basic website into lightweight digital signage CMS software. The biggest win here is remote updates, change your content online and it refreshes on-screen automatically, with no USB swapping or manual uploads required.
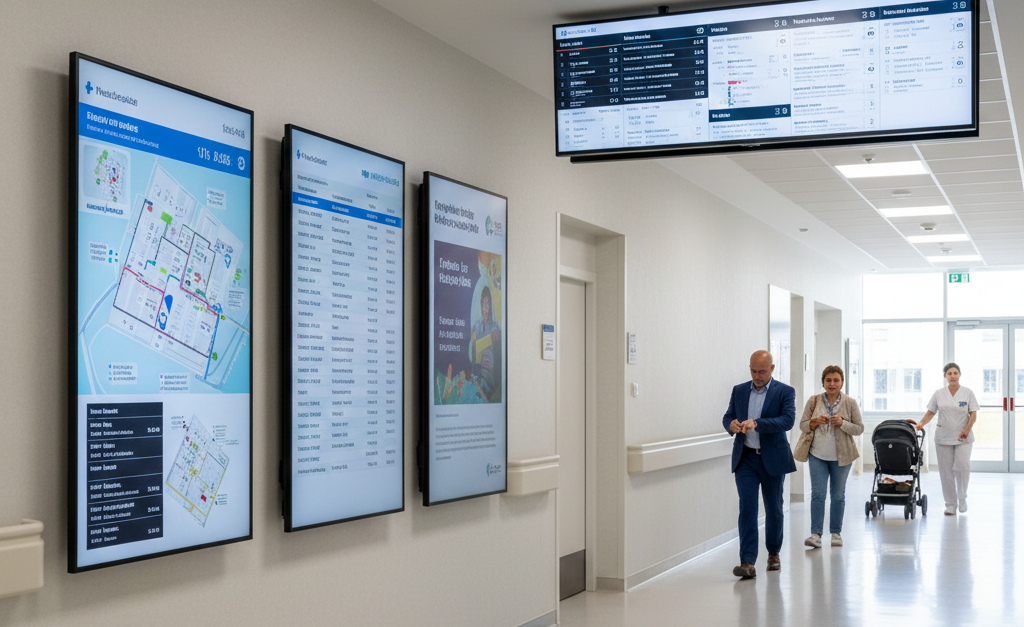
To summarize, leveraging a digital signage CMS software via a smart TV browser is ideal for anyone looking to minimize monthly fees, reduce content management complexity, and enjoy complete flexibility.
It’s an excellent way to explore digital signage solutions before scaling to advanced systems like AIScreen, which offers 1500+ templates, remote scheduling, and real-time analytics for professional-grade results.
Step 3: Use Chromecast to Cast Websites to Your Signage
Another efficient way to implement free digital signage is through Chromecast or DLNA-enabled smart TVs, especially if you already own these devices and want a cost-saving, wireless setup. Use Chromecast to cast websites to your signage and display live presentations, videos, or dashboards without extra media players or complex installation.
Start by connecting your Chromecast or DLNA-enabled display to your Wi-Fi network. Then, open your signage presentations, like a Google Slides deck or promotional video, on your Chrome browser and simply click “Cast” to stream it to your TV. This allows you to transform your existing display into a fully functional digital signage solution.
This method also supports open source digital signage software and digital signage open source tools, such as Chromecast Kiosk or Gogolplex Theatre. These platforms enable you to cast to multiple screens simultaneously, helping you manage synchronized displays across different rooms or store zones. It’s particularly useful for retail stores, pop-up events, or smaller networks needing flexible content creation and real-time updates.
If your TV includes UPnP or DLNA functionality, you can use applications like Go2TV to stream any media formats directly from your computer. This setup provides a simple step-by-step guide to running wireless digital signage systems with minimal technical skills required. Plus, it’s compatible with standalone media players and allows you to create playlists for automated, rotating displays.
With this approach, you maintain full control over playback while benefiting from cloud-based management when connected online. Whether you’re managing a temporary installation or exploring open source platforms, Chromecast signage gives you flexibility without recurring costs.
Overall, this is one of the most accessible ways to explore DIY digital signage, blending ease of use, cost savings, and broad compatibility with smart TVs. However, as your network grows or your business goals expand, adopting an enterprise-grade solution like AIScreen.io becomes essential for managing content across multiple screens with enhanced remote management, professional templates, and AI-driven automation.
Step 4: Use Raspberry Pi Devices to Power Your TV
If you’re ready to take your DIY digital signage to the next level, a Raspberry Pi mini-computer is a smart place to start. Use Raspberry Pi devices to power your TV and turn an ordinary screen into a self-hosted digital signage player built for reliability and scale.
Compact yet powerful, Raspberry Pi offers a professional approach for small businesses, educational institutions, and retail stores that want a stable digital signage solution without investing in expensive, dedicated hardware.
A Raspberry Pi is a small but capable Linux-based device equipped with an ARM CPU, USB, HDMI, and Ethernet ports, perfect for connecting directly to your display using an HDMI cable.
After setup, it functions like a basic computer that can play videos, display digital signs, or showcase slideshows effortlessly. Many open source platforms and signage solutions even base their standalone media players on Raspberry Pi for its affordability and stability.
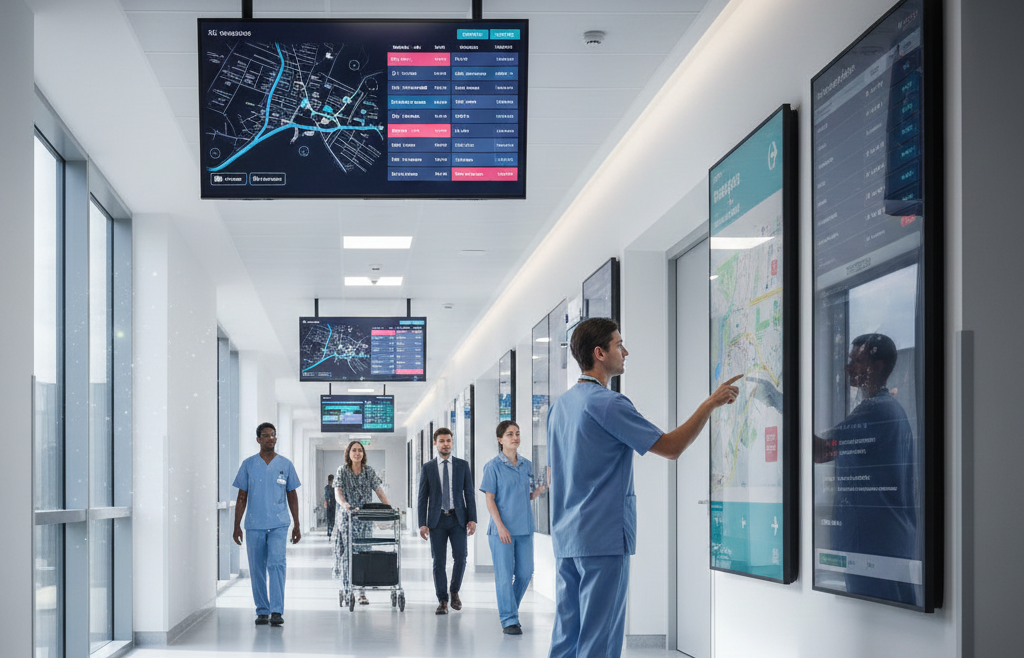
For a more robust setup, install Anthias, an open source digital signage software designed for Raspberry Pi signage.
Once installed, you can access a web dashboard to upload and schedule your signage content, including images, videos, and URLs. Each Raspberry Pi operates as an independent player, allowing for content management at the local level without relying on constant network access.
This open source signage software supports full-screen playback and simple scheduling options, giving you control over what appears on your screen and for how long. It’s a cost-effective option for DIY digital signage enthusiasts who prefer self-hosted digital signage over subscription-based systems.
However, since Raspberry Pi-based systems don’t support cloud remote management, updates must be done manually or within the same network. While this may limit large-scale deployments, it remains an excellent choice for small setups where flexibility and independence matter most.
For global scalability and automated updates, migrating later to a cloud-based digital signage CMS like AIScreen.io ensures seamless content management across multiple screens.
Step 5: Manage and Update Your DIY Signage Network Efficiently
Once your digital signage system is up and running, keeping your displays updated is what keeps people paying attention. Manage and update your DIY signage network efficiently so your screens stay fresh, relevant, and aligned with your business goals.
Whether you’re using a Raspberry Pi, a smart TV, or a basic media player, regular content updates ensure your digital signage continues to engage viewers instead of fading into background noise.
The most practical way to standardize updates is by saving your signage content as JPG or MP4 files. These media formats are universally compatible across displays and operating systems, minimizing technical issues.
For basic setups, simply replace old files manually using a USB drive or the TV’s built-in feature for local playback. This method is especially handy for small networks and free digital signage projects with minimal technical setup.
If you’re using Anthias or another open source signage software, you can take advantage of network access for remote updates within your local environment. This allows you to modify your playlists, change visuals, or adjust timing directly from your dashboard, no manual swapping required. It’s a solid step toward more streamlined content management without needing continuous online connectivity.
As your DIY digital signage setup grows, consider transitioning to a digital signage CMS software that enables cloud-based updates, analytics, and centralized control. These systems reduce the manual workload of installing digital signage and bring automation to your scheduling and playback management.
Our software, for example, bridges this gap perfectly, it’s built for businesses that start small but plan to scale. With over 1500 templates, real-time analytics, and remote management tools, it empowers brands to manage digital signs efficiently while maintaining a professional visual presence across all screens.
Why Choose Cloud-Based Digital Signage Software Over Open Source Solutions?
Choosing cloud-based digital signage software over open source solutions comes down to scalability, automation, and ease of use. While open-source setups offer flexibility and ownership, cloud platforms provide enterprise-grade control, updates, and real-time analytics, all without local maintenance or complex coding.
Here’s a clear comparison:
| Feature | Self-Hosted Digital Signage | Cloud-Based Digital Signage Software |
| Cost | Free software, but requires hardware setup | Starts from $10/month, includes hosting and updates |
| Scalability | Limited to same network | Scales globally with cloud servers |
| Maintenance | Manual updates and troubleshooting | Automated updates and remote support |
| Security | Full data control (manual setup required) | Encrypted cloud security and backups |
| Ease of Use | Requires technical skills | Plug-and-play system with CMS dashboard |
| Content Scheduling | Basic playlist control | Dynamic, real-time scheduling and templates |
While self-hosted digital signage and open source digital signage software are ideal for experimentation or small-scale deployments, cloud-based digital signage software is the smarter long-term solution. It eliminates the need for complex technical setups and allows centralized control over multiple screens, all through an online dashboard.
Recommendation: Start with an open-source option for DIY digital signage if you’re testing ideas. But when your needs grow, upgrade to a digital signage CMS software like AIScreen, which offers full automation, analytics, and scalable signage solutions for expanding businesses.
How Much Does It Cost to Set Up Cloud-Based Digital Signage Software?
The cost to set up a cloud-based digital signage software depends largely on the type of hardware and software you choose. Factors like display size, player setup, and management tools can all influence the total investment. Here’s a quick breakdown to help you estimate your overall costs:
- Hardware: A Raspberry Pi device for DIY digital signage costs between $50–$150, while a Smart TV or commercial display ranges from $300–$800.
- Software: Digital signage software open source is free, but self-hosted digital signage software may require extra hardware and setup time. Cloud-based plans typically start around $10–$50 per month, offering ready-to-use dashboards and remote management tools.
- Maintenance & Updates: With open-source setups, maintenance is manual. Cloud systems handle automatic updates, saving both time and technical effort.
For teams starting with self-hosted deployments, learning On-premise digital signage software: A complete guide is an important first step, but manual management eventually becomes a bottleneck as networks scale.
Over time, cloud-based digital signage software provides better ROI. You gain flexibility, automation, and centralized content scheduling, without maintaining local servers. AIScreen takes this further with an all-in-one digital signage solution that includes, 1500+ customizable templates, real-time analytics and scheduling tools, content management and remote updates, no-cost entry plan with one free screen
At just $10 per month, AIScreen delivers enterprise-ready features that eliminate the need for complex open-source management. Whether you’re managing retail stores, educational displays, or global retailers, AIScreen offers the most intuitive way to scale your digital signage solutions with confidence and creativity.


FAQs
What is open source digital signage software?
Open source digital signage software refers to solutions that provide users access to the source code, allowing customization and self-management. While it offers flexibility, it often requires technical expertise to maintain
Can Raspberry Pi run open source digital signage effectively?
Yes, Raspberry Pi can run open source digital signage effectively for small or experimental setups. However, its limited processing power and storage make it less ideal for professional networks. AIScreen’s optimized CMS offers smoother performance, scalability, and advanced control across multiple screens.
What is the difference between cloud and self-hosted digital signage?
The difference between cloud and self-hosted digital signage lies in where data and content are stored. Cloud-based systems like AIScreen host everything online, allowing remote updates and real-time control, while self-hosted setups demand manual server management and higher IT costs.
Which is the best free open source signage software?
The best free open source signage software depends on your technical skill and use case. Tools like Screenly OSE or Xibo are popular, but they require setup and maintenance. For a ready-to-use, modern alternative, AIScreen offers a 14-day free trial with 1500+ templates and advanced scheduling tools.
What is the most scalable digital signage CMS software?
The most scalable digital signage CMS software is one that supports multi-location control, automation, and analytics, all of which AIScreen excels at. Its cloud-based platform ensures seamless growth for businesses of any size, from single displays to enterprise-wide networks.
