
How to Set Up Digital Signage with a USB Stick
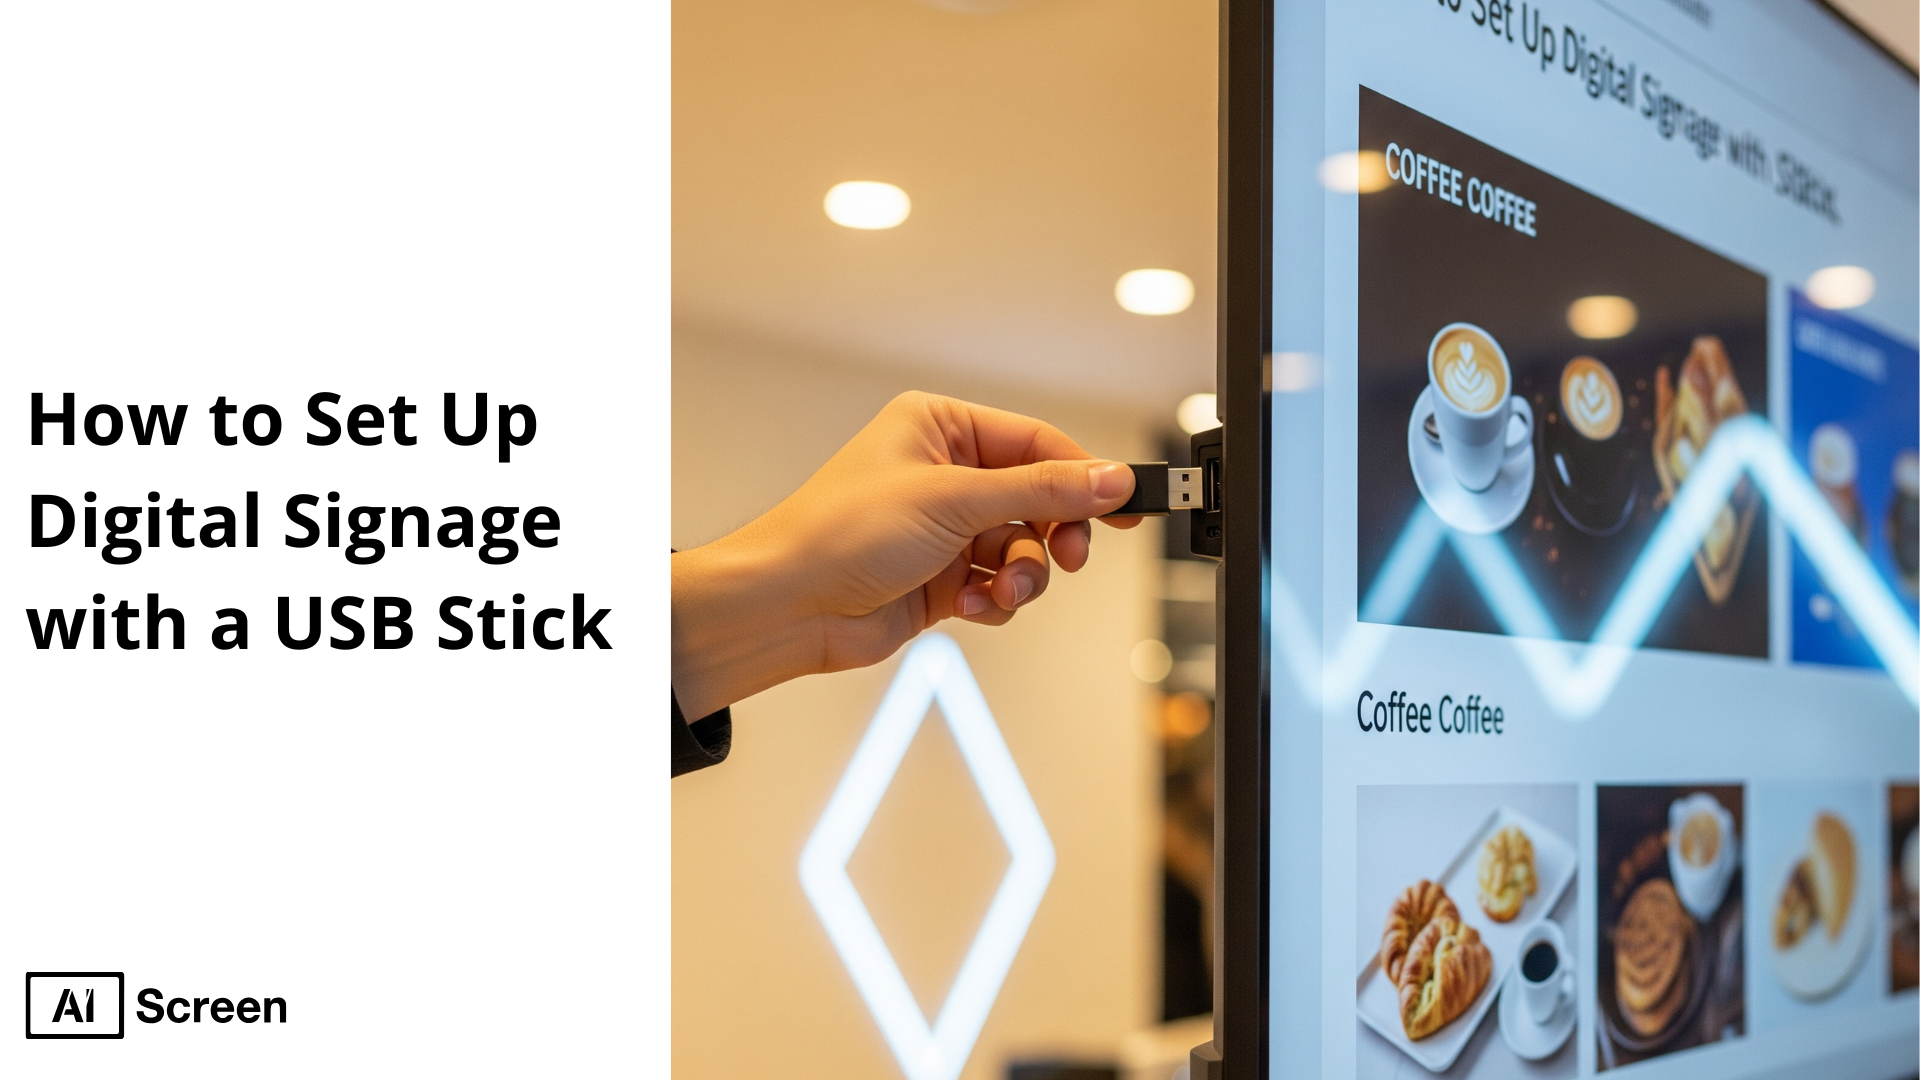
To set up digital signage with a USB stick, you’ll need a compatible TV with a USB port, a USB flash drive containing your content, and possibly a remote control. First, verify that your TV supports USB media playback. Next, use images and videos, such as restaurant menus or promotional slides, in a folder named “Menu Board” on the USB stick. Plug it into the TV’s USB port (or HDMI via media player), switch the input to USB, and select your folder. You can enable looping or repeating options for continuous playback. According to a FedEx survey titled “Standout Signs Contribute to Sales”, digital boards matter because almost 68% of customers buy items displayed on TVs.
In this blog, we’ll walk through the step-by-step process to set up USB-based digital signage, offer best practices for content creation and playback, and introduce why upgrading to cloud-based software like AIScreen can unlock advanced scheduling and multi-device capabilities.
What Is USB-Based Digital Signage?
USB-based digital signage is a simple, cost-effective way to display images, videos, or slideshows on a digital screen using just a USB stick. This standalone signage method removes the need for streaming devices, a complex digital signage solution, or constant internet access. Ideal for restaurant menus, promotions, and corporate announcements, it works with most TVs via a USB port.
Businesses can play content without extra media players or cables, using JPGs, videos, or Google Slides exports. While it lacks features like centralized management or interactive content found in cloud-based digital signage, it’s perfect for single-screen setups, low-maintenance signage, and one-off events, offering an affordable, hassle-free starting point before upgrading.
Why Use a USB Stick for Digital Signage Displays?
Use a USB stick for digital signage displays when you need a cost-effective, straightforward way to show images, videos, or slideshows without investing in expensive digital signage solutions. According to Statista, 65% of small and medium-sized businesses still utilize USB or standalone digital display formats for basic digital signage, highlighting its ongoing role in enabling businesses that want minimal setup and maintenance.
This method works seamlessly with a TV’s USB port, smart TV, or even an older TV equipped with a media button, making it a versatile option for single-screen or multiple-screen environments.
- Low-Cost and Hardware-Free Setup: A USB-based digital sign is a cost-effective option because it doesn’t require extra hardware like standalone media players, Raspberry Pi devices, or additional HDMI cables. All you need is a USB stick, your content creation tools, and a TV screen with a built-in feature to play files. This eliminates ongoing subscription costs and reduces the need for technical expertise, making it suitable for small businesses and basic functionalities.
- No Need for Internet or Streaming Devices: Unlike cloud-based digital signage solutions, a USB setup doesn’t rely on wi fi, the same network connection, or external streaming devices like multiple Chromecasts. Simply insert the USB flash drive into the TV’s USB port, follow the on-screen instructions, and your content will play instantly. This is particularly useful for locations with unreliable internet or temporary event setups.
- Works with Most TVs and Monitors: Whether it’s a smart TV, an older TV with a USB port, or a monitor with a screen’s HDMI port, most displays can handle USB playback. Many modern digital display units include a built-in feature for media playback, meaning you don’t need special operating systems or expensive software to get started. This flexibility allows businesses to reuse existing TV screens or monitors for signage purposes.
- Simple for One-Time Static Content Display: If you only need to show images sized to fit the screen, videos, or a short slideshow for a short-term campaign, USB playback is a hassle-free solution. It’s perfect for timely information, single-screen product highlights, or interactive experiences in limited settings. You can even schedule content manually or create playlists for looped playback, making it an ultimate guide choice for straightforward digital signage needs.
How to Set Up Digital Signage with a USB Stick: 7-Step Guide
To set up digital signage with a USB stick, these are the 7 steps you need to follow. This simple yet effective method allows you to display content without complex installations, making it ideal for quick deployments. With the right setup, you can take advantage of advanced features, maintain consistent power, and create engaging signage displays that captivate your audience.
Step 1: Choose a Compatible TV
Choose a compatible TV or digital display for your grocery store. According to Nielsen research, viewers spend up to 30% more time watching screens with digital content versus static signage, making digital screens on USB drives more effective at capturing attention. When selecting your display, choose a compatible TV or screen with USB ports and media playback capability to ensure smooth integration with your digital signage setup.
For small businesses or offices, consumer displays like the Insignia F30 Series offer basic signage functionality, a user-friendly interface, and support for USB drive media playback. Larger businesses or offices may benefit from the Amazon Fire TV Omni Series, known for its smart capabilities, interactive features, and software compatibility.
Insignia™ Class F30 Series LED 4K UHD

- Resolution: 720p HD, clear for menus and visuals
- Smart Features: Built-in Fire TV with Alexa Voice Remote
- Apps & Streaming: Access to 1M+ shows and apps via Alexa
- Price Range: $170 – $299
Amazon Fire TV Omni Series 4K UHD Smart TV

- Display Sizes: 43”–75” 4K UHD LED Display
- Smart Features: Hands-Free Alexa Voice Control
- Video & Audio: HDR10, HLG, Dolby Vision, HDMI eARC
- Connectivity: Multiple USB & HDMI Ports, Bluetooth & Wi-Fi
- Additional: Built-in Fire TV OS, Screen Mirroring, Wall-Mount Compatibility
- Price Range: $299.99 – $1,049.99
Step 2: Format the USB and Prepare Your Media Files
Format the USB and prepare your media files before uploading them to your digital signage setup. Whether you’re displaying menus, announcements, or promotions on a digital display, optimizing your content ensures it looks sharp and professional on any TV screen or media player.
Use user-friendly design tools such as PowerPoint, Canva, or Google Slides to create visually appealing menu boards. Export your designs as high-quality JPEG or PNG images, PDFs, or MP4 videos. Always design in landscape mode with a 16:9 aspect ratio to avoid cropping. For a crisp look, size images to 1920×1080 pixels and adjust for the TV’s color settings.
Format Your Files Correctly: Choose file formats that are universally supported by most TVs, USB drives, and media players, JPEG or PNG for specials and promotions, PDF for text-heavy menus, and MP4 for slideshows or animations. These formats ensure compatibility whether you’re using a smart TV, Raspberry Pi devices, or even open source tools on alternative setups. Compress large files for faster loading without sacrificing visual quality.
Step 3: Upload Images, Videos, or Slides to the USB
Once your files are ready, upload your images, videos, or slides to the USB by connecting it to your computer and copying the optimized files into a clearly labeled folder, such as “Menu Board”, to make navigation easier on your digital signage device.
For images, save each menu board in JPEG or PNG format and arrange them in sequential order, like 1_Breakfast.jpg, 2_Lunch.jpg, and 3_Dinner.jpg, ensuring the display plays them in the correct sequence.
For videos, export your menu videos or animations in MP4 format and store them in the same folder, naming them according to seasonal specials or events for easier updates in the future. Keeping all files in one dedicated folder helps maintain order, timing, and compatibility across your digital signage content.
Step 4: Insert the USB into Your TV’s Port
Insert the USB into your TV’s port, typically found on the side or back of the device. For older TVs without advanced software features, the USB port and media player functionality provide a cost-effective way to display menus.
Once inserted, turn on the TV and use the remote control to select USB as the input source. Navigate to your “Menu Board” folder, then choose the file you want to display. Whether you’re using a free version of a signage system, a Raspberry Pi setup, or built-in TV software, this process remains simple and user-friendly.
Step 5: Set Display Settings to Auto-Play Content
Set display settings to auto-play content so your digital signage runs without interruptions. While some TVs automatically play files from a USB drive, others require you to manually choose USB as the source and select the first file.
Once loaded, press the Play or View button to display the menu. This setup works for a single digital display or multiple screens, depending on your TV’s capabilities and whether you integrate open source or Raspberry Pi devices for automation. Ensuring this step is done properly saves power and keeps your signage running smoothly during business hours.
Step 6: Test Loop Playback and Timing
Test loop playback and timing to guarantee your menu boards stay on-screen for the desired duration. Enable the “repeat” or “loop” setting in your TV’s menu so the content plays continuously without needing manual restarts.
For digital signage solutions with advanced features, you can adjust playback intervals for images, set transition effects, and schedule video durations. This is especially useful for restaurants, retail stores, or other businesses that require timely information to cycle through videos, specials, and promotions seamlessly. Using open source tools or Raspberry Pi automation can further enhance control over your playback settings.
Step 7: Update Content as Needed by Replacing Files
Update content as needed by replacing files on your USB stick to keep your menus fresh and relevant. Unlike cloud-based digital signage software, USB-based setups don’t require an internet connection, making them ideal for quick changes in environments without Wi-Fi.
Simply replace outdated files in your “Menu Board” folder with updated versions, keeping file names and formats consistent ensure smooth playback on your digital display or media player. By organizing your files and naming them logically, you can easily upload content updates for more screens or even synchronize with Raspberry Pi devices for broader signage networks.
This approach is especially useful for temporary or entry-level setups, and it’s often the first step businesses explore when learning how to make a digital signage kiosk without investing in cloud software or complex hardware.
What are the Limitations of USB Stick Digital Signage
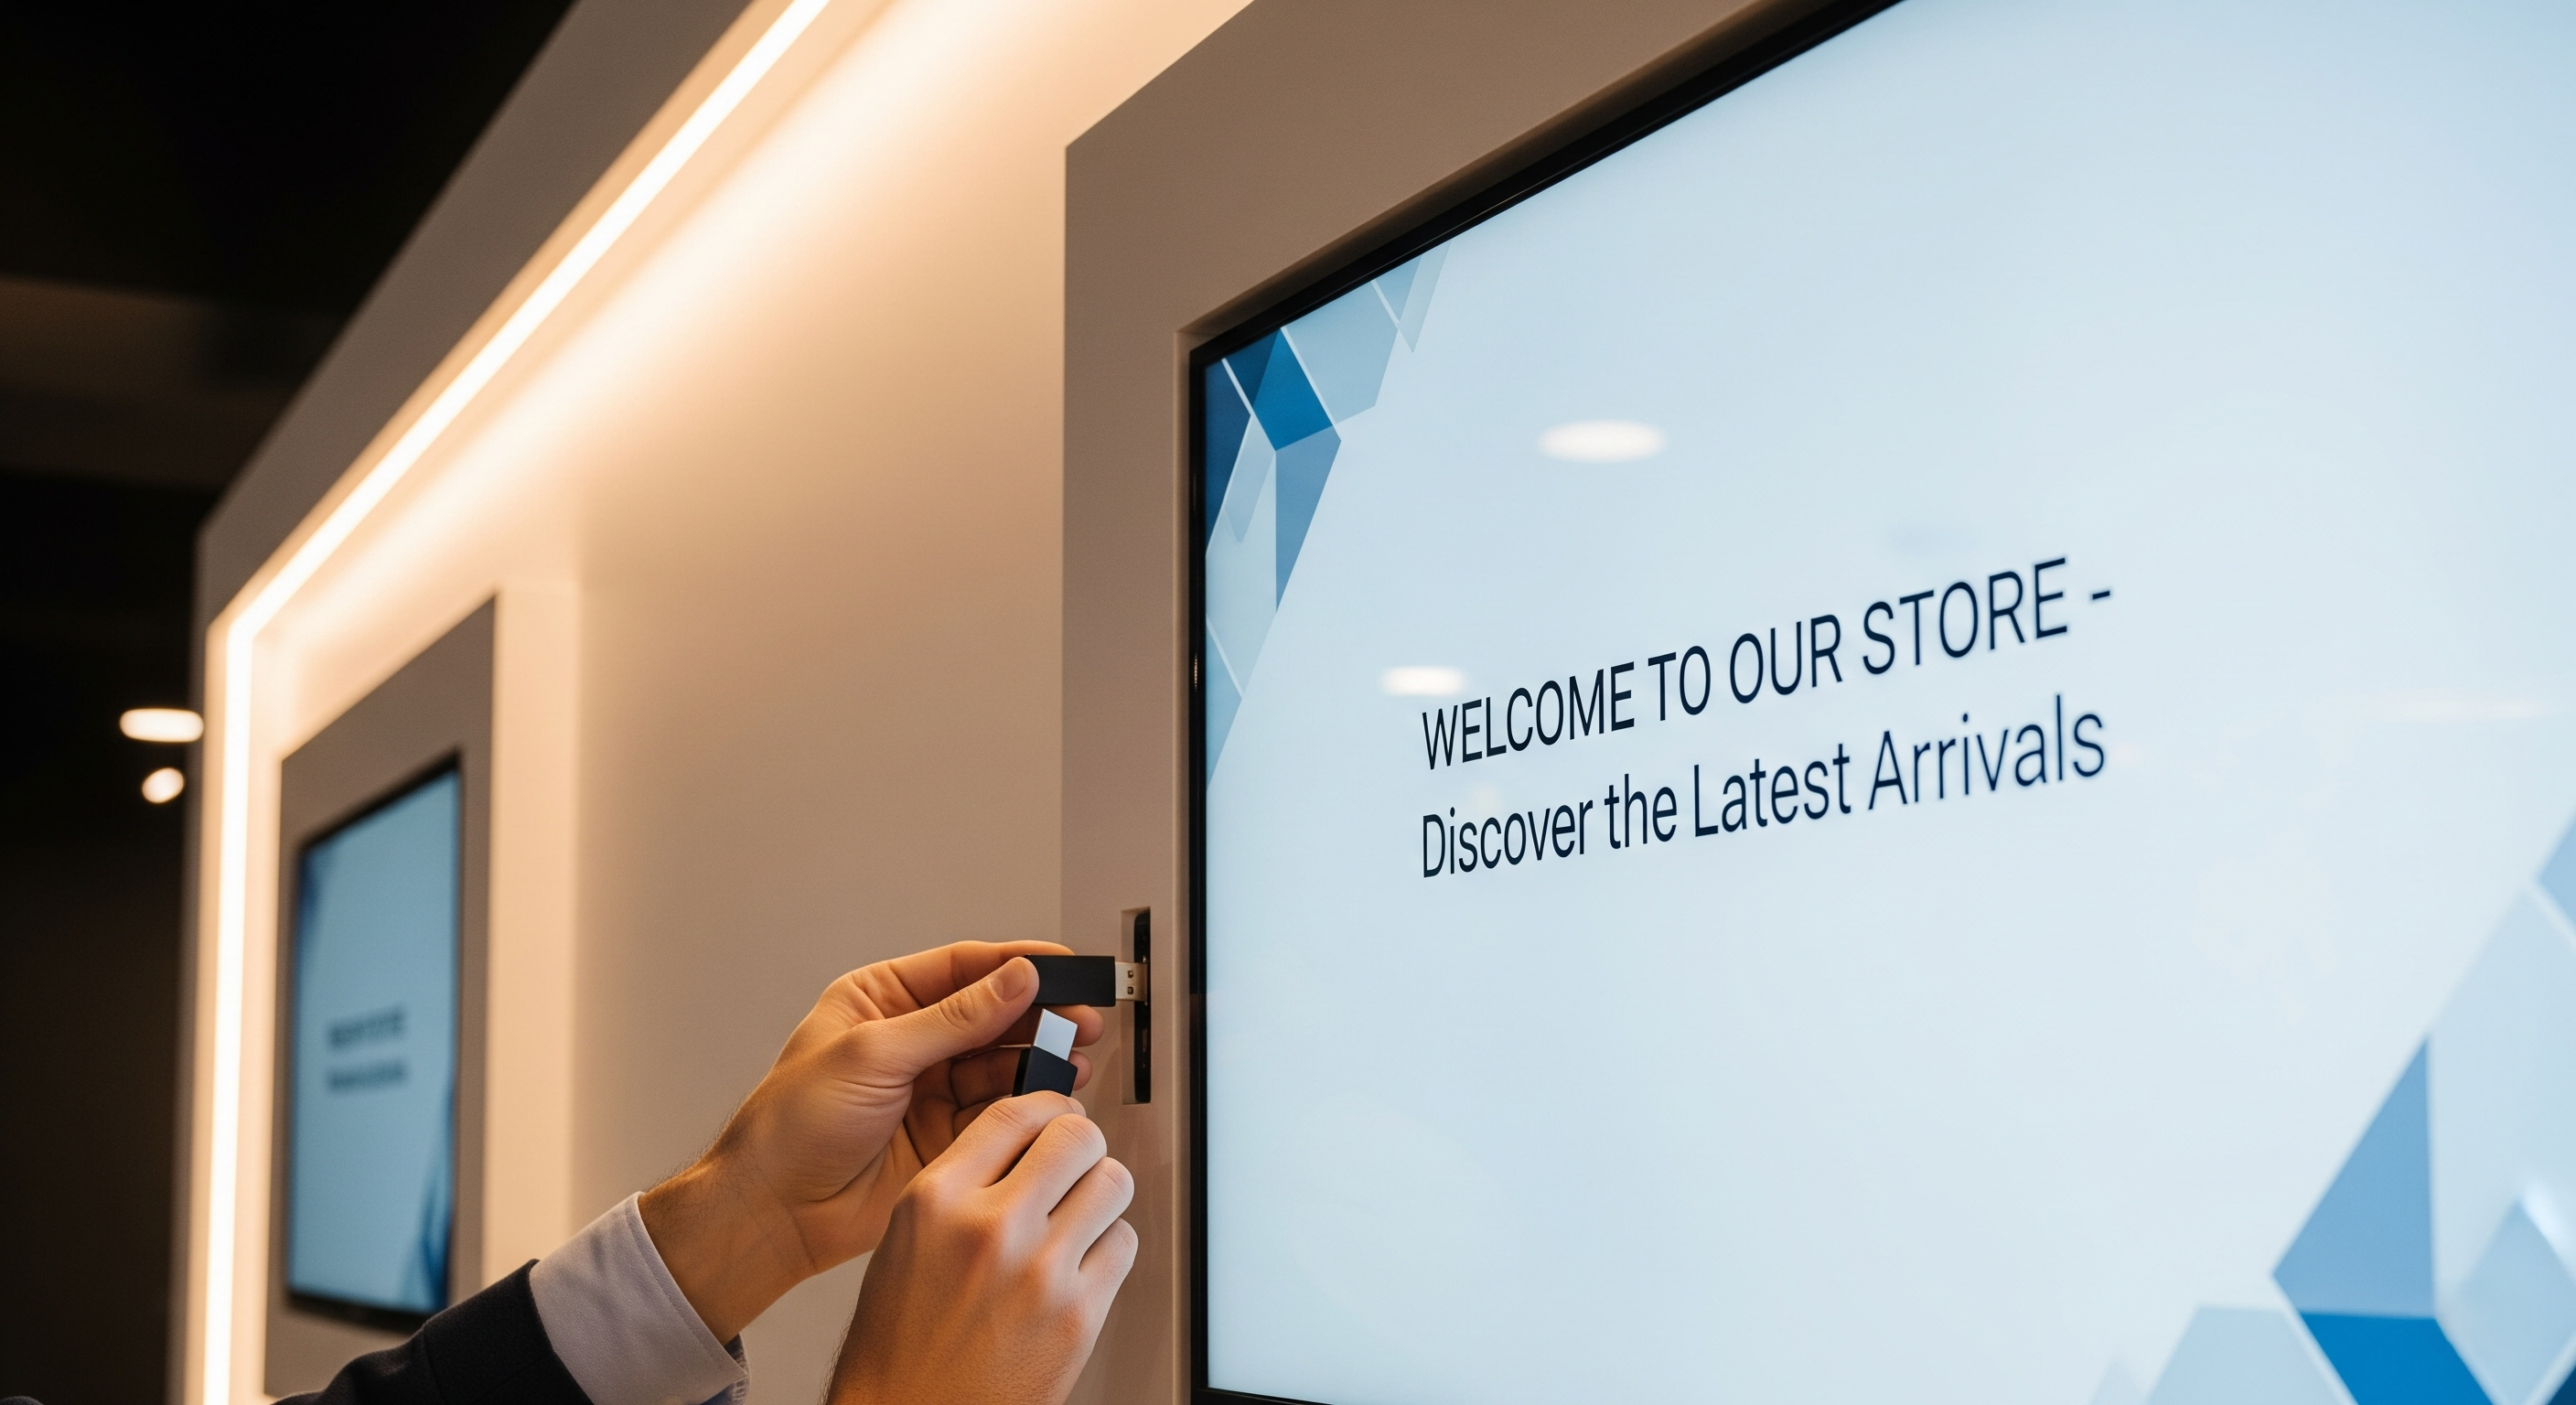
The limitations of USB stick digital signage mostly come from its lack of real-time connectivity, limited content management features, and reliance on manual processes. According to Gartner, over 70% of businesses adopting digital display technology now prefer solutions with remote content management capabilities, as this significantly improves operational efficiency and content relevance.
While a USB drive can be a powerful tool for basic setups, it cannot match the flexibility of cloud-based digital signage solutions that work across multiple devices and allow interactive content updates instantly.
- No Remote Management or Real-Time Updates: Because a USB setup works offline, there’s no way to update content remotely. Each device, whether it’s a TV with a TV’s HDMI port, a Raspberry Pi unit, or another media player, requires physical access to replace the USB drive. This limits scalability for business signage spread across multiple devices and makes it harder to respond to timely changes.
- Limited Scheduling Options: Unlike cloud-connected digital signage platforms that can schedule updates down to the minute, USB playback relies on a pre-scheduled sequence. Some TV screens may offer a built-in feature for basic scheduling, but it’s far from the user-friendly control you’d get from open-source software or platforms like Rise Vision. This makes it challenging for interactive content or campaigns with frequent video and image updates.
- Manual Content Replacement: Updating a USB-based digital display means manually swapping files on the USB drive. This process is time-consuming for more screens, especially if your business operates in multiple locations. Without network-based content management, you cannot push updates from a central dashboard, making it less efficient for large-scale signage projects.
- Best Suited for Static or Pre-Scheduled Content: Because it lacks wi fi connectivity, live data integration, and cloud syncing, USB signage works best for static or rarely changing media, like Google Slides converted to images, pre-recorded videos, or product information. While great for short-term campaigns, it cannot easily support interactive content, real-time promotions, or cross-location synchronization without additional software or media player hardware.
USB Stick Digital Signage vs Cloud-Based Digital Signage
For many businesses, USB stick digital signage is the first step into digital displays. It’s simple, familiar, and doesn’t require software setup, just load files onto a USB and plug it into a screen.
But as soon as content needs to change frequently, scale across locations, or support real-time updates, most teams quickly realize the limitations and begin moving toward cloud-based digital signage software like AIScreen for long-term efficiency and growth.
Below is a clear, side-by-side comparison showing why USB signage works for basic use cases, and why cloud-based digital signage software becomes the better choice as needs evolve.
| Feature | USB Stick Digital Signage | Cloud-Based Digital Signage Software |
|---|---|---|
| Set Up Cost | Low upfront cost since no software license is required. Ideal for very small or temporary setups. | Slightly higher initial cost, but delivers better ROI through automation, remote control, and reduced manual work over time. |
| Content Updates | Content must be manually updated by physically visiting each screen and replacing the USB. | Content updates happen remotely from a single dashboard using digital signage software, saving time and effort. |
| Scheduling | Limited or no scheduling options. Content usually plays in a simple loop. | Advanced scheduling by time, day, location, or campaign using cloud-based digital signage software. |
| Scalability | Not scalable. Managing multiple screens becomes time-consuming and error-prone. | Highly scalable. AIScreen allows businesses to grow from one screen to hundreds without changing workflows. |
| Interactivity | No interactivity or live data support. Static media only. | Supports interactive content, live dashboards, menus, calendars, alerts, and integrations through digital signage software. |
| Reliability | Risk of outdated or incorrect content if USBs aren’t updated consistently. | Higher reliability with real-time syncing, monitoring, and remote troubleshooting through cloud-based digital signage software. |
Why Businesses Outgrow USB Signage
USB-based signage is useful for simple, low-maintenance displays, but it doesn’t support modern business needs like real-time updates, multi-location control, or performance monitoring. As soon as consistency, speed, and scale matter, cloud-based digital signage software becomes essential.
Platforms like AIScreen replace manual processes with centralized control, making it easier to manage content, ensure uptime, and keep displays relevant, without physically touching each screen.
Upgrade from USB Stick to Cloud-Based Digital Signage with AIScreen!
Upgrade from USB stick to cloud-based digital signage with AIScreen and experience a powerful shift in how you manage content. USB-based signage limits flexibility, requires manual updates, and depends heavily on physical access to the media player.
With AIScreen’s advanced software, you can update your digital sign remotely, schedule content in real-time, and ensure your power supply isn’t wasted on outdated loops. Plus, cloud-based management considers several factors like content quality, JPG image optimization, and playlist automation. It’s time to move beyond USB limitations and embrace smarter, more dynamic signage solutions.


FAQs
Can I run dynamic content using a USB stick?
Yes, you can run dynamic content using a USB stick but limited compared to cloud-based digital signage software. A USB stick requires manual content changes, which can slow down updates and reduce the power of your signage. For truly interactive and regularly refreshed media, a cloud-connected media player is far more efficient.
What video and image formats should I use on a USB stick?
The video and image formats you should use on a USB stick often include MP4 videos and JPG images, as they are widely supported across digital sign displays. However, compatibility depends on several factors such as your TV model, power supply stability, and the built-in media player’s decoding capabilities.
Does the TV need to support auto-play from USB?
Yes, the TV needs to support auto-play from USB for a seamless digital sign setup without manual intervention. This feature ensures your signage content begins playing as soon as the power supply is connected, removing the need for on-site adjustments to the media player each time you restart.
Can I loop a playlist using a USB stick?
Yes, you can loop a playlist using a USB stick is possible if your TV or media player offers this functionality. While it’s convenient for basic digital signage, it still requires manual updates to keep content fresh. Cloud-based software eliminates this by looping playlists automatically while factoring in several factors for display quality.
How do I update the signage content on the USB stick?
You can update the signage content on a USB stick by physically removing it, adding new videos or JPG images on your computer, and reconnecting it to the digital sign’s media player. This process consumes time and power, especially across multiple locations, unlike cloud-based software which updates instantly from anywhere.
