
How To Make A Video Wall: A Step-by-Step Guide
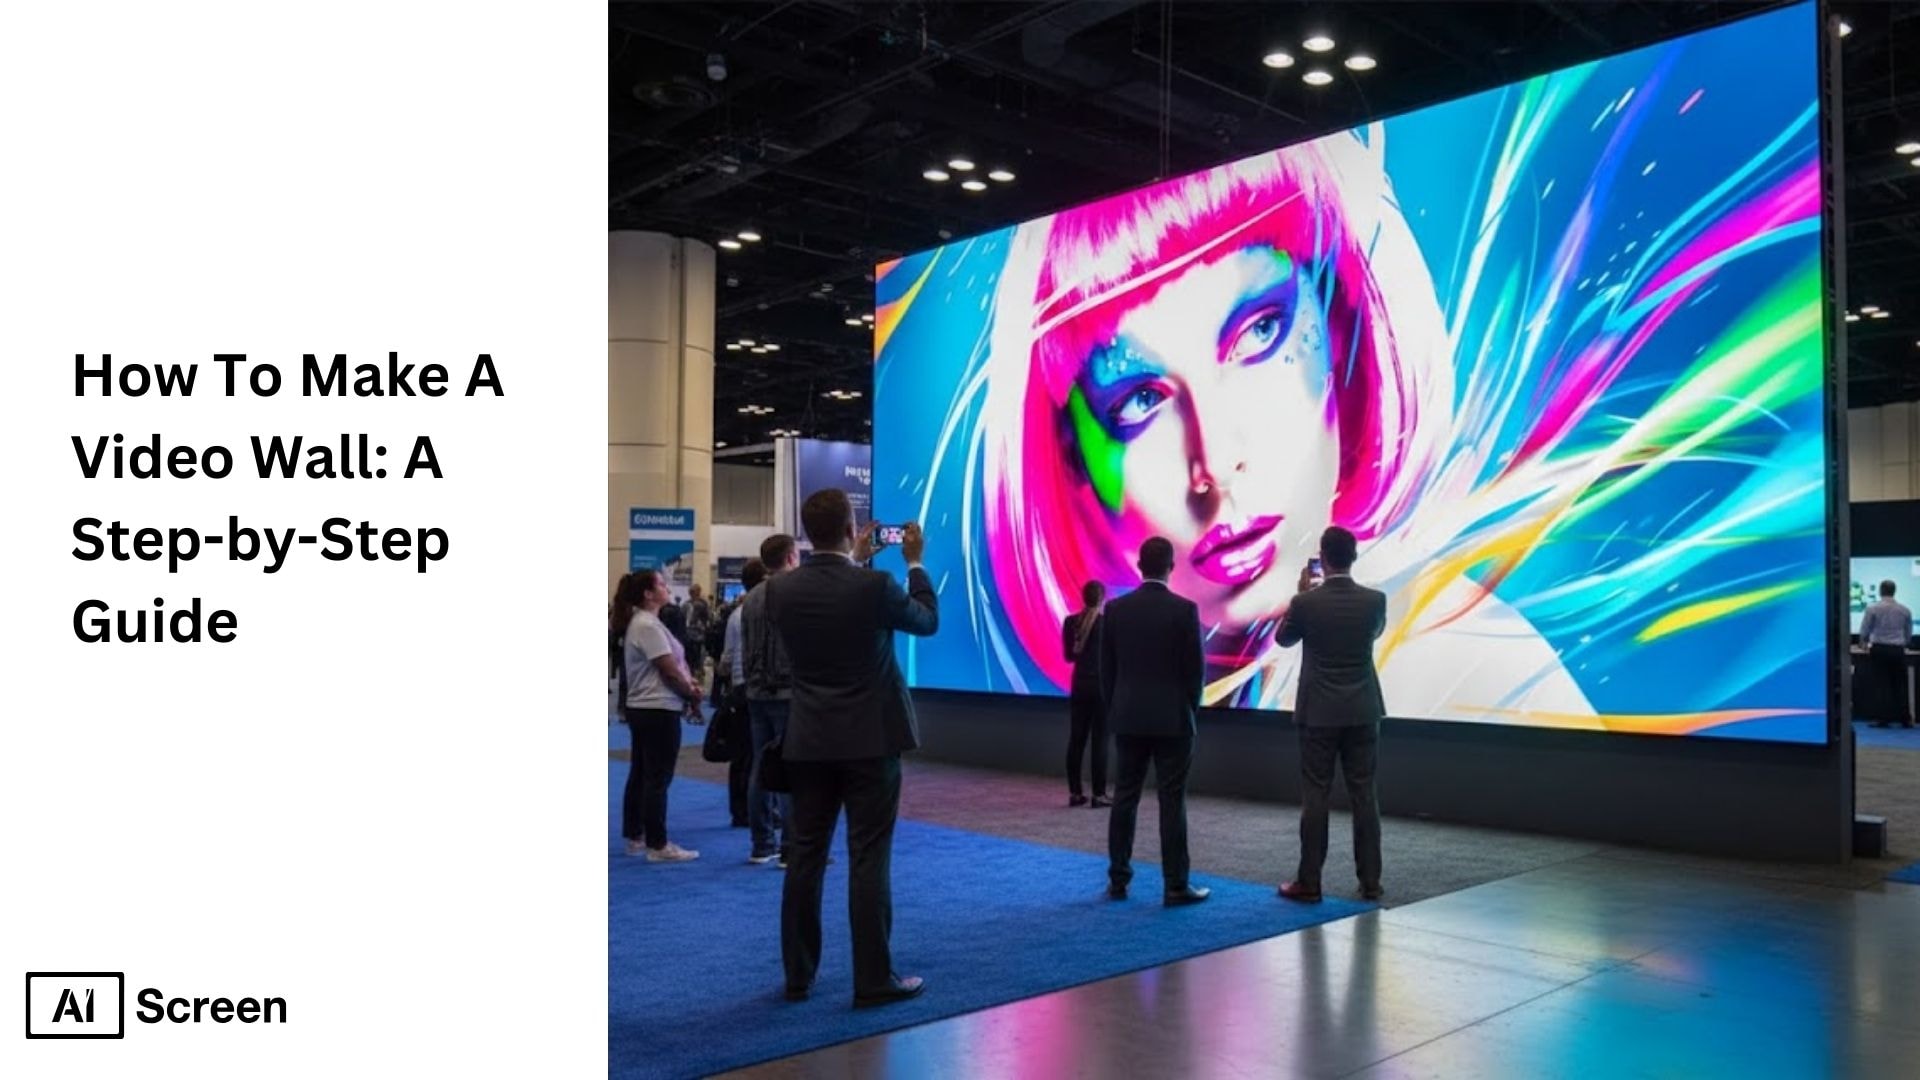
To make a video wall effective, use LCD or LED video walls to create a cohesive visual experience that captures attention instantly. These large video walls can display real-time data feeds, social media updates, interactive displays, or promotional content across multiple screens, turning static digital signage into immersive visual communication. Video walls are becoming more popular in various industries as companies and institutions recognize their capabilities. According to Digital Signage Today, businesses using video walls in retail stores report a 30% increase in customer engagement compared to static displays.
In this article, we’ll explore how to make a video wall a step by step guide for businesses and venues. You’ll learn what a video wall is, why you should use it, where it works best, and how to set it up properly. With proper planning, installation, and video wall software management, you can ensure high definition visuals, smooth playback, and a cohesive image across multiple displays. Let’s dive in and see how video walls can take your digital signage solutions to the next level.
How To Set Up A Video Wall Display
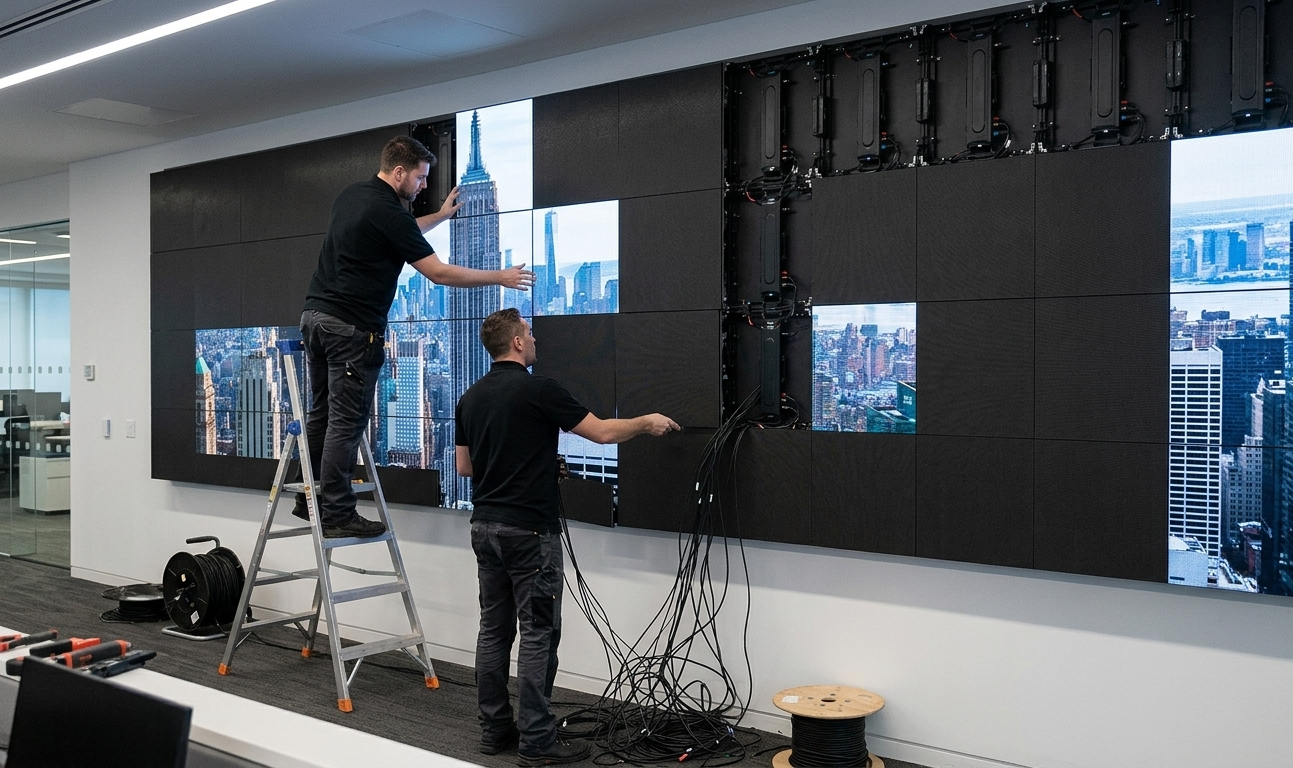
To set up a video wall display, the first step is planning. Without proper planning, you risk misaligned screens, inconsistent image quality, or installation headaches. Start by considering the space, viewing distance, ambient lighting, and audience engagement goals. According to Grand View Research, the global digital signage market is expected to reach $32.84 billion by 2028, showing rapid adoption of video wall solutions.
Video walls offer a professional installation project solution across multiple screens, so taking time to fine-tune your video wall layout ensures a cohesive visual experience. You’ll also want to decide on your digital signage software early, as it determines how you display content, adjust display settings, and manage multiple devices.
Determining the Desired Panel Size
Determining the desired panel size helps ensure your video wall fits the available space and looks seamless. Measure the wall carefully and account for bezel width, frames, and mounting structures rather than relying only on advertised screen sizes. This helps you calculate the true display area and plan a balanced video wall layout before installation.
The Number of Displays You Want
The number of displays you want determines how the video wall fills the space and impacts viewers. Plan your screen layout in advance and calculate how many panels fit physically and visually. For example, a 3×3 grid of 55-inch displays is commonly used in retail spaces to create a large and cohesive visual display.
The Type of View You Prefer
The type of view you prefer influences the display technology, resolution, and brightness required for the video wall. If viewers are close to the screen, higher resolution and minimal pixel gaps are important. For displays viewed from a distance, higher brightness and wide viewing angles often provide a better visual experience.
Choosing the Right Input Source
Choosing the right input source ensures smooth content playback and flexibility for different media types. Businesses typically connect media players, computers, or digital signage systems to the video wall using HDMI or DisplayPort. Using a reliable media player or digital signage platform helps deliver content such as playlists, dashboards, or live feeds without interruptions.
The Control Software You Prefer
The control software you prefer plays a major role in managing video wall content efficiently. Good video wall software allows users to schedule content, control screen layouts, and update displays remotely. Cloud-based digital signage software makes it easier to manage multiple screens and keep content updated across different locations.
Choosing the Right Mounts
Choosing the right mounts ensures the video wall is secure and properly aligned. Mounts should match the wall type, screen size, and layout design to maintain stability. Adjustable mounting systems are often preferred because they allow precise alignment of multiple screens for a clean and professional video wall appearance.
How Do You Make a Video Wall Using a Hardware Video Wall Controller
Make a video wall using a hardware video wall controller and AIScreen Stick by connecting a single digital signage player to a controller that distributes the signal across multiple displays. In this setup, AIScreen runs on a single device such as the AIScreen Stick, which connects through HDMI to the controller.
The controller then sends that video signal to several screens, allowing businesses to display one large image or video across a 2×2 or 3×3 wall. This approach is often used for retail promotions, restaurant menu boards, showrooms, and event displays because it provides a simple and cost-effective solution.
The system architecture typically works as AIScreen Stick, HDMI, hardware video wall controller, multiple displays. The controller manages how the video signal appears across screens, either stretching one video across the full wall or dividing the display into predefined sections.
This setup is best suited for businesses that want an easy plug-and-play installation without requiring complex multi-zone 4K playback or heavy GPU processing. While it works well for Full HD content and smaller video wall configurations such as 2×2 or 2×3 layouts, larger or more complex installations may require more advanced video wall systems for higher performance and independent screen control. Teams that would rather skip the setup entirely can opt for a turnkey digital signage package where hardware, software, and installation are handled end-to-end.
How to Set Up Video Wall With Digital Signage Software
Setting up a video wall with digital signage software allows businesses to manage multiple screens as one large display or as several independent zones. A proper video wall setup combines the right displays, a reliable media player, and digital signage software to control layouts, content scheduling, and screen management from a centralized dashboard.
When configured correctly, a video wall can deliver synchronized visuals across multiple displays for retail promotions, corporate presentations, or public information screens. According to Nielsen, video content on digital signage improves brand recall by 47% compared to static image. Read for more details about how to setup video wall software.
Below are the essential steps to set up a video wall using digital signage software.
Step 1: Choose the Right Video Wall Displays
Choose the right video wall displays because it will assure that your video wall delivers the high-quality visuals and impact you are aiming for. The type of display, whether LCD panels, LED displays, or premium options like Sony BRAVIA BZ50L Series or LG VL5PJ-B Series FHD Video Wall, makes a big difference in image clarity, brightness, and overall visual experience.
LG 49” VL5PJ-B Series FHD Video Wall

• 49-inch Full HD IPS display (1920 × 1080 resolution)
• Ultra-narrow bezel design for seamless video wall layouts
• Daisy chain capability with image gap reduction
• Built-in System-on-Chip (SoC) with webOS smart signage platform
• Designed for 24/7 operation with up to 60,000 hours lifespan
• Optional LG ConnectedCare service for easy maintenance and monitoring
• Suitable for multi-panel video wall installations in commercial environments
• Price: $1,733.00
These are pro-grade digital signage display screens that last 2 times longer while delivering 25% better brightness under severe natural lighting conditions. They are mostly used in public places, educational institutions, public lobbies, etc.
Think about your space, viewing distance, and how your audience will interact with the screens. High-brightness LED panels work great in busy public areas, while LCD displays are perfect for conference rooms or retail setups. Picking the right displays upfront saves headaches later and ensures your video wall looks seamless across multiple screens.
Step 2: Install the Video Wall Controller
Install the video wall controller to make sure your content flows seamlessly across all screens. This video wall processor device splits and scales your videos, images, or dashboards so each panel shows a perfectly aligned part of the overall picture.
Look for a video wall processor that supports your input sources, resolution requirements, and has enough processing power to handle everything smoothly. For setups using non-smart TVs, a controller like the OREI Video Wall Controller is ideal, offering reliability and easy management for uninterrupted playback.
Step 3: Connect it to a Media Player or Windows PC
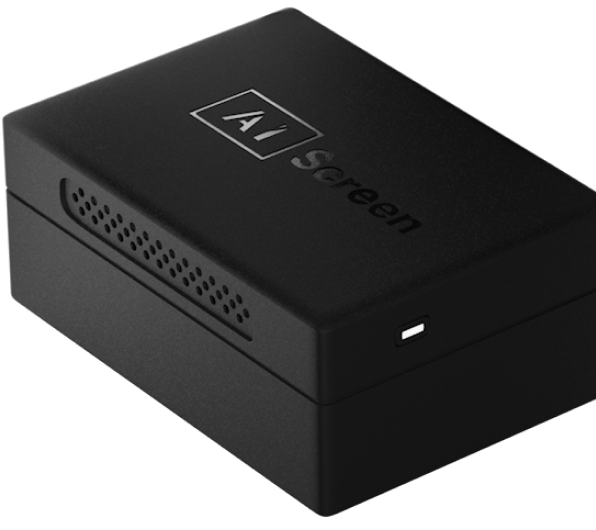
Connect a media player or window PC to deliver your content to the video wall efficiently. Using one of the 6 best digital signage player options ensures smooth playback, seamless playlists, and real-time updates across all panels. Media players or industrial digital signage PCs send the video signal to each display through HDMI or DisplayPort connections.
Recommended hardware options may include:
• Digital signage media players for smaller video walls
• Industrial Windows PCs for large or multi-zone video wall setups
• Dedicated GPU systems for high-resolution displays
For example, a Windows-based system can support Full HD or 4K resolution across multiple screens and scale from small 2×2 layouts to larger 10×10 video walls.
Step 4: Download and Set Up Digital Signage Software
Download and set up digital signage software to control and schedule content across all screens from one place. Once you download digital signage software like AIScreen allows you to manage multiple layouts, push live feeds, and customize what’s shown at different times of the day.
With intuitive control software, updating your video wall no longer requires running from screen to screen. You can manage everything remotely, keep content fresh, and maintain a cohesive visual experience across your displays.
Step 5: Sign Up With the Digital Signage Video Wall Management App
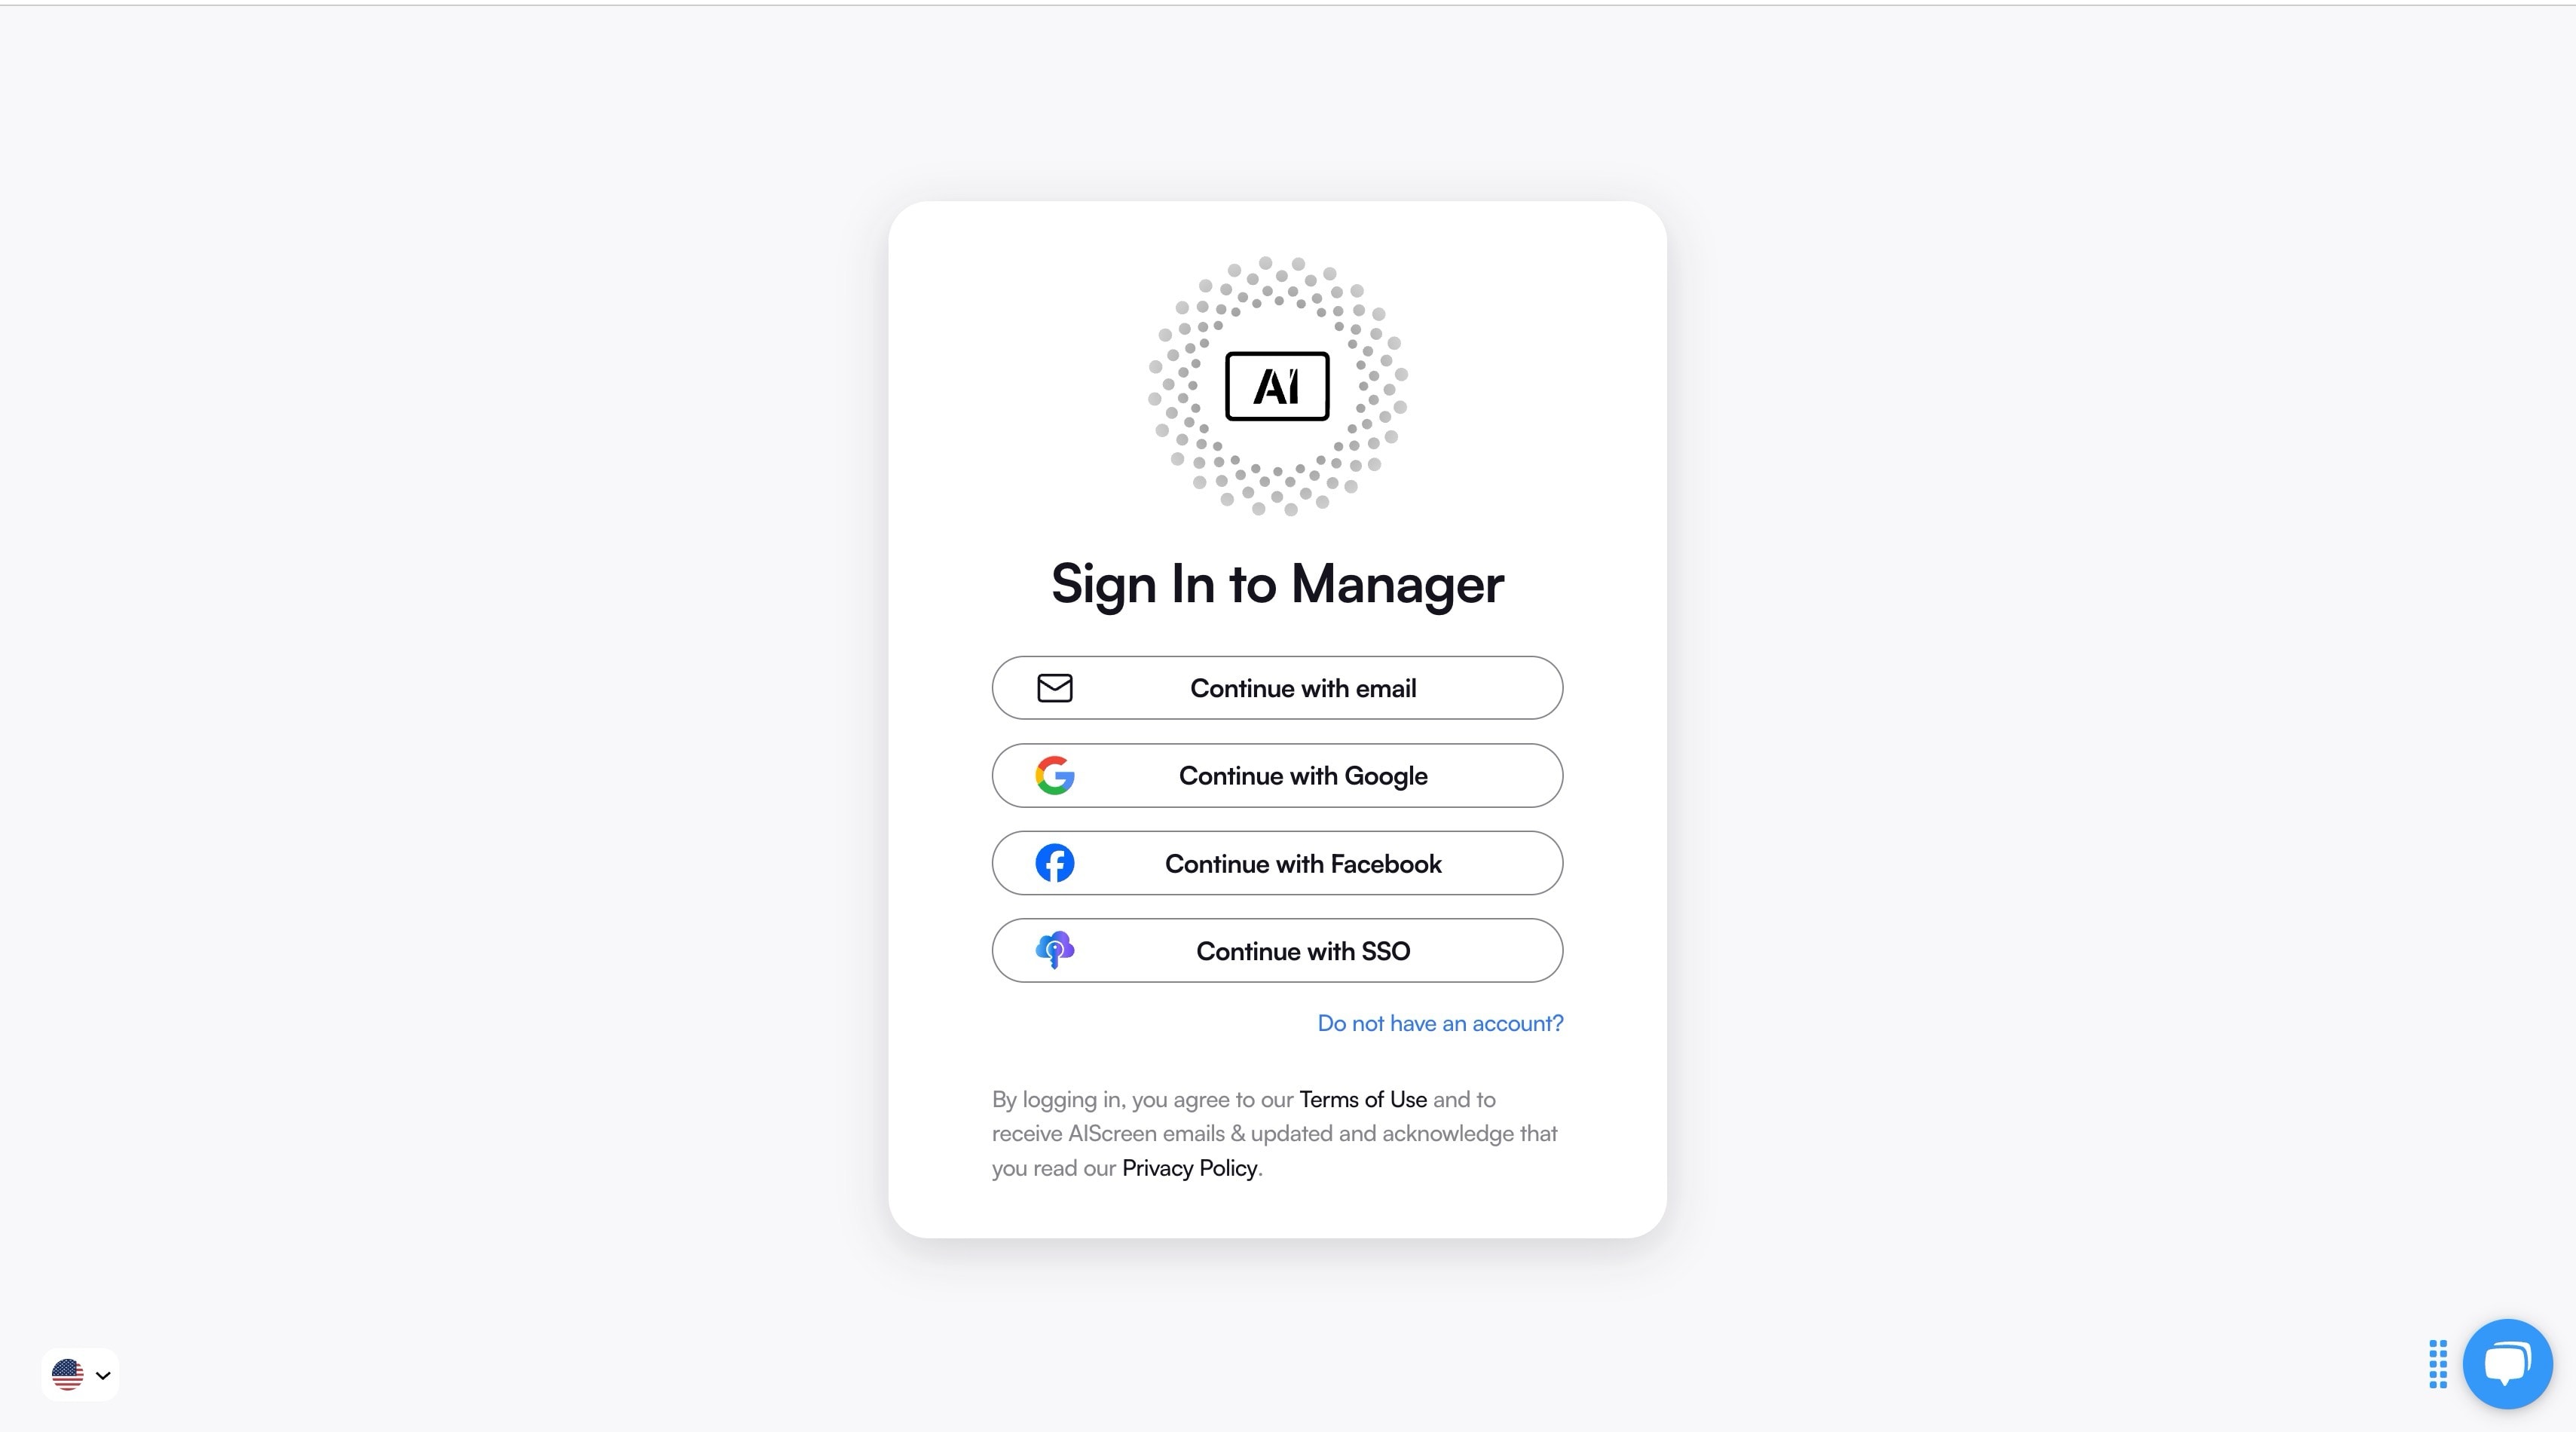
Sign up with the digital signage video wall management app to take control of your screens instantly. Once registered, you can manage multiple displays from a single dashboard, organize content zones, and monitor everything in real time. This makes handling a large video wall simple, even if you are managing multiple locations.
The app also allows you to set permissions for team members, preview layouts, and check content before it goes live. It’s the step that ensures your video wall is always ready and looks professional without constant manual oversight.
Step 6: Configure Multi-Screen Video Wall Setup
Configure the multi-screen video wall setup so all displays work as one combined canvas. For Windows-based video wall setups, connect each screen directly to the PC and enable Extended Display Mode in system settings.
Key configuration steps include:
• Connect all displays using HDMI or DisplayPort
• Open Windows Display Settings
• Select Extend these displays
• Arrange the screens to match the physical layout
• Set resolution and scaling to 100%
Once configured, Windows combines the screens into a single large desktop resolution.
Examples:
• 2×2 Full HD wall → 3840×2160 combined resolution
• 2×2 4K wall → 7680×4320 combined resolution
The digital signage software will use this total display area.
Step 7: Pair Your Video Wall With the Software
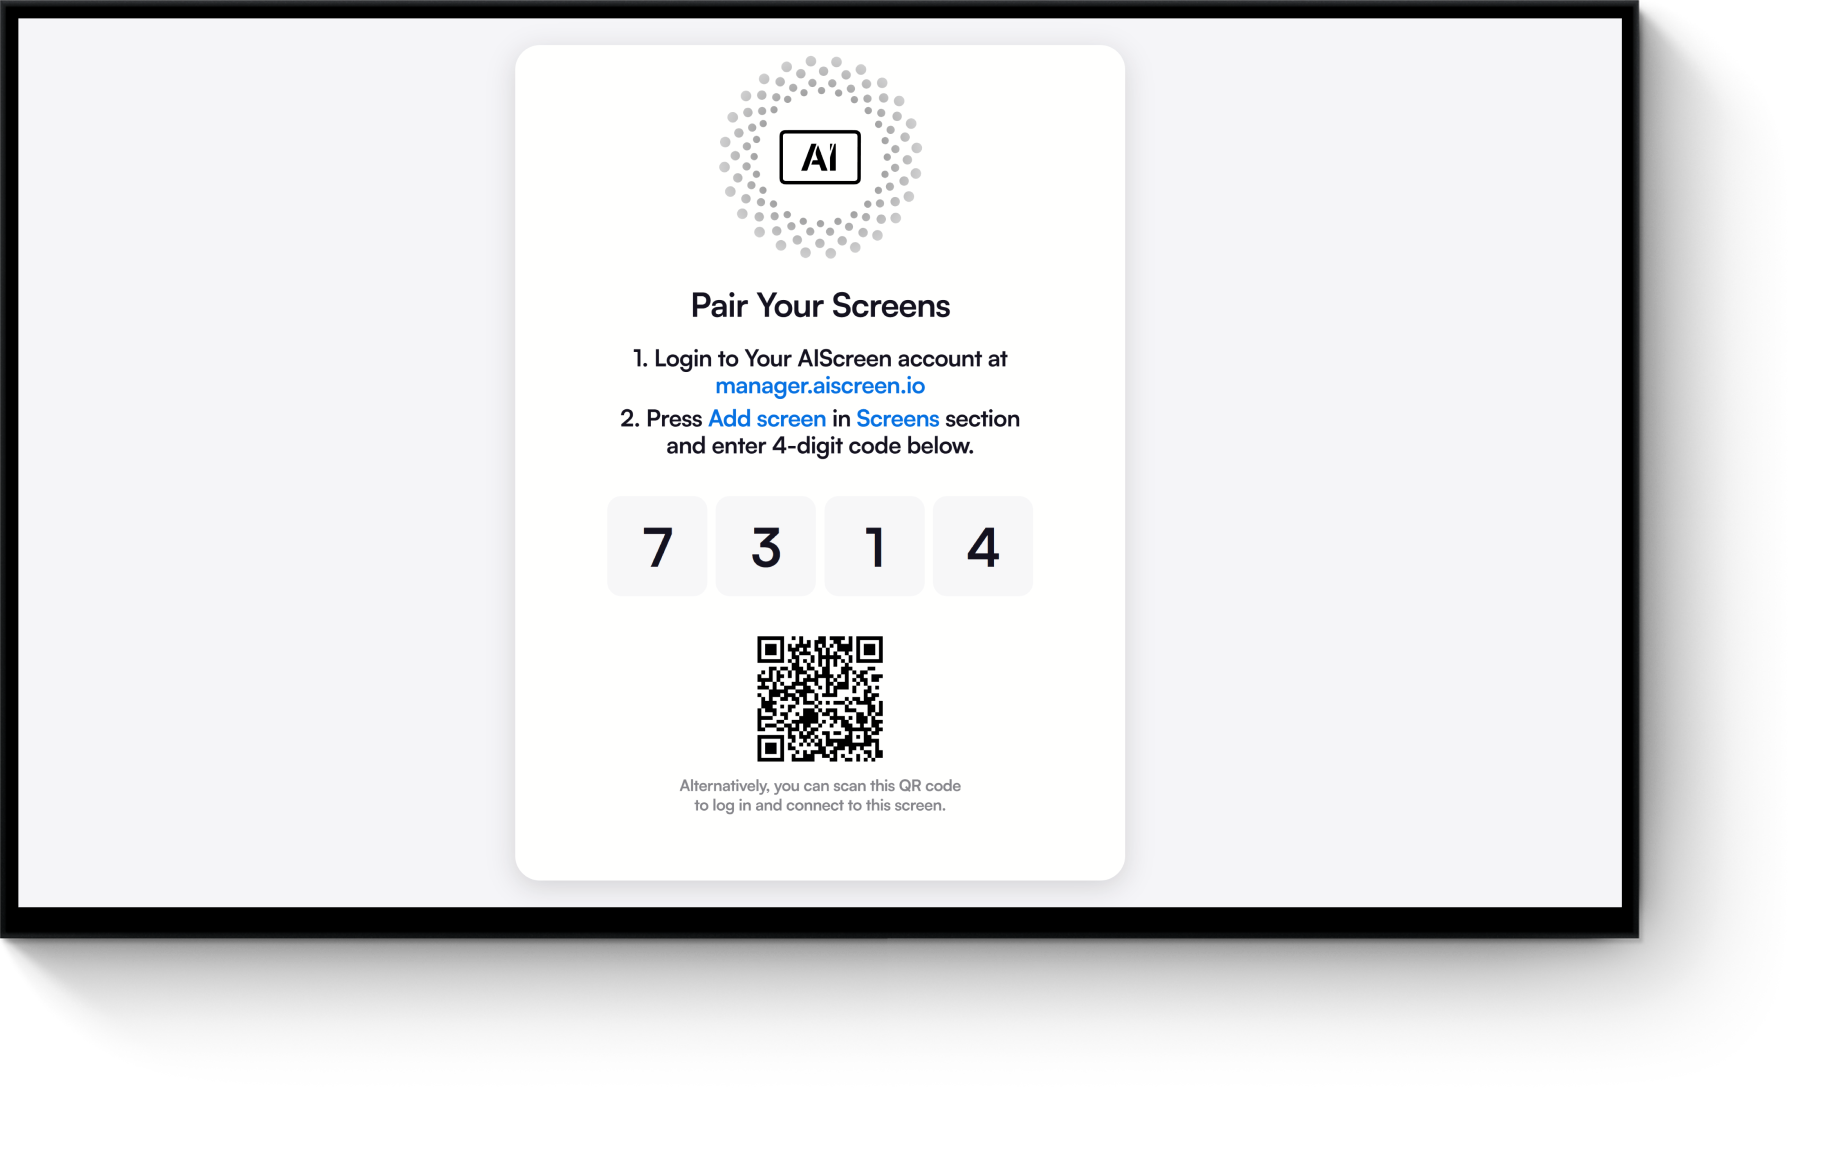
Pair your video wall with the software to link your media players and displays seamlessly. After pairing, you can assign screens to groups, configure layouts, and define zones for videos, images, or live feeds. This guarantees that all your screens work together as a cohesive visual unit.
Once connected, the digital signage software allows you to make adjustments on the fly, preview your video wall before launch, and fine-tune display settings for a flawless visual experience. Pairing through the software sets the foundation for smooth playback, high-quality visuals, and a professional presentation every time.
Step 8: Upload or Customize Your Video Wall Template
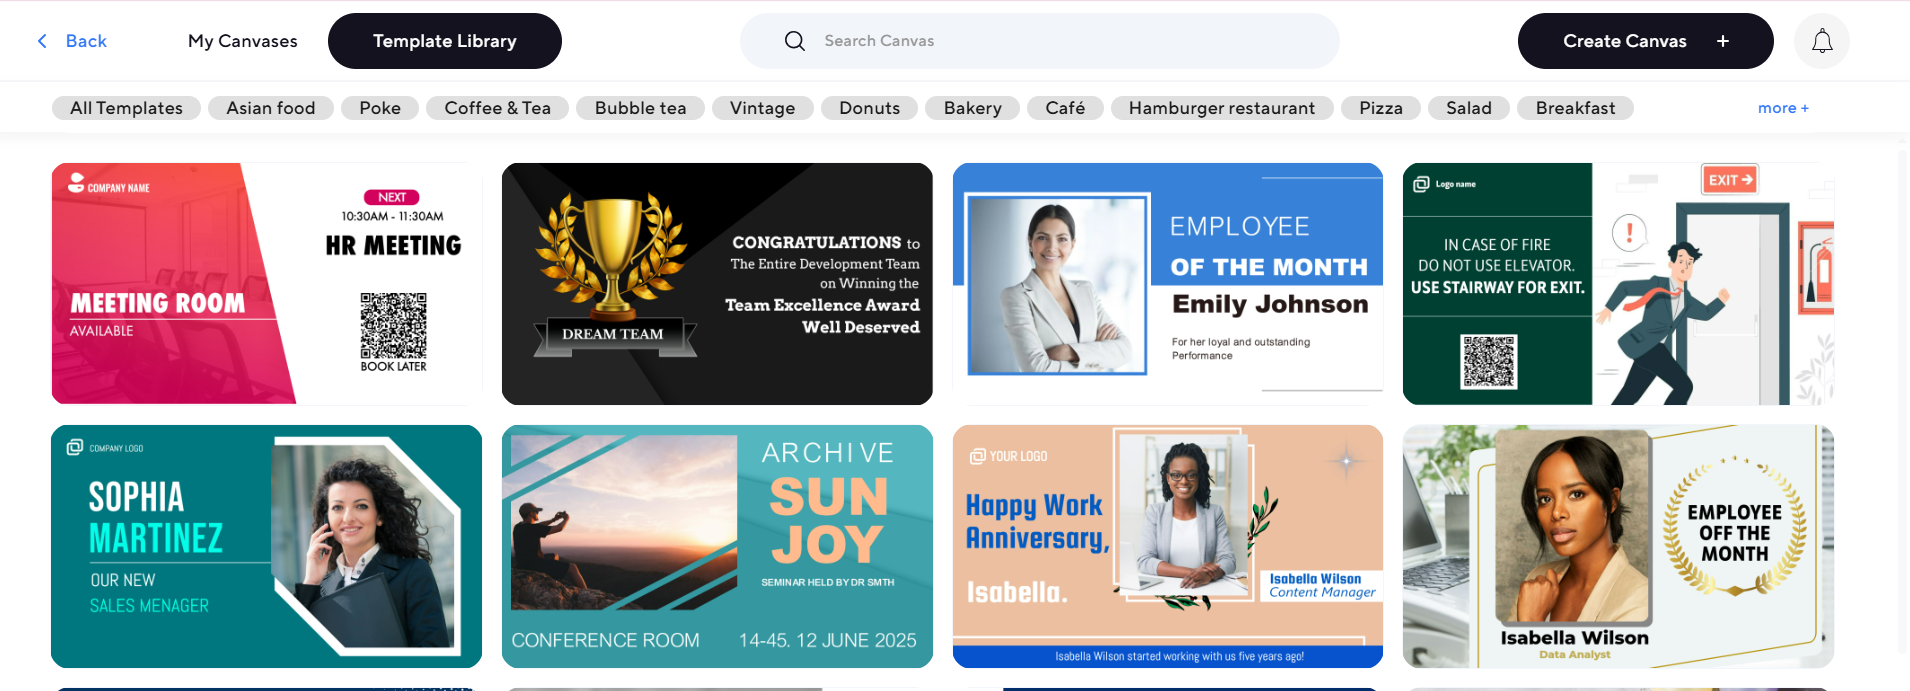
Upload or customize your video wall template to create a polished, branded display. You can use pre-designed layouts for speed or fully customize templates to match your brand identity, colors, and messaging.
Templates allow you to assign specific content to different sections of the wall, like videos in one zone and social media feeds in another. This makes your video wall engaging, visually cohesive, and ready to capture attention in any setting.
Step 9: Set Up the Display Schedule and Launch the Video Wall
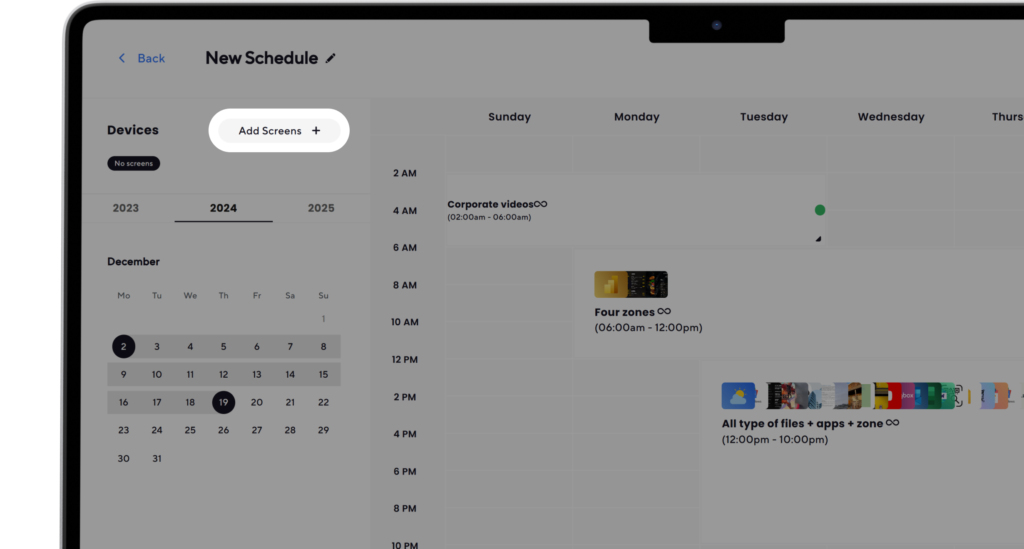
Set up the display schedule and launch the video wall so your content reaches the right audience at the right time. You can rotate promotions, display live updates, or schedule content for specific times of the day without touching each screen manually.
Once your schedule is live, your video wall delivers dynamic content consistently, creating a professional and immersive experience. Launching with a proper schedule ensures your audience sees the most relevant and impactful content every time.
What Are The Tips for Installation of Video Wall
The tips for installation of video wall start with planning and safety. Always make sure your screens are securely mounted and cables are neatly managed to avoid any hazards. Working with a team helps with heavy lifting, aligning multiple displays, and achieving a cohesive visual experience across all panels. According to Pew Research, screens displaying user-generated content increase audience trust and engagement by up to 40%.
Check each display before mounting, follow a proper installation sequence, and verify all power and network connections. Video wall installation done right ensures smooth operation, protects your investment, and delivers a high-quality visual experience that engages viewers in retail stores, control rooms, or public spaces.
How to Maintain and Troubleshoot a Video Wall
To maintain and troubleshoot a video wall, regularly check and clean your LCD or LED panels to ensure consistent brightness and image quality. Monitor connections, cables, and media players to prevent signal issues, and update software or firmware to avoid glitches.
Routine maintenance helps your video wall deliver immersive visual communication without interruption. According to Statista, 72% of consumers say dynamic visual displays influence their purchasing decisions in retail environments.
Regular upkeep keeps your video wall performing at its best. Checking for flickering screens, updating software, and inspecting cabling prevents downtime and preserves image quality. By staying on top of maintenance, you can protect your investment, maintain smooth playback, and keep your audience engaged with a high-quality visual experience.
Here are some practical tips for effective video wall maintenance:
- Screens cleaned and inspected regularly to prevent dust buildup and smudges.
- Software and firmware updated to keep features optimized and secure.
- Ventilation systems checked to avoid overheating and damage.
- Backup system tested to safeguard content and prevent interruptions.
- Cabling securely attached and organized for safety and reliability.
- Diagnostics reviewed routinely to detect and fix issues early.
- Power management monitored to ensure stable and safe electrical supply.
- Calibration performed to adjust brightness, contrast, color temperature, and gamma settings across all screens for uniformity.
By following these steps, your video wall continues to provide a seamless and high-impact display, remaining a reliable asset for years to come.
Make a Stunning Video Wall That’s Effective and Affordable!
Make a stunning video wall that’s effective and affordable by using AIScreen to maximize your digital signage potential without overspending. With seamless multi-screen management and immersive content playback, you can create a high-impact video wall that captures attention and engages your audience. According to Cisco, people are 10 times more likely to remember content on interactive video walls compared to traditional signage.
AIScreen offers over 1500 ready-to-use templates, so you don’t have to start from scratch. Whether you want to display live data feeds, social media content, promotional campaigns, or interactive visuals, you can customize templates to match your brand identity across multiple locations. Its user-friendly interface and cloud-based management tools make controlling multiple screens effortless, giving you a cohesive visual experience without the tech headaches.


FAQs
What is a video wall?
A video wall is a large display setup made by combining multiple screens into one cohesive unit. It can be made of LCD, LED displays, or projection panels to deliver a high-impact visual experience. Video walls allow you to show dynamic content, live data, or interactive visuals across multiple screens. They are ideal for creating immersive displays that grab attention in any space.
Why use a digital signage video wall?
A digital signage video wall gives your content maximum visibility and engagement. It lets you display real-time data, social media feeds, or promotional content across multiple screens. Businesses use them to boost brand presence, improve customer experience, and deliver information in a visually impactful way. With the right setup, they can transform any space into a modern, interactive hub.
Where can you use a video wall?
You can use a video wall in retail stores, corporate offices, public spaces, airports, hotels, or event venues. They are perfect for showing promotions, announcements, live dashboards, or interactive content. Essentially, any place where you want to grab attention and deliver information visually can benefit from a video wall. Their flexibility makes them a go-to solution for both indoor and outdoor environments.
Is a video wall the same as a billboard?
No, a video wall is not the same as a billboard. While billboards are usually static or single-screen advertising tools, video walls are made of multiple screens, allowing dynamic, scalable, and interactive content. They are designed for indoor or outdoor spaces where high-resolution visuals and flexible layouts are needed. Video walls also support real-time updates, making them more versatile than traditional billboards.
Can you use a regular TV for a video wall?
Yes, you can use a regular TV, but it’s not ideal for professional video walls. TVs usually have larger bezels, lower brightness, and limited connectivity, which can affect the overall display quality. For a seamless, high-quality visual experience, commercial-grade LCD or LED panels designed for video wall setups are recommended. These displays handle multiple inputs, support fine calibration, and deliver uniform brightness across all screens.
