
How to Set Up Windows Digital Signage?
Are you looking for instructions on setting up Windows digital signage? The good news is that the process is straightforward. All you need to do is choose a trusted digital signage software, install it on your Windows device, and configure it to display your content. This usually involves downloading the software, installing it, and pairing the device so it’s ready to run your playlists or campaigns. According to Grand View Research the global digital signage market was valued at about USD 28.83 billion in 2024, and is projected to reach USD 45.94 billion by 2030, growing at a CAGR of ~8.1%.
In this blog post, you’ll learn the whole setup process step by step. We’ll cover how to pick the right Windows display and media player, install and configure signage software, upload content, and schedule playback. By the end, you’ll understand how to turn a regular Windows device into a professional digital signage system that improves communication and boosts engagement.
What Is Digital Signage for Windows?
Digital signage for Windows refers to utilizing Windows-based devices, such as PCs, tablets, or smart TVs, as powerful digital signage screens to display dynamic content. These setups enable businesses to share advertisements, branding messages, and even real-time updates in locations such as retail stores, corporate offices, and public spaces.
Instead of static posters, companies can manage multiple screens with flexible content creation tools to deliver fresh and engaging messages. For example, imagine a retail store that once relied on its first digital sign for basic promotions.
Today, with multiple displays powered by Windows devices, the same store can showcase promotions, highlight visual elements of new products, and even share real-time stock updates across all its signage. Research from Grand View Research shows that over 60% of consumers report digital displays capture their attention better than online ads, which is why windows based digital signage has become such a popular choice for businesses that want both simplicity and scalability.
Why Windows Is Ideal for Digital Signage Solutions
Windows is ideal for digital signage solutions because it blends flexibility, reliability, and compatibility into a powerful tool for modern businesses. Think of it as the backbone of a digital signage journey, an operating system that makes it easy to run a complete digital signage system without unnecessary complexity.
With Windows, you can manage content creation, schedule content across multiple screens, and tailor messages to your target audience in real time. According to Fortune Business Insights, the digital signage software market is projected to reach $35.4 billion by 2026, highlighting the growing importance of adaptable platforms like Windows for customer engagement.
What sets Windows apart is its seamless integration with digital signage software and hardware options. For instance, a retail store might use a Windows PC in kiosk mode to loop promotions, while a corporate office relies on network settings to push updates across its lobby displays.
Even small businesses can set up a startup folder on a basic Windows player and run campaigns without needing much technical expertise. The result? More engaging content management that works across industries. And here’s the kicker: Statista reports that over 75% of businesses experience higher foot traffic when they use digital signage effectively.
That’s why companies trust Windows: it lets them double-click into content, experiment with software options, and support variety of hardware without hitting scaling roadblocks.
Setting Up Windows Digital Signage: A Step-by-Step Guide
By setting up Windows digital signage with the right device, software, and content management tools, you can turn a simple Windows PC or smart TV into a powerful screen that drives customer engagement. Below is a step-by-step breakdown to help you get started quickly and effectively.
Step 1: Choose a Compatible Windows Display
The first step is to choose a compatible Windows display, which is the foundation of your signage setup. You can use a smart TV, a Windows PC, a tablet, or an external player; each option suits different spaces and budgets. Screen size, resolution, and connectivity should guide your choice, as these factors determine how sharp your visual elements appear to your target audience.
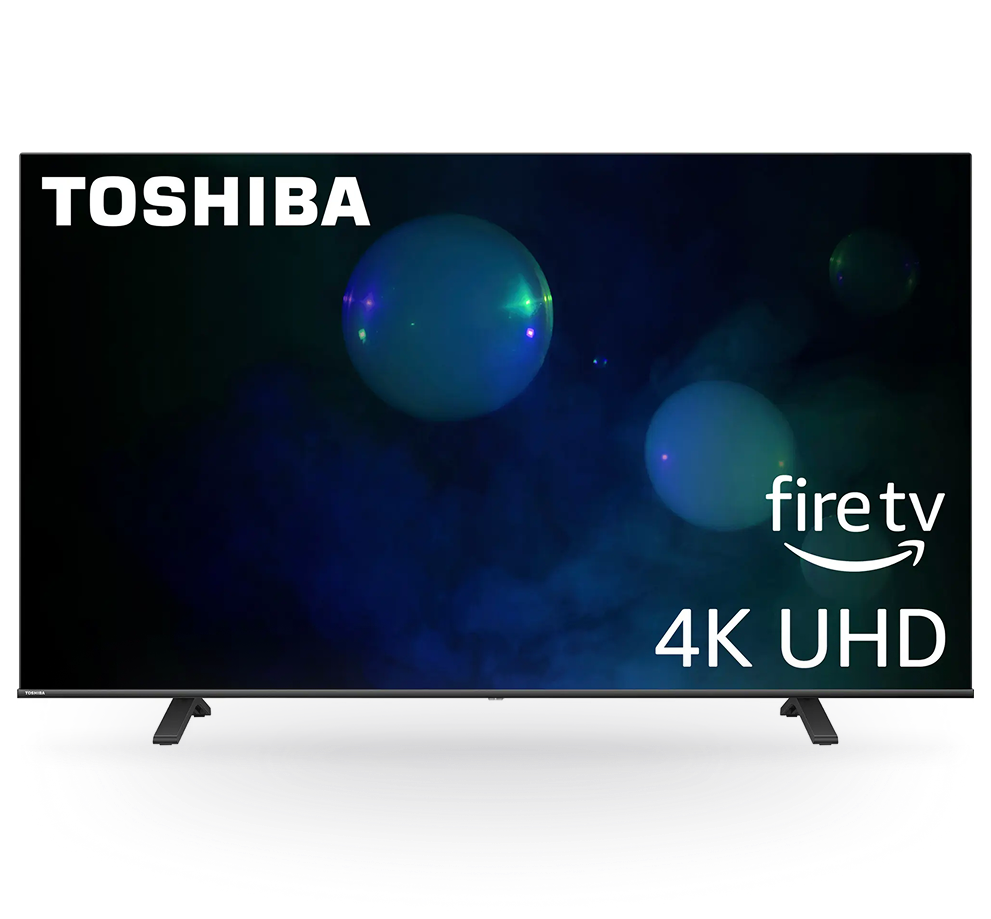
For example, the Toshiba Class C350 Series LED 4K UHD Smart Fire TV offers vibrant 4K resolution, multiple screen sizes ranging from 43″ to 75″, and pricing between $210 and $649.99, making it a practical choice for businesses that require high-quality visuals across various room sizes. When evaluating your options, ensure windows display you choose is both durable enough for long hours of playback and flexible sufficient to accommodate future upgrades.
Step 2: Select the Right Windows Media Player
After choosing a compatible display, selecting a reliable Windows Media Player ensures smooth playback and control of your signage system. Options include a standard Windows PC, Chromebox, or a dedicated signage device, each capable of running digital signage content seamlessly. Businesses should prioritize compatibility with Windows OS and signage software to avoid performance issues.
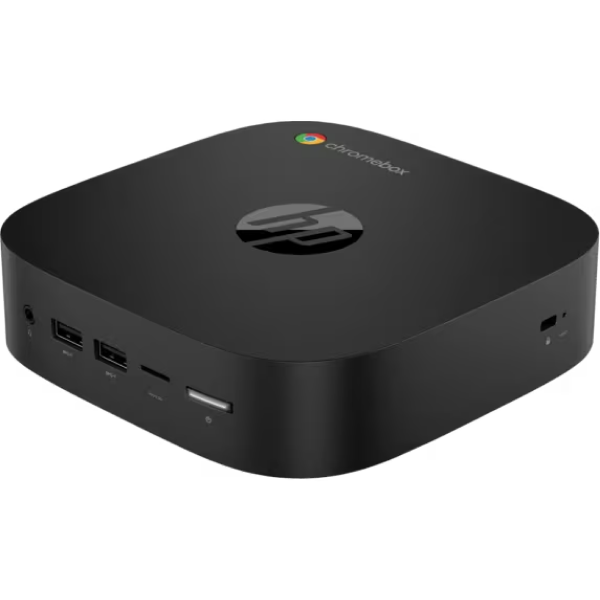
For instance, the HP Chromebox G4 is a compact, mini-PC offering Intel Celeron, i5, or i7 processors, up to 32GB RAM, and strong connectivity with Wi-Fi 6E, Bluetooth 5.3, and dual HDMI outputs.
Its lightweight design and Realtek audio codec make it a popular choice for small or large digital signage systems. Whether you need kiosk mode in retail or a powerful tool in a corporate setting, always check that media players for Windows align with your software options and signage needs.
Step 3: Install and Set Up Digital Signage Software
The third step is installing the right digital signage software, which is key to managing content effectively. A strong digital signage platform, like ours, makes content management simple by allowing you to control, schedule, and manage displays from a single dashboard.
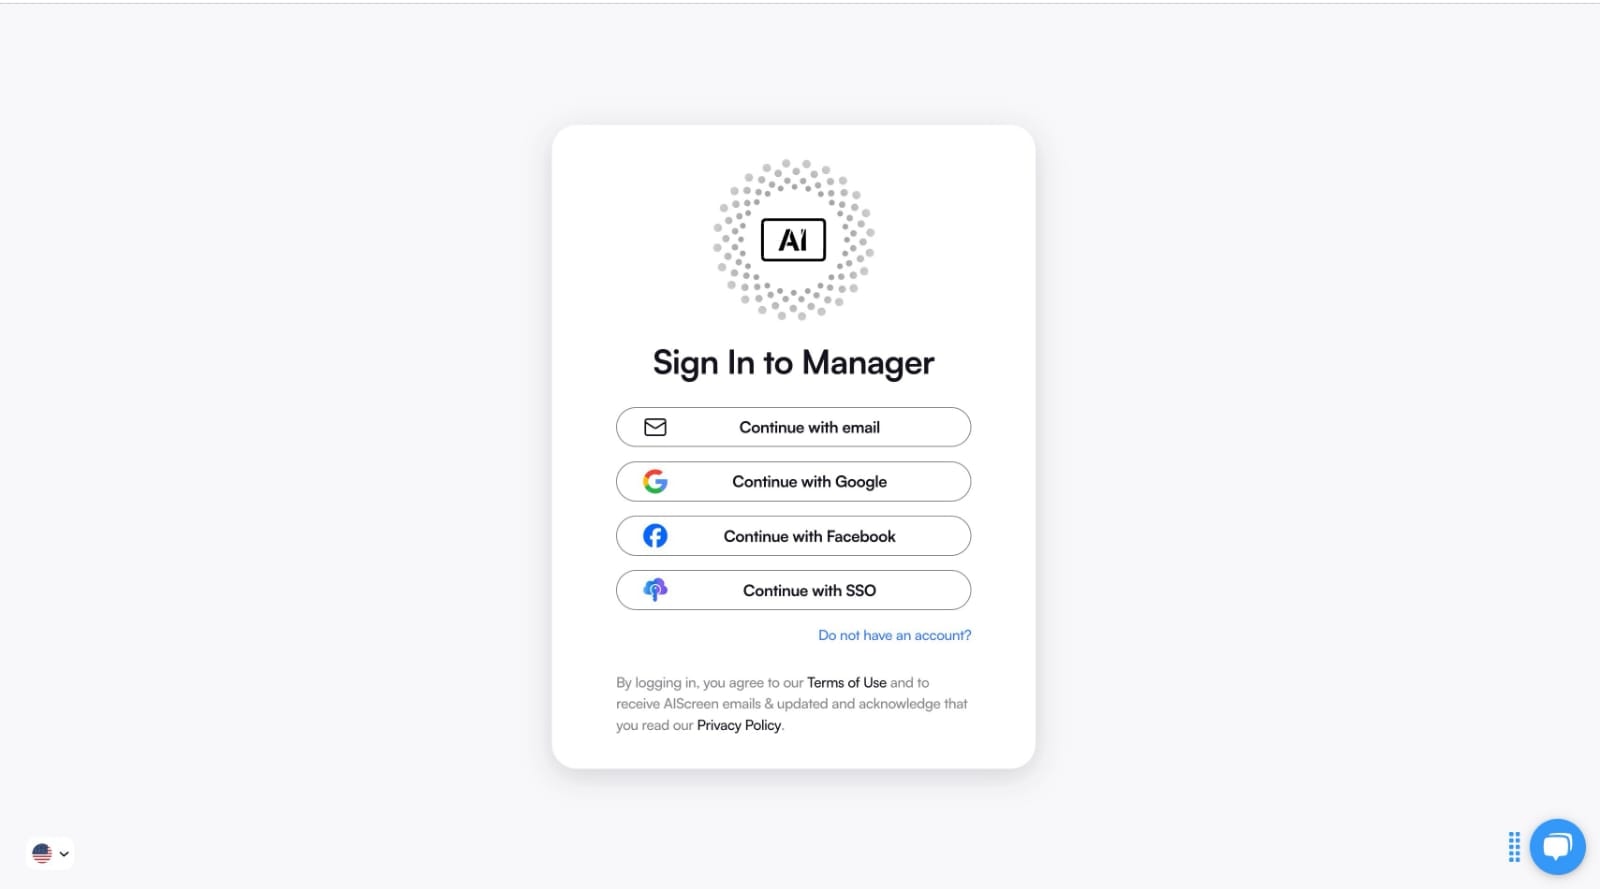
Begin by downloading the AIScreen app on your Fire TV, Windows PC, or external player. Ensure a stable internet connection, then log in through the web dashboard. From there, upload your content, organize playlists, and monitor system health.
This step ensures your signage runs smoothly across all touch screens, without complicated configurations. For businesses seeking efficiency, the ability to download software directly onto their device streamlines the setup and guarantees real-time updates.
Step 4: Create Your Account in the Management Dashboard
The most crucial step is to create your account in the management dashboard, which unlocks the platform’s full power by giving you centralized control over your screens and campaigns.
Head to AIScreen, click “Sign Up,” and fill in your business details. Verify your email, complete your profile, and log in to the dashboard. Once inside, you can add displays, upload media, and organize content strategy by category.
Our software dashboard is built to be user-friendly, whether you’re a beginner or an expert with technical expertise. From queue management to scheduling and analytics, creating your account ensures you’re equipped to run a scalable signage network.
Step 5: Connect Your Windows Devices to the Software
After creating an account, connecting your Windows devices to the software ensures that your content syncs across all screens without lag or errors.
In your software dashboard, navigate to the “Screens” tab and select “Add Screen.” A four-digit code will appear on your TV or PC. Enter that code back into the dashboard to complete the pairing. From there, you can select orientation, landscape or portrait, based on your branding needs.
If issues arise, double-check your internet connection, restart the Windows player, or re-enter the code. Proper connectivity guarantees that your network of screens stays reliable and easy to manage.

Step 6: Upload and Customize Your Display Content
This step is where your digital signage comes to life. After pairing your screens, uploading and customizing your content as they transform into powerful tools for communication and branding.
With our software’s drag-and-drop editor, you can upload images, videos, or even dynamic pricing lists. Choose from over 1,500 industry-specific templates or design your own layout from scratch. Playlists can be organized around promotions, daily specials, or announcements, ensuring your displays adapt to customer flow.
Adding your logo, brand colors, and fonts enhances recognition while maintaining consistent messaging. The ability to use templates saves time and gives your business a professional edge. For a deeper strategy, consider our guide on how to create content for Windows digital signage.
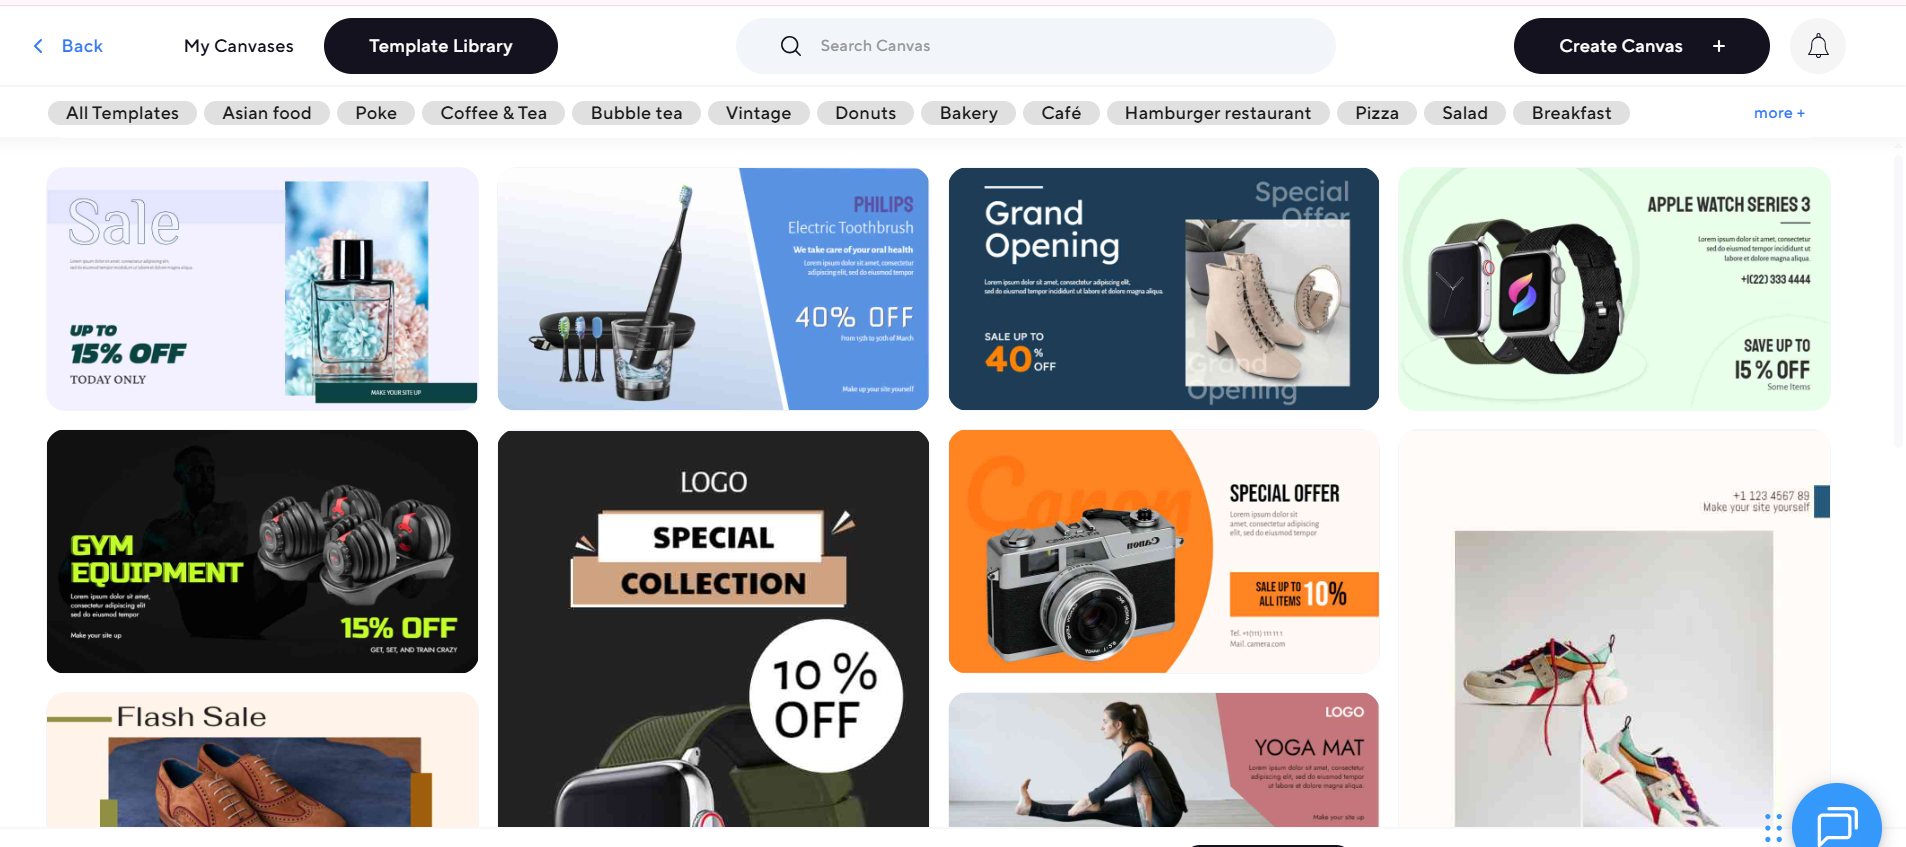
Discover 1500+ customizable digital signage templates
Set Up Windows Digital Signage With 1500+ Templates
Check our templates









Step 7: Schedule Playback and Launch Your Windows Digital Signage
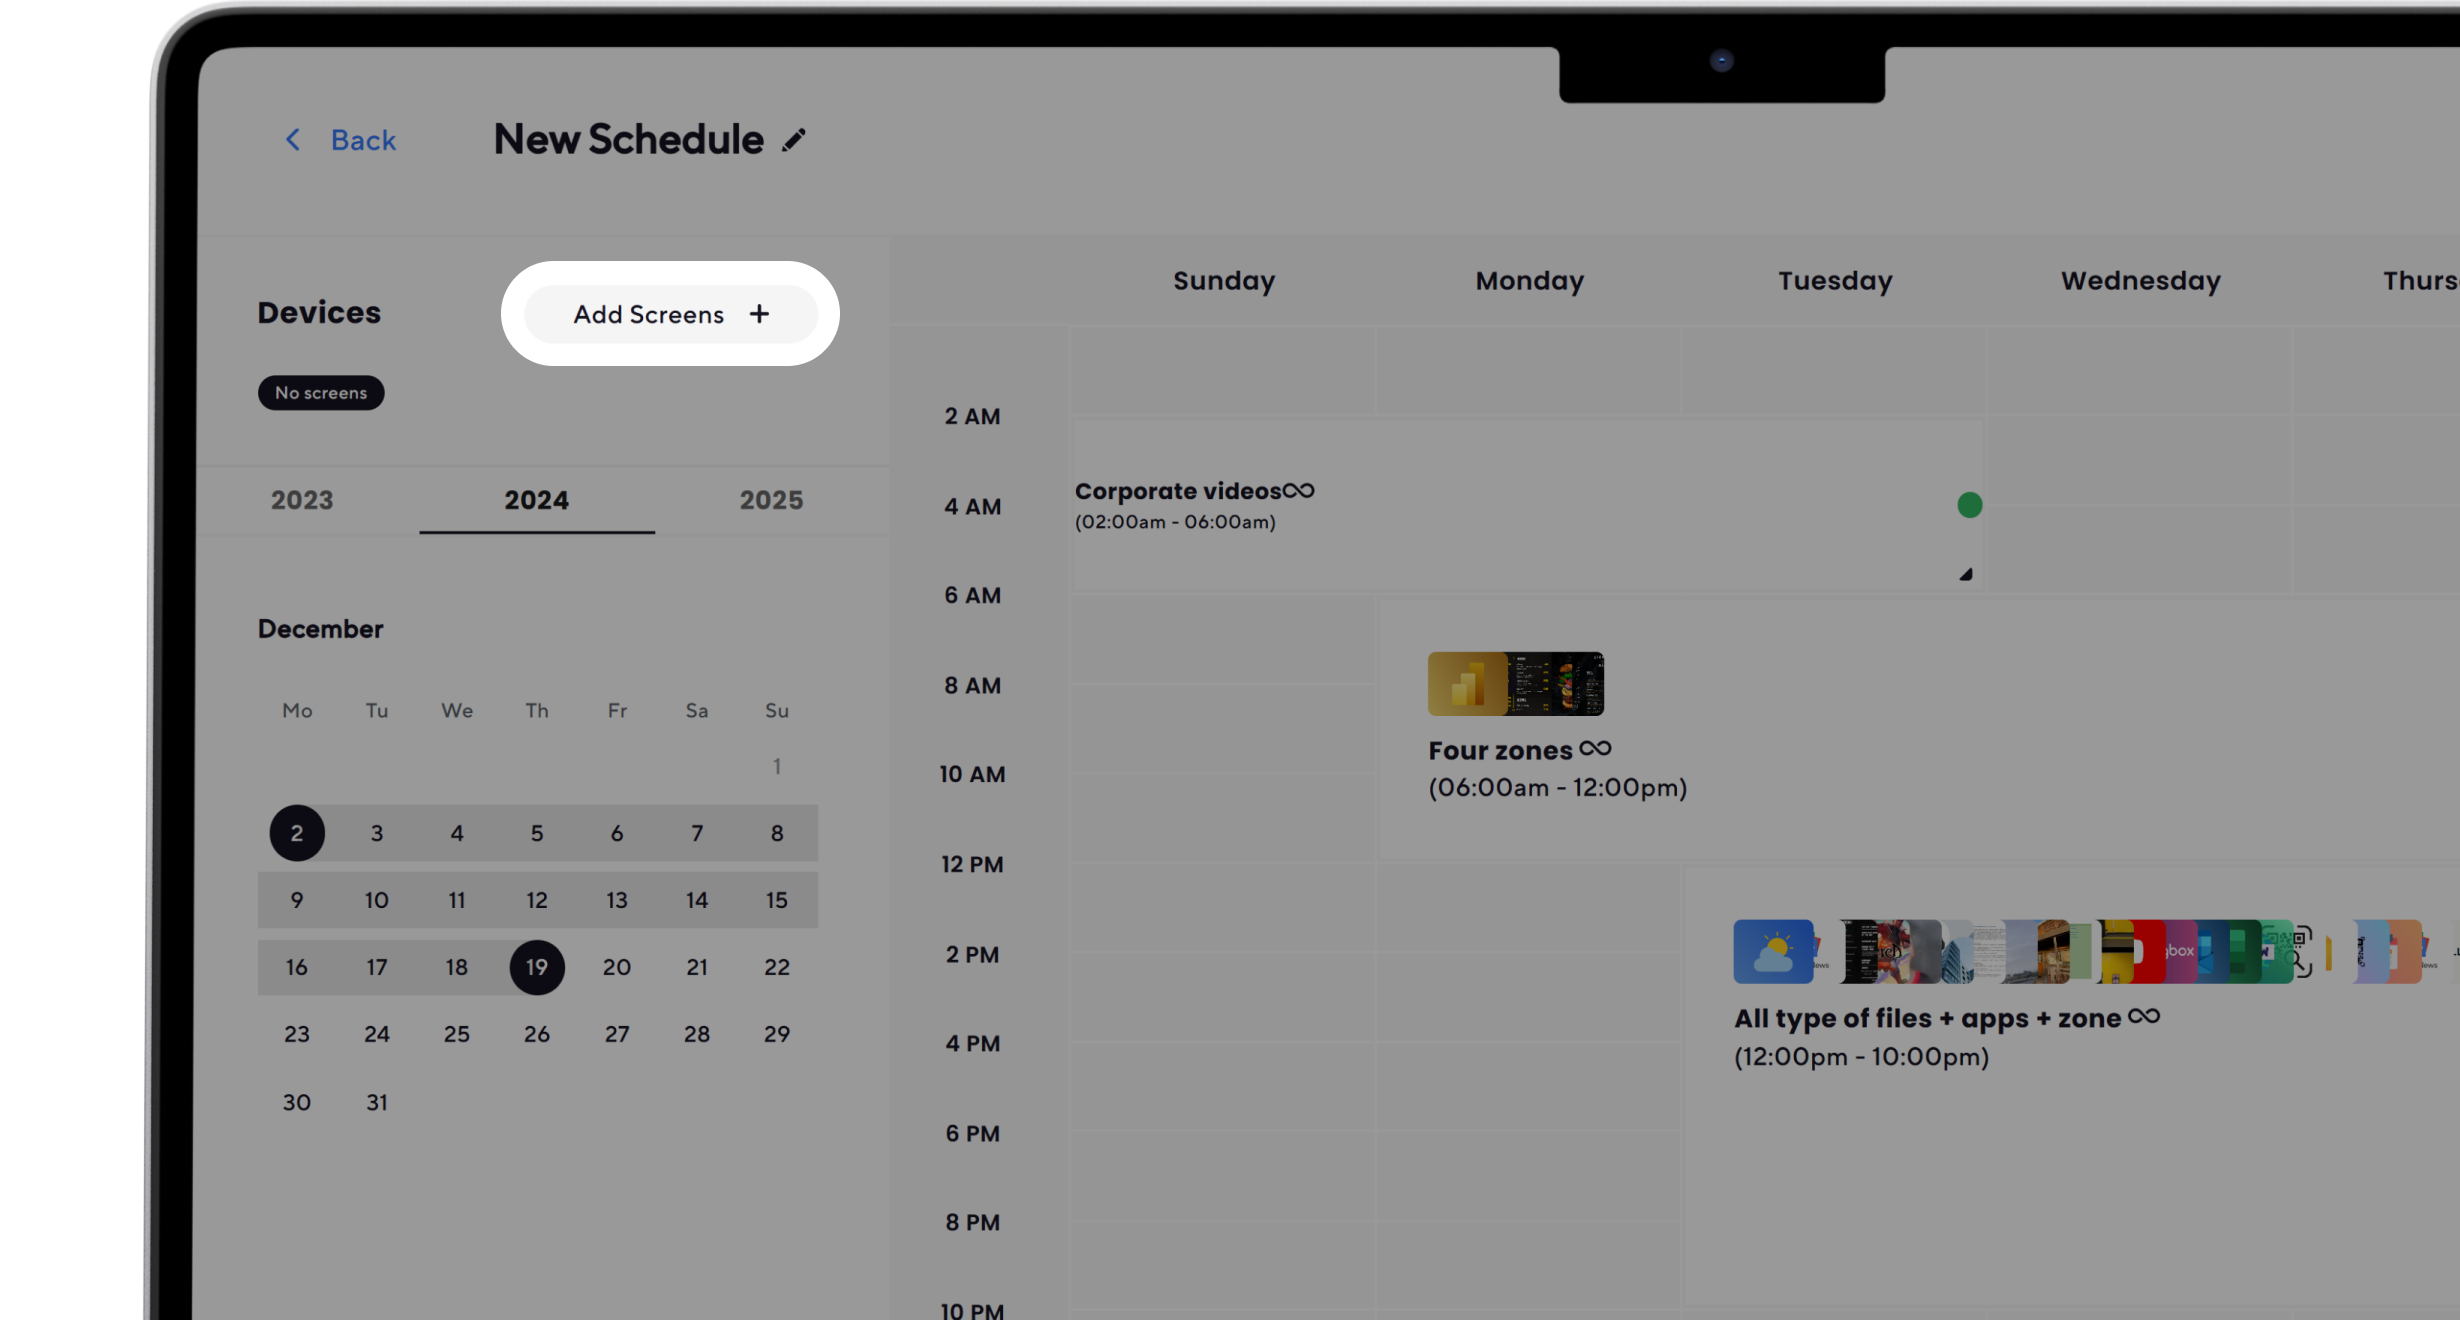
The final step is to schedule playback and launch your Windows digital signage content, ensuring that your interactive screens always display the correct content at the right time.
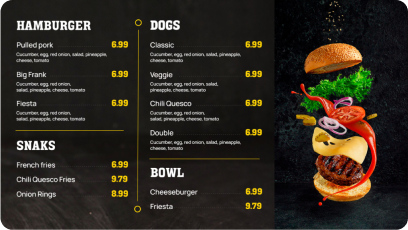
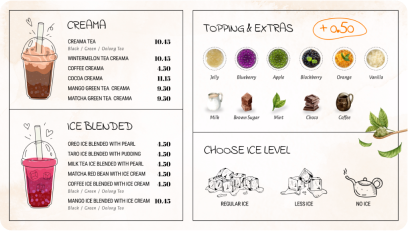
Use our software’s scheduling tool to assign content by time of day, audience type, or location. For example, you could automatically switch from breakfast to lunch menus or promote weekend sales during peak shopping hours. Once your playlists are ready, click “Publish” to push them live.
From the analytics tab, track impressions and customer engagement to refine your campaigns. This final step of schedule playback ensures your signage not only runs smoothly but also evolves with your business goals.
Get Started Your Windows Digital Signage in Minutes with AIScreen
Get started with your Windows digital signage in minutes with AIScreen and experience how simple it is to turn a Windows PC or smart TV into a dynamic display. From selecting the right device to uploading content and scheduling playback, our software streamlines the entire process, making it quick and stress-free.
As the leading provider of digital signage solutions, we offer seamless content management, real-time updates, and remote monitoring, all designed to boost engagement and save you time. Try it today with a free trial and see how effortless Windows digital signage can be. Contact us.


Frequently Asked Questions
How do I set up Windows digital signage on my PC?
To set up Windows digital signage on your PC, install a signage player (e.g., AIScreen), sign in to the web dashboard, and pair your device using the on-screen code. Then upload media, build playlists, and schedule playback. Enable auto-launch (Startup folder) to ensure your player opens on boot, creating a true kiosk experience.
What hardware do I need to set up Windows digital signage?
To set up Windows digital signage, you’ll need a Windows PC or compatible media player, a display (smart TV/monitor), reliable internet (Ethernet or Wi-Fi), and basic mounting/cables (HDMI, power). For multi-site rollouts, consider small-form-factor PCs and commercial-grade screens designed for 24/7 operation.
What display settings are recommended for Windows digital signage?
For display settings recommended for Windows digital signage, use the panel’s native resolution (often 1920×1080 or 3840×2160), set 60 Hz refresh, disable sleep/screensavers, and match Windows scaling to 100% or 125% for crisp visuals. Lock orientation (landscape/portrait) and enable HDR only if your content is mastered for it.
How do I troubleshoot Windows digital signage issues?
To troubleshoot Windows digital signage issues, start with network checks (ping, switch to Ethernet), then restart the player app and device. Verify time sync, GPU drivers, and Windows updates, clear player cache, and re-pair the screen. If playback stutters, try lowering the bitrate/resolution, or update your codecs/graphics drivers.
How do I update content remotely for Windows digital signage?
To update content remotely for Windows digital signage, log in to your management dashboard, upload new assets, adjust playlists, and push changes using schedule rules (dayparting, location targeting). Players auto-sync on heartbeat, so updates appear without requiring on-site work, making it ideal for multiple screens and sites.
