
How to Design a Canva Digital Menu Board for Free?
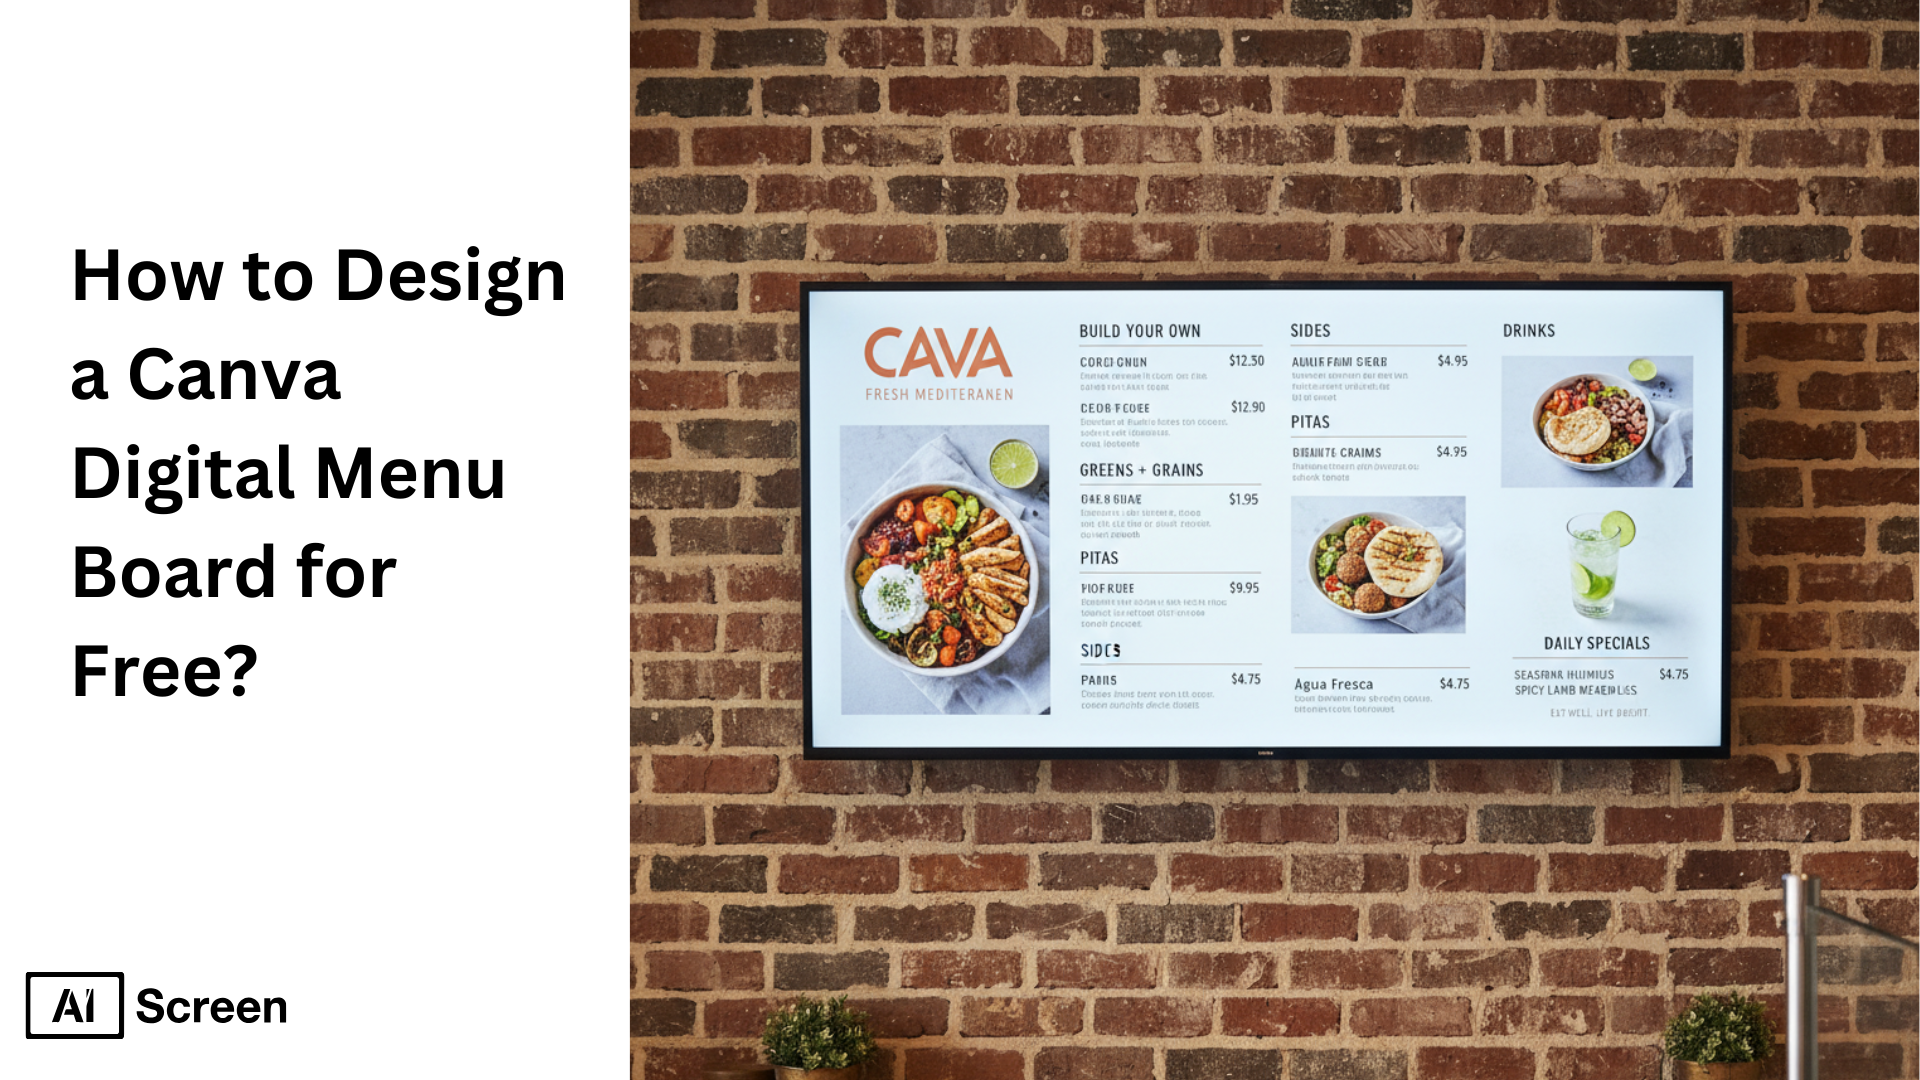
Ever wondered how to design a Canva digital menu board for free without hiring a designer or paying for expensive software? Many small restaurant owners and café managers ask the same question, especially when they want a professional look on a tight budget. That’s where AIScreen canva menu templates become a powerful solution. AIScreen offers over 1,000 free menu templates (Canva Template Library, 2024). A recent industry study found that digital menu boards can increase restaurant sales by up to 38% due to better visuals and real-time updates (IntelliSigns Restaurant Display Study, 2024). With tools for digital screens, menu printing, and quick updates, it’s never been easier to design a polished menu on your own.
In this blog post, you’ll learn exactly how to create a modern, eye-catching menu using free Canva tools, step by step. You’ll learn how to select the ideal dimensions, customize layouts, incorporate high-quality photos, incorporate branding, apply motion effects, export in the correct formats, and upload your design to a digital sign platform. By the end, you’ll know how to create a stunning digital menu display or print-ready menu without needing advanced design skills.
Step 1: Choose the Right Dimensions Canva Menu Template for Digital Menu Display
You only have a few seconds to impress customers, so choosing the right dimensions for a Canva menu template, specifically for digital menu display, makes all the difference.
Your digital menu must match your screen’s resolution to look sharp and readable. Most digital signage displays use a 1920×1080 (landscape) resolution, while vertically mounted screens typically require a 1080×1920 (portrait) resolution.
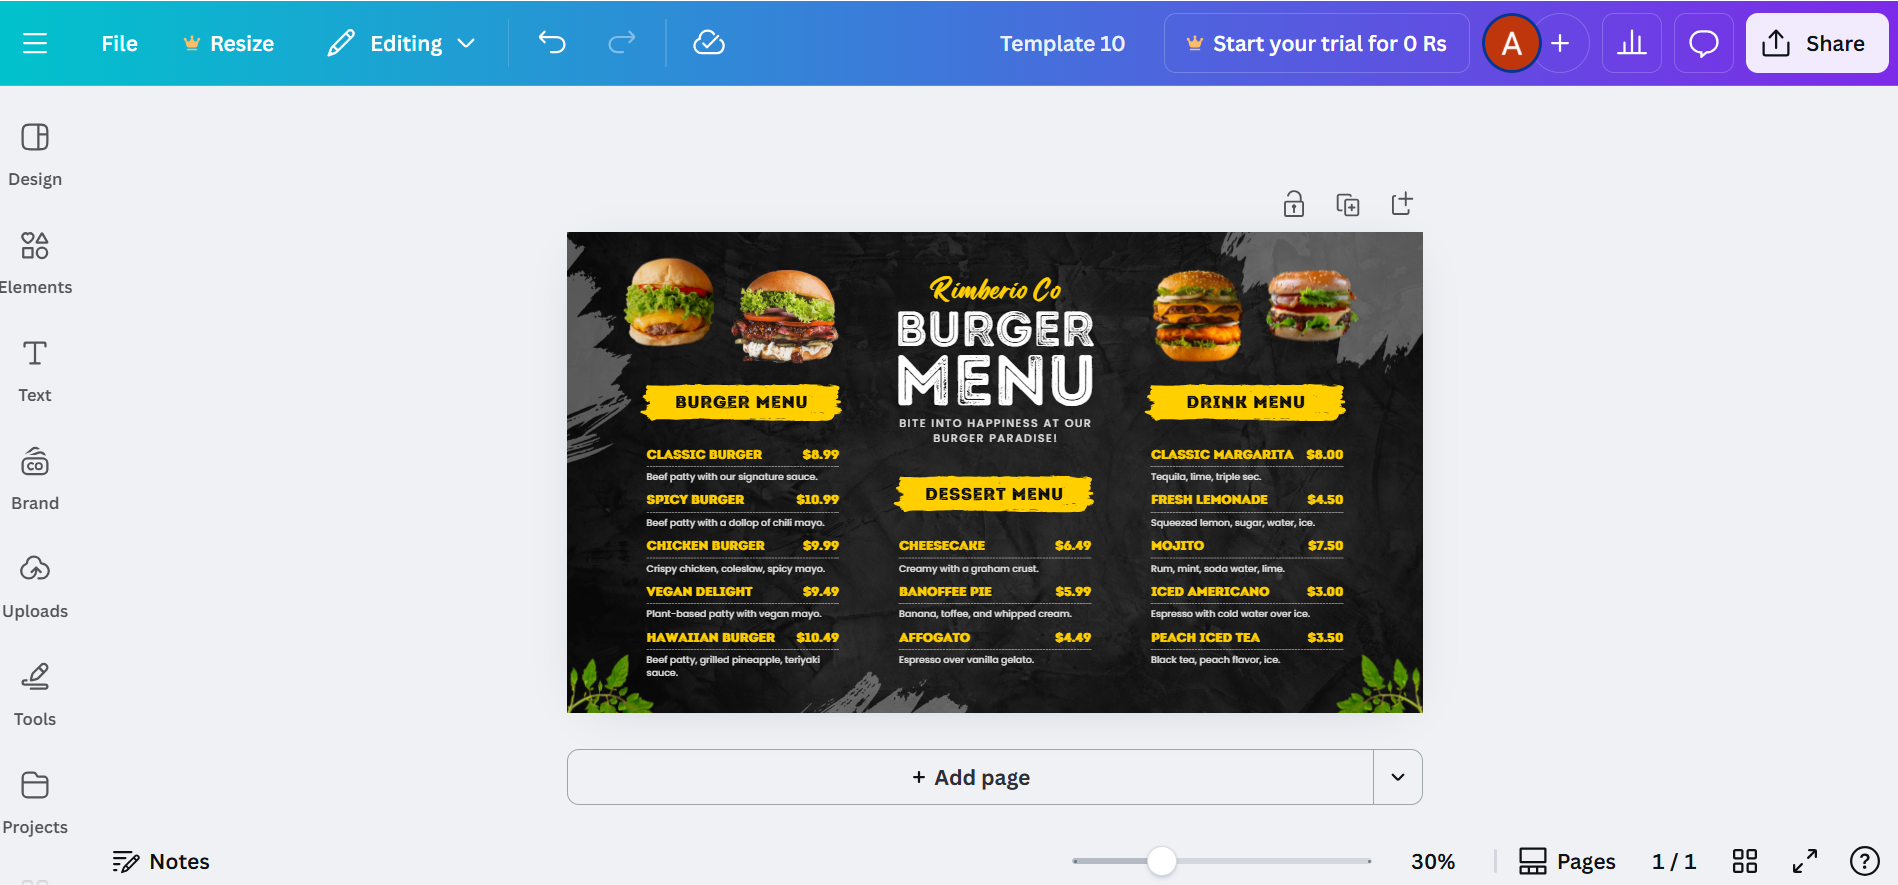
Inside Canva, you can select from the Canva menu, Canva menu template designs, and already-sized designs for both orientations.
For example, the Sony BRAVIA EZ20L Series, available in sizes ranging from 43″ to 98″, features 4K clarity, 440 nits of brightness, and portrait/landscape flexibility, which works best when your Canva design matches its exact orientation.
Pro Tip: Create two versions in Canva if you need both digital and print menus to keep layouts clean and consistent.
Using the right Canva menu templates ensures your digital menu looks crisp on any restaurant screen.

Step 2: Customize Your Canva Menu with Fonts, Colors, and Layouts
A menu should feel like your brand at first glance, and customizing your Canva menu with fonts, colors, and layouts makes that easier than ever.
Using Canva’s drag-and-drop tools, you can quickly transform any canvas menu into a polished design that matches your restaurant’s identity. Adjust fonts, colors, and layout within seconds, whether you’re creating a cute menu template for a cozy café or a bold, high-contrast layout for a modern steakhouse.
Two quick style examples:
- Cafe look: A cute menu template with soft pastels, rounded fonts, and simple icons.
- Steakhouse style: A custom menu design using deep tones, strong serif fonts, and clean dividers.
Quick customization tips:
- Typography: Choose clear, screen-friendly fonts; avoid overly decorative styles.
- Brand Colors: Match your brand palette while keeping a strong contrast for readability.
- Layout: Use spacing and grouping for smooth item navigation.
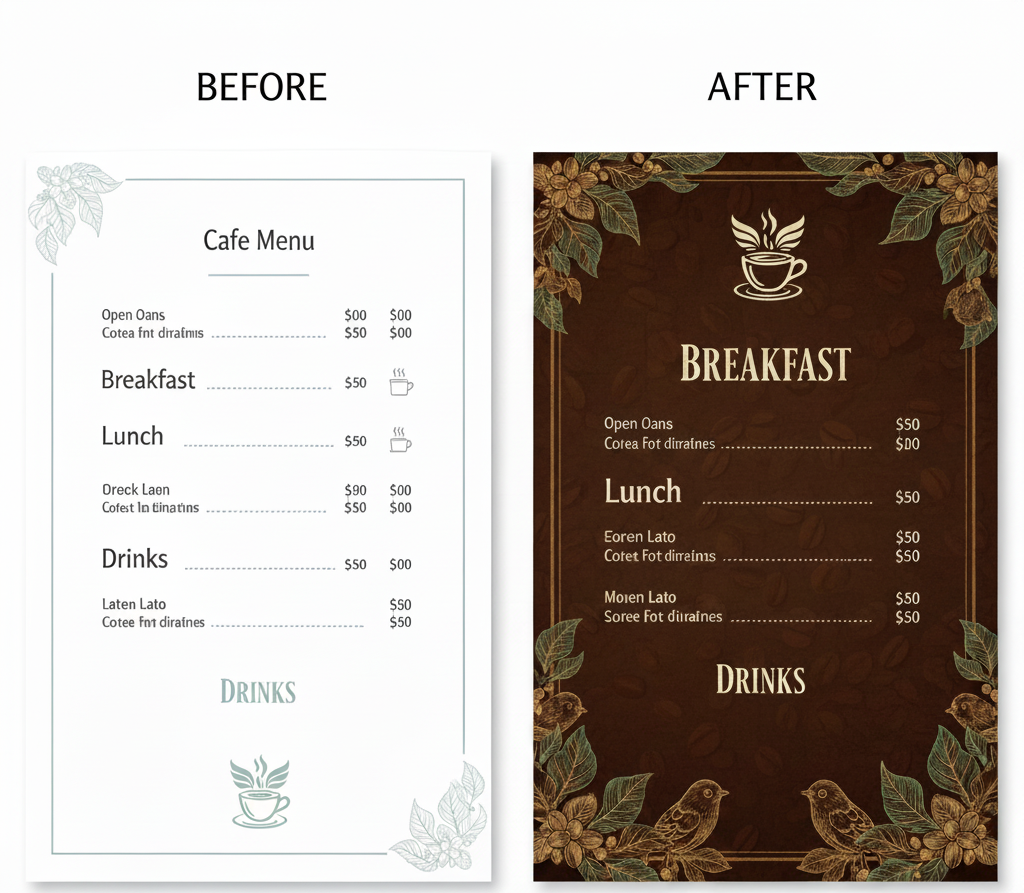
The more you personalize your custom menus, the more memorable your digital menu display becomes.
If you prefer a more advanced design workflow or want pixel-level control before finalizing layouts in Canva, learning how to design a digital menu board mockup in Photoshop can help you prototype complex layouts, test typography, and validate spacing before moving to live digital screens.
Step 3: Add High-Quality Food Images and Menu Items Strategically
Great food sells faster when it looks irresistible, which is why adding high-quality food images and strategically placing menu items inside your Canva menu template is essential.
Using high-quality photos instantly elevates your menu design with Canva. Whether you upload your own images or choose from Canva’s free photo library, aim for bright, sharp, appetizing visuals that look crisp on large digital displays.
Balance your layout so that no section feels overcrowded, and maintain clean spacing to keep your Canva menu easy to scan.
Highlight your best-sellers or signature dishes by pairing bold fonts with strong contrast, creating a simple visual hierarchy that guides the customer’s eye. This works exceptionally well for custom menu design, where certain items need more attention.
Quick Tips:
- Use high-resolution images to avoid pixelation.
- Group similar items together for smooth navigation.
- Keep descriptions short and readable on-screen.
Pro Tip: For online delivery menu design, prioritize clarity, large images, short titles, and quick-read pricing help customers make faster decisions.
Strategic visuals inside your Canva menu template make your digital menu more appealing and more effective.

Step 4: Include Essential Information and Branding Elements
A menu feels complete only when it carries the personality of your brand, so including essential information and branding elements inside your custom menus matters more than most people think.
Strong branding transforms a simple menu into a polished, trustworthy customer experience. Start by placing your logo in a visible but non-distracting spot, typically at the top corner or centered in the header.
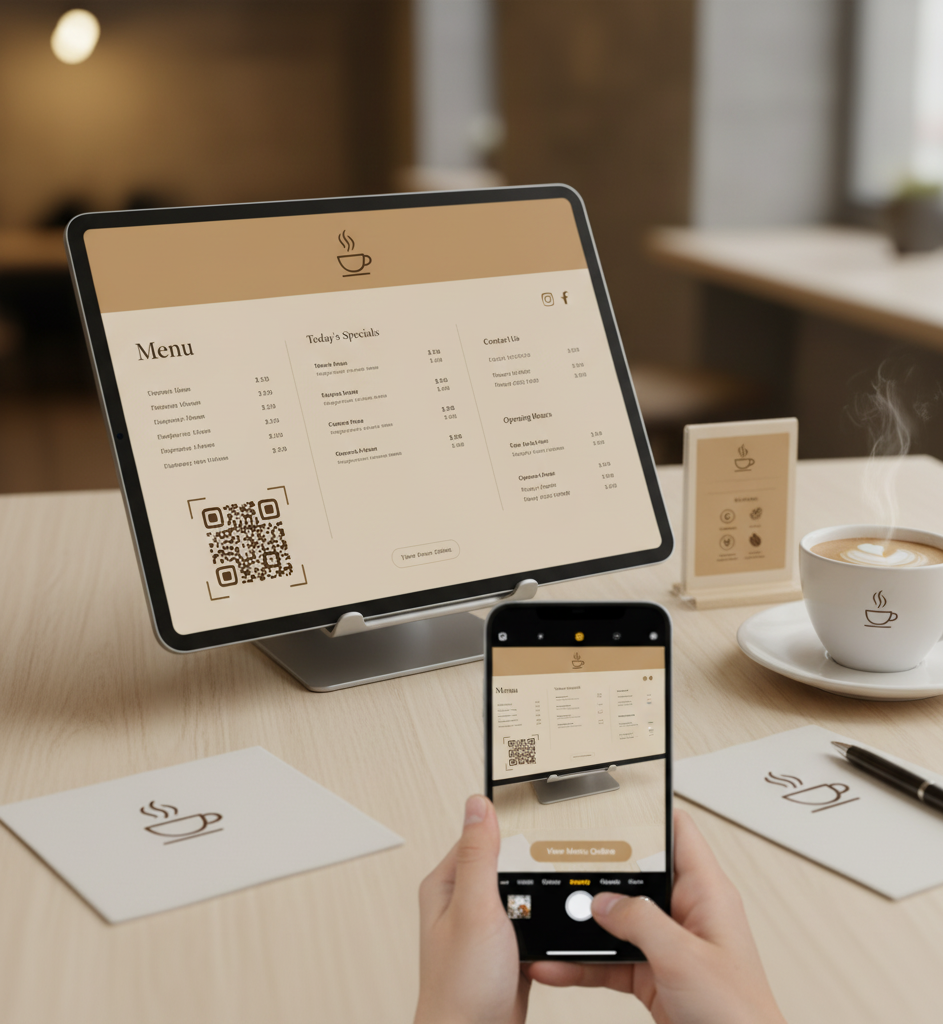
Add essential details, such as contact information, opening hours, and social media handles, to help customers connect beyond the screen. Many restaurants now include QR codes that link to online versions of their custom menus, making updates easier and enhancing accessibility.
To improve clarity, consider adding small allergen icons or dietary markers. These tiny visuals create instant understanding and reduce decision-making time, especially useful in busy environments.
If you’re also preparing layouts for restaurant menu printing, check your margin safety and add bleed lines to avoid trimming issues. The same applies when preparing files for menu printing; a little attention to spacing keeps everything looking sharp.
Bonus Tip: Keep your digital and printed materials visually aligned. Matching colors, fonts, and spacing between your screen menus and printed restaurant menus builds brand recognition and creates a seamless customer experience.
Consistency across custom menus, both digital and printed, helps your brand stay memorable long after the meal.
Step 5: Use Motion and Timing for Digital Menu Board Appeal
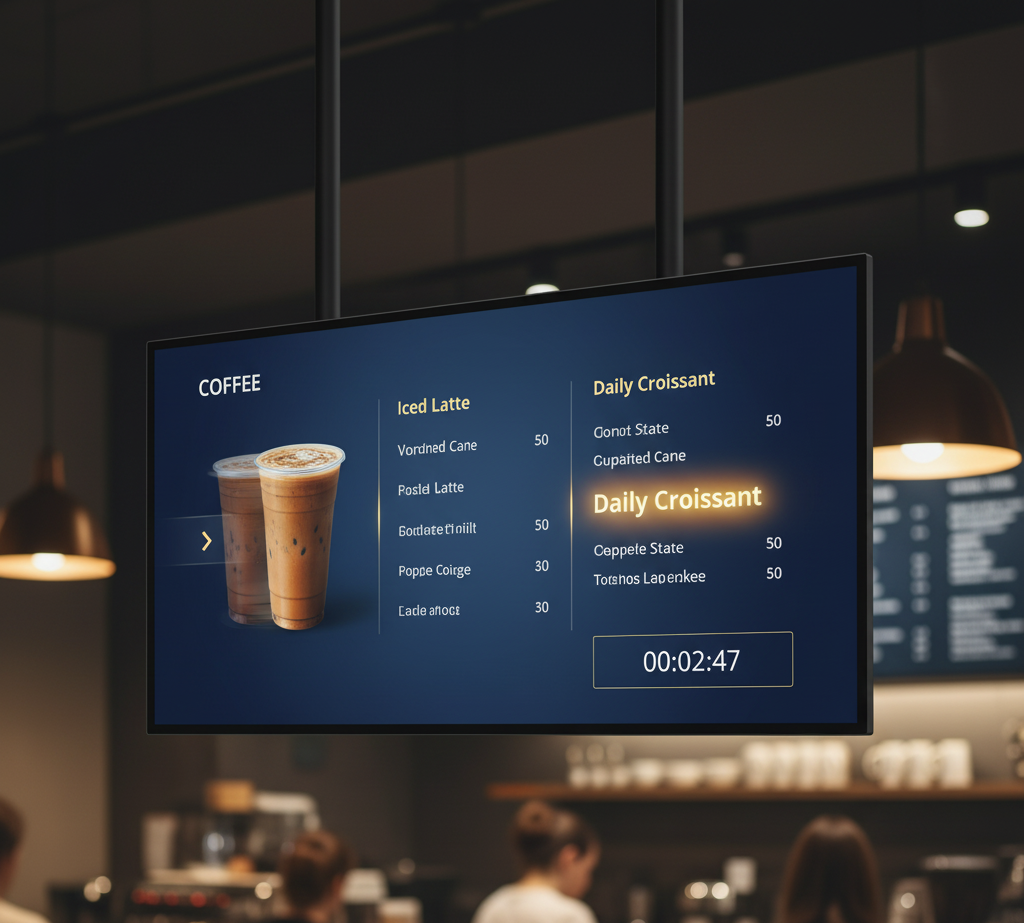
Movement catches the eye faster than any still image, so learning how to use motion and timing for digital menu board appeal can instantly elevate your digital display. When you apply this technique inside your Canva menu, even simple transitions feel polished and professional.
AIScreen Canva makes it incredibly simple to bring your Canva menu to life with smooth transitions, fade-ins, and light motion effects. These small animations help guide attention, highlight specials, and make your digital menu display feel more dynamic without overwhelming viewers.
When creating multi-slide menus, keep each screen visible for 10–15 seconds. This gives customers enough time to read items comfortably, especially during peak hours. Use motion sparingly; gentle movement on featured deals, new arrivals, or seasonal items works excellently, but avoid over-animating the entire layout.
Best Practices:
- Use soft transitions, such as fade, rise, or slide.
- Keep timing consistent across all slides.
- Animate only key elements (e.g., specials or limited-time offers).
Pro Tip: Motion becomes most effective when it directs your audience’s attention, not when it competes for it. Use animations to spotlight what you want customers to notice first.
Smart animation inside your Canva menu templates can make your digital menu board feel more modern, engaging, and memorable.
Step 6: Export and Download Your Canva Menu in the Right Format
Saving your design the right way makes all the difference, so knowing how to export and download your Canva menu in the right format is just as important as creating it.
Once your design is ready, it’s time to finalize it for digital screens or restaurant menu printing. Canva offers several export options, depending on whether you’re preparing a menu for print or a digital version for signage.
For digital sign displays, choose PNG for sharp still images or MP4 if your design includes animations or transitions. Ensure your export resolution matches your screen’s resolution, typically 1080p for most menu boards.
If you’re preparing files for menu printing or detailed restaurant menu printing, export as PDF Print with 300 DPI for maximum clarity. Canva Pro also allows you to export visuals with transparent backgrounds, which is helpful when layering elements within custom layouts.
Quick Steps:
- Click Share → Download
- Choose PNG or MP4 for digital
- Choose PDF Print (300 DPI) for printed menus
- Match your canvas menu resolution to your display
Note: Always preview your canvas menu in full screen before exporting, this helps you catch spacing issues, image blurriness, or text alignment problems before finalizing the file.
Exporting correctly ensures that your design looks as professional on-screen as it does when printed in menus.
Step 7: Upload Your Menu to a Digital Signage Platform
Getting your design onto the screen is where everything comes together, so knowing how to upload your menu to a digital signage platform is the final step that transforms your Canva design into a live digital menu display.
Once your design is finalized, you can send it directly from your Canva menu template to your digital sign system or prepare it for printing on menus. Most platforms offer two paths: a USB upload for simple screens or a cloud-based CMS upload, such as AIScreen, for multi-location menu management.
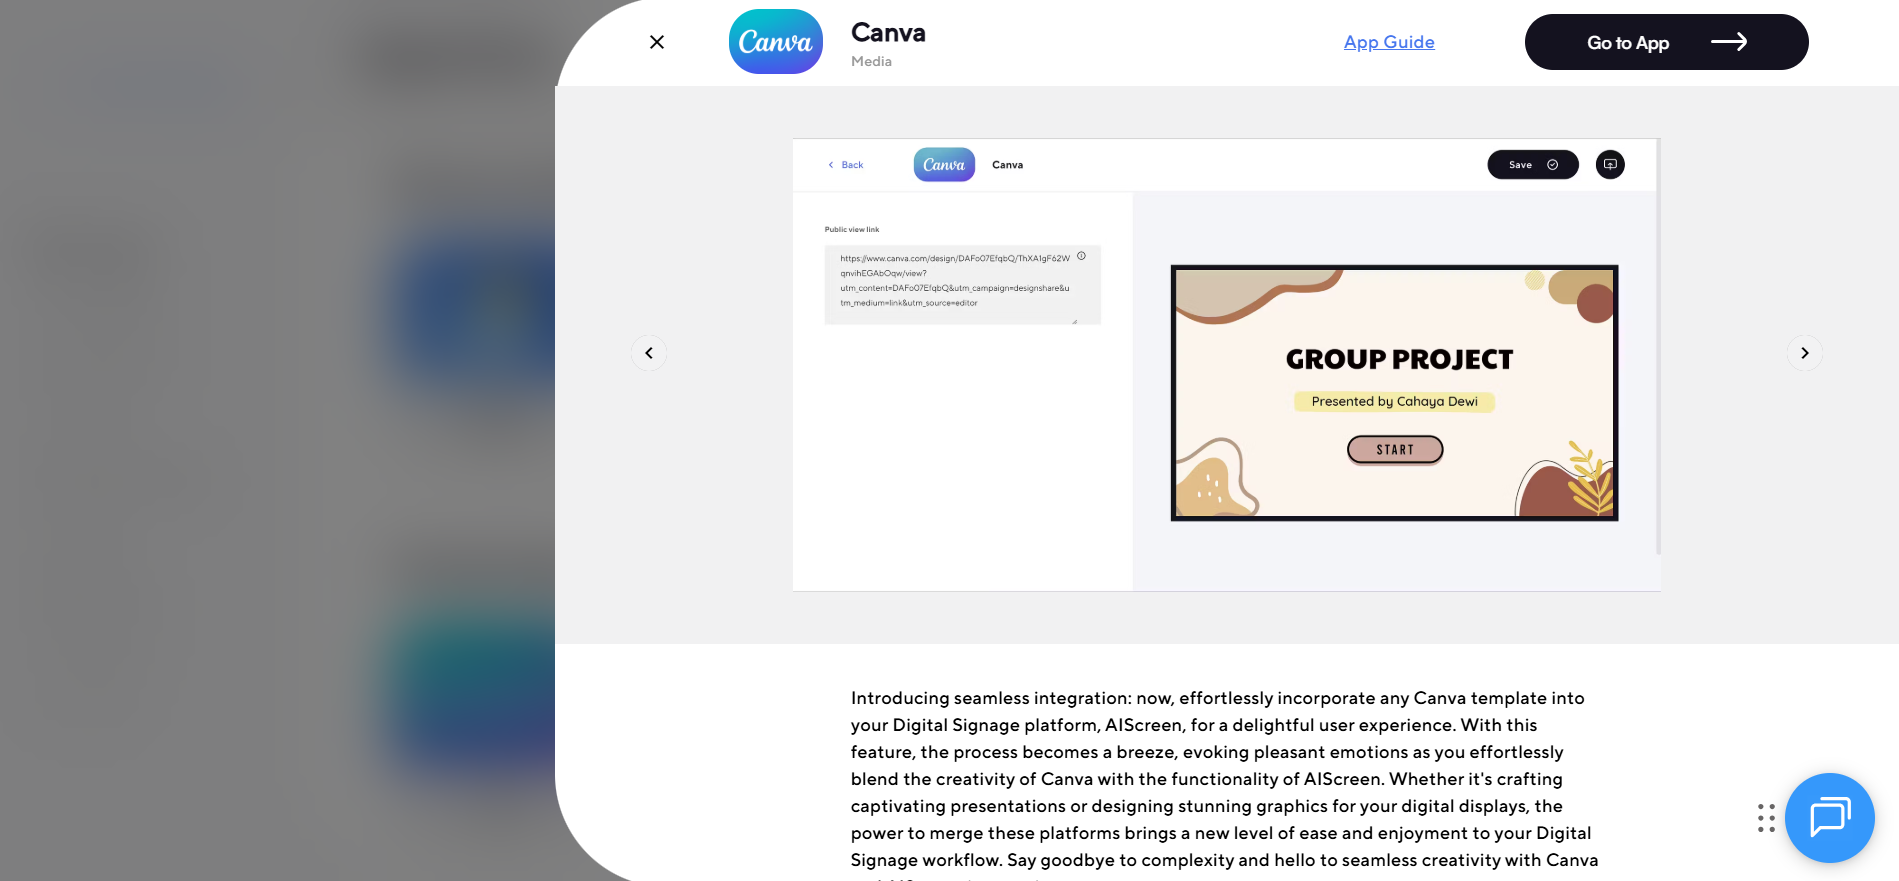
If you’re using AIScreen, upload your Canva menu as a PNG or MP4 through the dashboard, or paste a public Canva link for instant syncing. This is perfect for updating nutritional details, new items, special offers, or price changes, no re-uploads required.
For printed menus, export your file as a high-quality PDF before sending it to your menu printing provider.
Quick Upload Options:
- USB Upload: Works well for single-screen setups.
- CMS Upload (e.g., AIScreen): Ideal for restaurants managing multiple screens remotely.
- Public Canva Link: Updates auto-sync across all displays.
Pro Tip: Save your fonts, logos, and brand colors inside Canva’s Brand Kit so your AIScreen updates and printed menus always stay visually consistent.
With AIScreen and a clean upload workflow, your digital menu stays fresh, accurate, and easy to update anytime.


What Are the Benefits of Designing a Custom Canva Menu?
Designing menus shouldn’t feel overwhelming, so understanding the benefits of designing a custom Canva menu makes it easier for restaurant owners to take action with confidence.
Creating custom menus within Canva provides speed, consistency, and beautiful results across digital menus, paper menus, menu boards, and digital screens.
Whether you want to design a Canva digital menu board, update menu items in real-time, or prepare menu printing files for your restaurant, Canva menu templates make the entire design process easier, cheaper, and more accessible than hiring a graphic designer.
Below are the most significant advantages, each one proven by real-world use cases and supported by research.
1. Fast and Easy Customization
You can customize everything in minutes, making fast and easy customization effortless.
Canva’s drag-and-drop Canva menu maker lets beginners create a professional restaurant menu in just a few clicks, without advanced design skills or expensive tools. According to Canva’s 2024 Product Usage Report, 78% of users create a finished design in under 10 minutes (Canva Insights 2024).
You can upload images of delicious dishes, change fonts, adjust layout, switch from landscape orientation to portrait orientation, and modify display settings instantly. Whether you’re creating a digital menu board, a print-ready menu to be printed, or updating daily specials across multiple screens, the interface remains simple and user-friendly.
And because Canva stores everything in the cloud, you can return to your custom menu design, hit the Share button in the top right corner, and update changes in seconds, helping restaurant owners who operate in many locations keep every menu consistent.
2. Consistent Branding Across All Platforms
Your brand remains recognizable everywhere, which is why consistent branding across all platforms is crucial.
A single custom menu design can be used on digital signage, websites, multiple screens, printed menus, and delivery platforms. Research from Lucidpress shows that consistent branding can increase revenue by 23% (Lucidpress Brand Consistency Report 2023).
With Canva, you can maintain consistency in your fonts, color palette, and logo using the Brand Kit, ensuring that both your digital menu boards and restaurant menu printing files appear identical.
From showcasing dinner or lunch options to uploading stunning visuals of dishes, your audience always experiences the same unique restaurant identity.
Whether the output is for digital screens, menu boards, paper menus, or digital signage, Canva helps you save, update, and export everything without needing to start from scratch.
3. Free Access to Professional Templates
Digital signage templates make life easier, which is why free access to professional templates is a game-changer.
Canva offers more than 1,000 professionally designed templates (Canva Template Library 2024), providing instant access to templates for every cuisine and style.
Simply use the search bar and type “menu template” or “Canva menu templates” to find layouts for cafés, pizzerias, BBQ spots, bakeries, or food trucks.
You can customize any blank canvas or ready-made design by replacing placeholder images with high-quality images of your food menu items. These digital signage templates provide structure, save time, and eliminate guesswork, whether your goal is to create a menu to print through Canva Print or a digital signage layout for a media player.
Because Canva is flexible, you can quickly adjust layout, spacing, and images to match screen size, orientation, and device. It’s the easiest way to create menus without hiring designers or learning complex tools.
4. Perfect for Online and Offline Display
You only design once, then use it anywhere, which is why it’s perfect for online and offline display.
A single design works beautifully for online delivery menu design, digital signage, websites, restaurant tablets, and print menus. Statista found that 71% of customers prefer restaurants with clear digital menus online (Statista Foodservice Digital Engagement Report 2024).
Canva lets you export in multiple formats, PNG, JPEG, PDF Print, or MP4, so your menu can be displayed on computers, kiosks, phones, digital menu boards, and menu printing services.
Choose your template, upload your images, adjust the layout, and click the download button. Canva even prepares files automatically for restaurant menu printing, optimizing margins and bleed lines.
Whether you’re designing for a media player, website, or printed menu cards for tables, your design stays consistent and perfectly formatted.
5. Saves Time and Design Costs
Updating menus shouldn’t be expensive, which is why Canva helps you save time and design costs.
With Canva, restaurants can update their menu layouts seasonally or add new dishes without reprinting menus or hiring a designer. According to Upwork, the average restaurant spends between $300 and $700 per menu redesign when hiring freelance graphic designers (Upwork Design Pricing Guide, 2024). Canva eliminates that cost entirely.
You can simply open your saved Canva design, adjust your menu items, update prices, swap images, and click Save. No need to start from scratch or pay for reprinting menus until absolutely necessary.
For digital menus, updates appear in real time across multiple locations, making your workflow efficient and cost-effective.
Restaurant owners love this because it reduces printing costs, improves brand consistency, and keeps digital menus fresh with promotions, seasonal dishes, or special offers.
Want to Create a Professional Menu Without a Designer? Try Canvas Menu
Creating menus doesn’t have to be stressful or expensive. If you’re ready for something easier, it’s time to create a professional menu without a designer. Try the Canva menu as your all-in-one solution. With Canva’s free, cloud-based tools, you can design, customize, and update your menu whenever you need, no graphic design experience, no complicated software, no fuss.
AIScreen enhances the process further by providing restaurant owners with a powerful digital signage platform to instantly publish and update their Canva menus across multiple screens. Whether you’re building digital menu boards or preparing files for print, AIScreen helps you maintain consistency, speed, and visual appeal. Start your free Canva menu today, and your customers will notice the difference. Contact us.
FAQs
What is a Canva digital menu board?
A Canva digital menu board is a screen-ready menu design created inside Canva using customizable templates, high-quality images, and drag-and-drop layout tools. It’s designed for digital signage, allowing restaurants to display menus on TV screens, tablets, or multiple locations without needing advanced design skills.
Is Canva free for creating digital menus?
Canva is free for creating digital menus, allowing you to design restaurant menus at no cost using its free templates, fonts, and images. While Canva Pro adds features like Brand Kits, transparent backgrounds, and premium assets, the free version is fully capable of producing clean, professional-looking digital menus.
What’s the best size for a digital menu board?
The best size for a digital menu board typically follows standard screen resolutions, such as 1920×1080 (landscape) or 1080×1920 (portrait). These dimensions ensure sharp text, high-quality images, and proper scaling across digital screens, TVs, and menu boards used in restaurants.
How can I add my logo and branding to a Canva menu?
Add my logo and branding to a Canva menu by uploading your logo, choosing your brand colors, and applying your preferred fonts inside the Canva editor. With Brand Kit (Pro), you can store all branding assets to ensure every digital menu, print file, or signage design stays consistent across platforms.
Can I animate my digital menu in Canva?
Animate my digital menu in Canva by selecting elements and applying transitions, motion effects, or page-level animations. You can export the final design as an MP4 video for digital signage players or digital menu boards, making your visuals more engaging without overwhelming customers.

