
Best Raspberry Pi Digital Signage Solutions

Raspberry Pi has emerged as a cost-effective and flexible solution for digital signage, offering businesses a scalable way to manage and display content. As a low-cost single-board computer, Raspberry Pi provides a range of possibilities for creating custom digital signage solutions. Whether you’re looking to deploy digital signage software for retail, corporate environments, or events, Raspberry Pi can meet a variety of needs, all while maintaining affordability. According to Raspberry Pi Foundation and academic studies, Raspberry Pi devices were originally designed as low-cost computers priced around $25–$35, enabling widespread adoption across education, IoT, and commercial applications .
In this article, we explore the top 5 Raspberry Pi digital signage solutions, including platforms like AIScreen OS, which is designed for scalable and cloud-based content management. With features such as 1,500+ customizable templates, content scheduling, and seamless integration, these solutions provide businesses with flexible, cost-effective options to manage digital displays efficiently across retail, corporate, and multi-location environments.
What is Raspberry Pi Digital Signage?
Raspberry Pi digital signage is a cost-effective digital display system that uses a Raspberry Pi single-board computer to deliver dynamic content such as images, videos, dashboards, and real-time data across screens in retail stores, restaurants, corporate offices, and event venues. According to industry adoption trends, Raspberry Pi devices are widely used due to their low hardware cost (typically under $100), compact design, and energy efficiency, making them ideal for scalable digital signage deployments.
Powered by digital signage software like Screenly OSE, PiSignage, Yodeck, and AIScreen, these systems enable cloud-based content management, remote updates, scheduling, and multimedia playback. With support for HD and 4K displays, multi-screen networks, and centralized control dashboards, Raspberry Pi digital signage provides a flexible and scalable alternative to traditional signage systems, helping businesses manage content efficiently across single or multi-location environments.
What are the Top 5 Raspberry Pi Digital Signage?
The top Raspberry Pi digital signage solutions provide businesses with cost-effective, scalable ways to display dynamic content across multiple screens. Using Raspberry Pi boards, platforms like PiSignage, Screenly OSE, and Yodeck player enable cloud-based digital signage software, remote updates, and HD/4K display support. These solutions are perfect for retail, restaurants, and corporate environments, offering a balance of affordability and high performance while ensuring easy deployment with pre-configured kits and microSD storage.
Below, we explore the top five Raspberry Pi digital sign solutions, starting with AIScreen OS, a market-ready operating system built specifically for digital signage platform applications.
1. Raspberry Pi 5 AIScreen OS
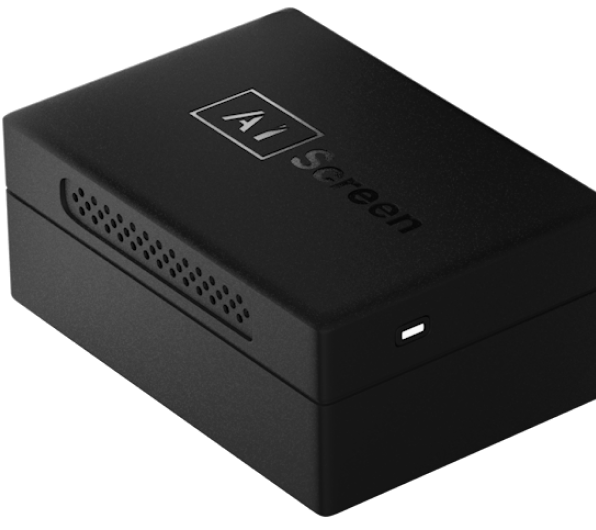
Raspberry Pi 5 AIScreen OS digital signage platform setups offer a powerful and cost-effective way to manage digital displays. This solution leverages the Raspberry Pi 5 AIScreen OS, providing businesses with the flexibility to display digital signage content across multiple screens easily.
Use this block after this section.
2. Raspberry Pi 3 Model B+ with Digital Signage Software
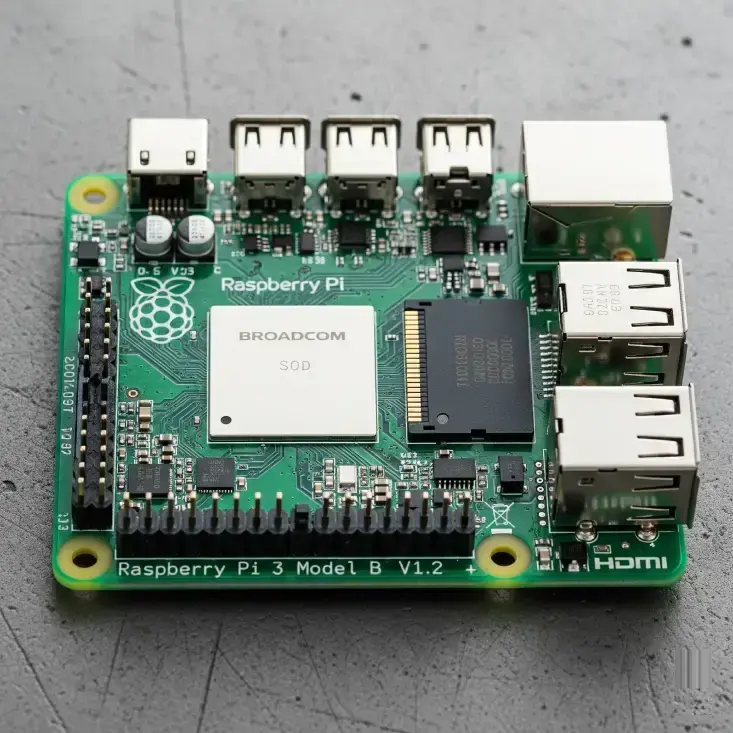
The Raspberry Pi 3 Model B, combined with digital signage software, is an ideal choice for small to medium-sized displays. The Pi 3 Model B+ delivers stable performance for basic signage applications, making it well-suited for restaurants, retail shops, schools, and offices that need cost-effective digital displays.
3. Raspberry Pi Zero W with Simple Signage Setup
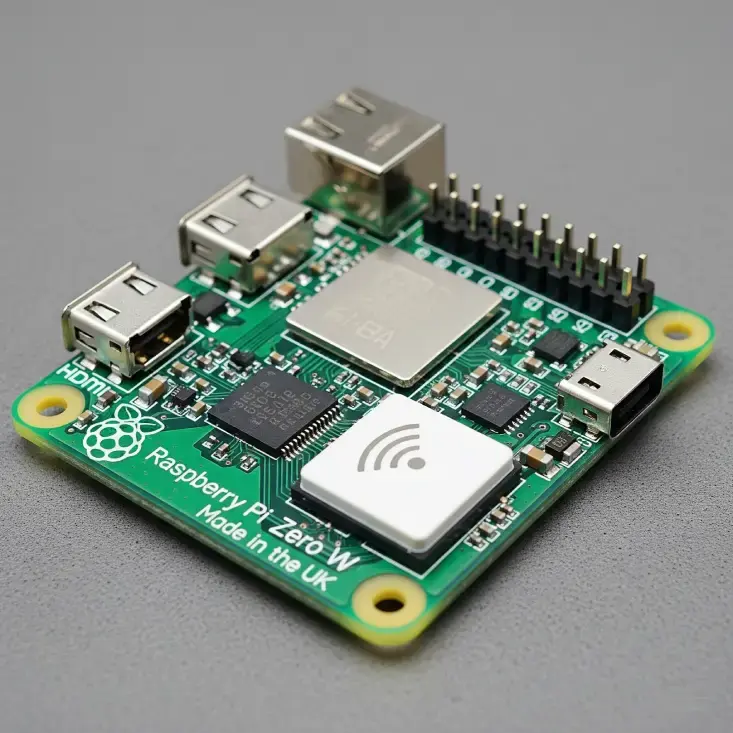
Raspberry Pi Zero W with simple signage setup is a budget-friendly option designed for small-scale signage solutions. Its compact size and extremely low power consumption make it a wise choice for businesses that need a lightweight setup for menus, notices, or kiosk-based content.


4. Raspberry Pi 5 with ChromeOS for Digital Signage
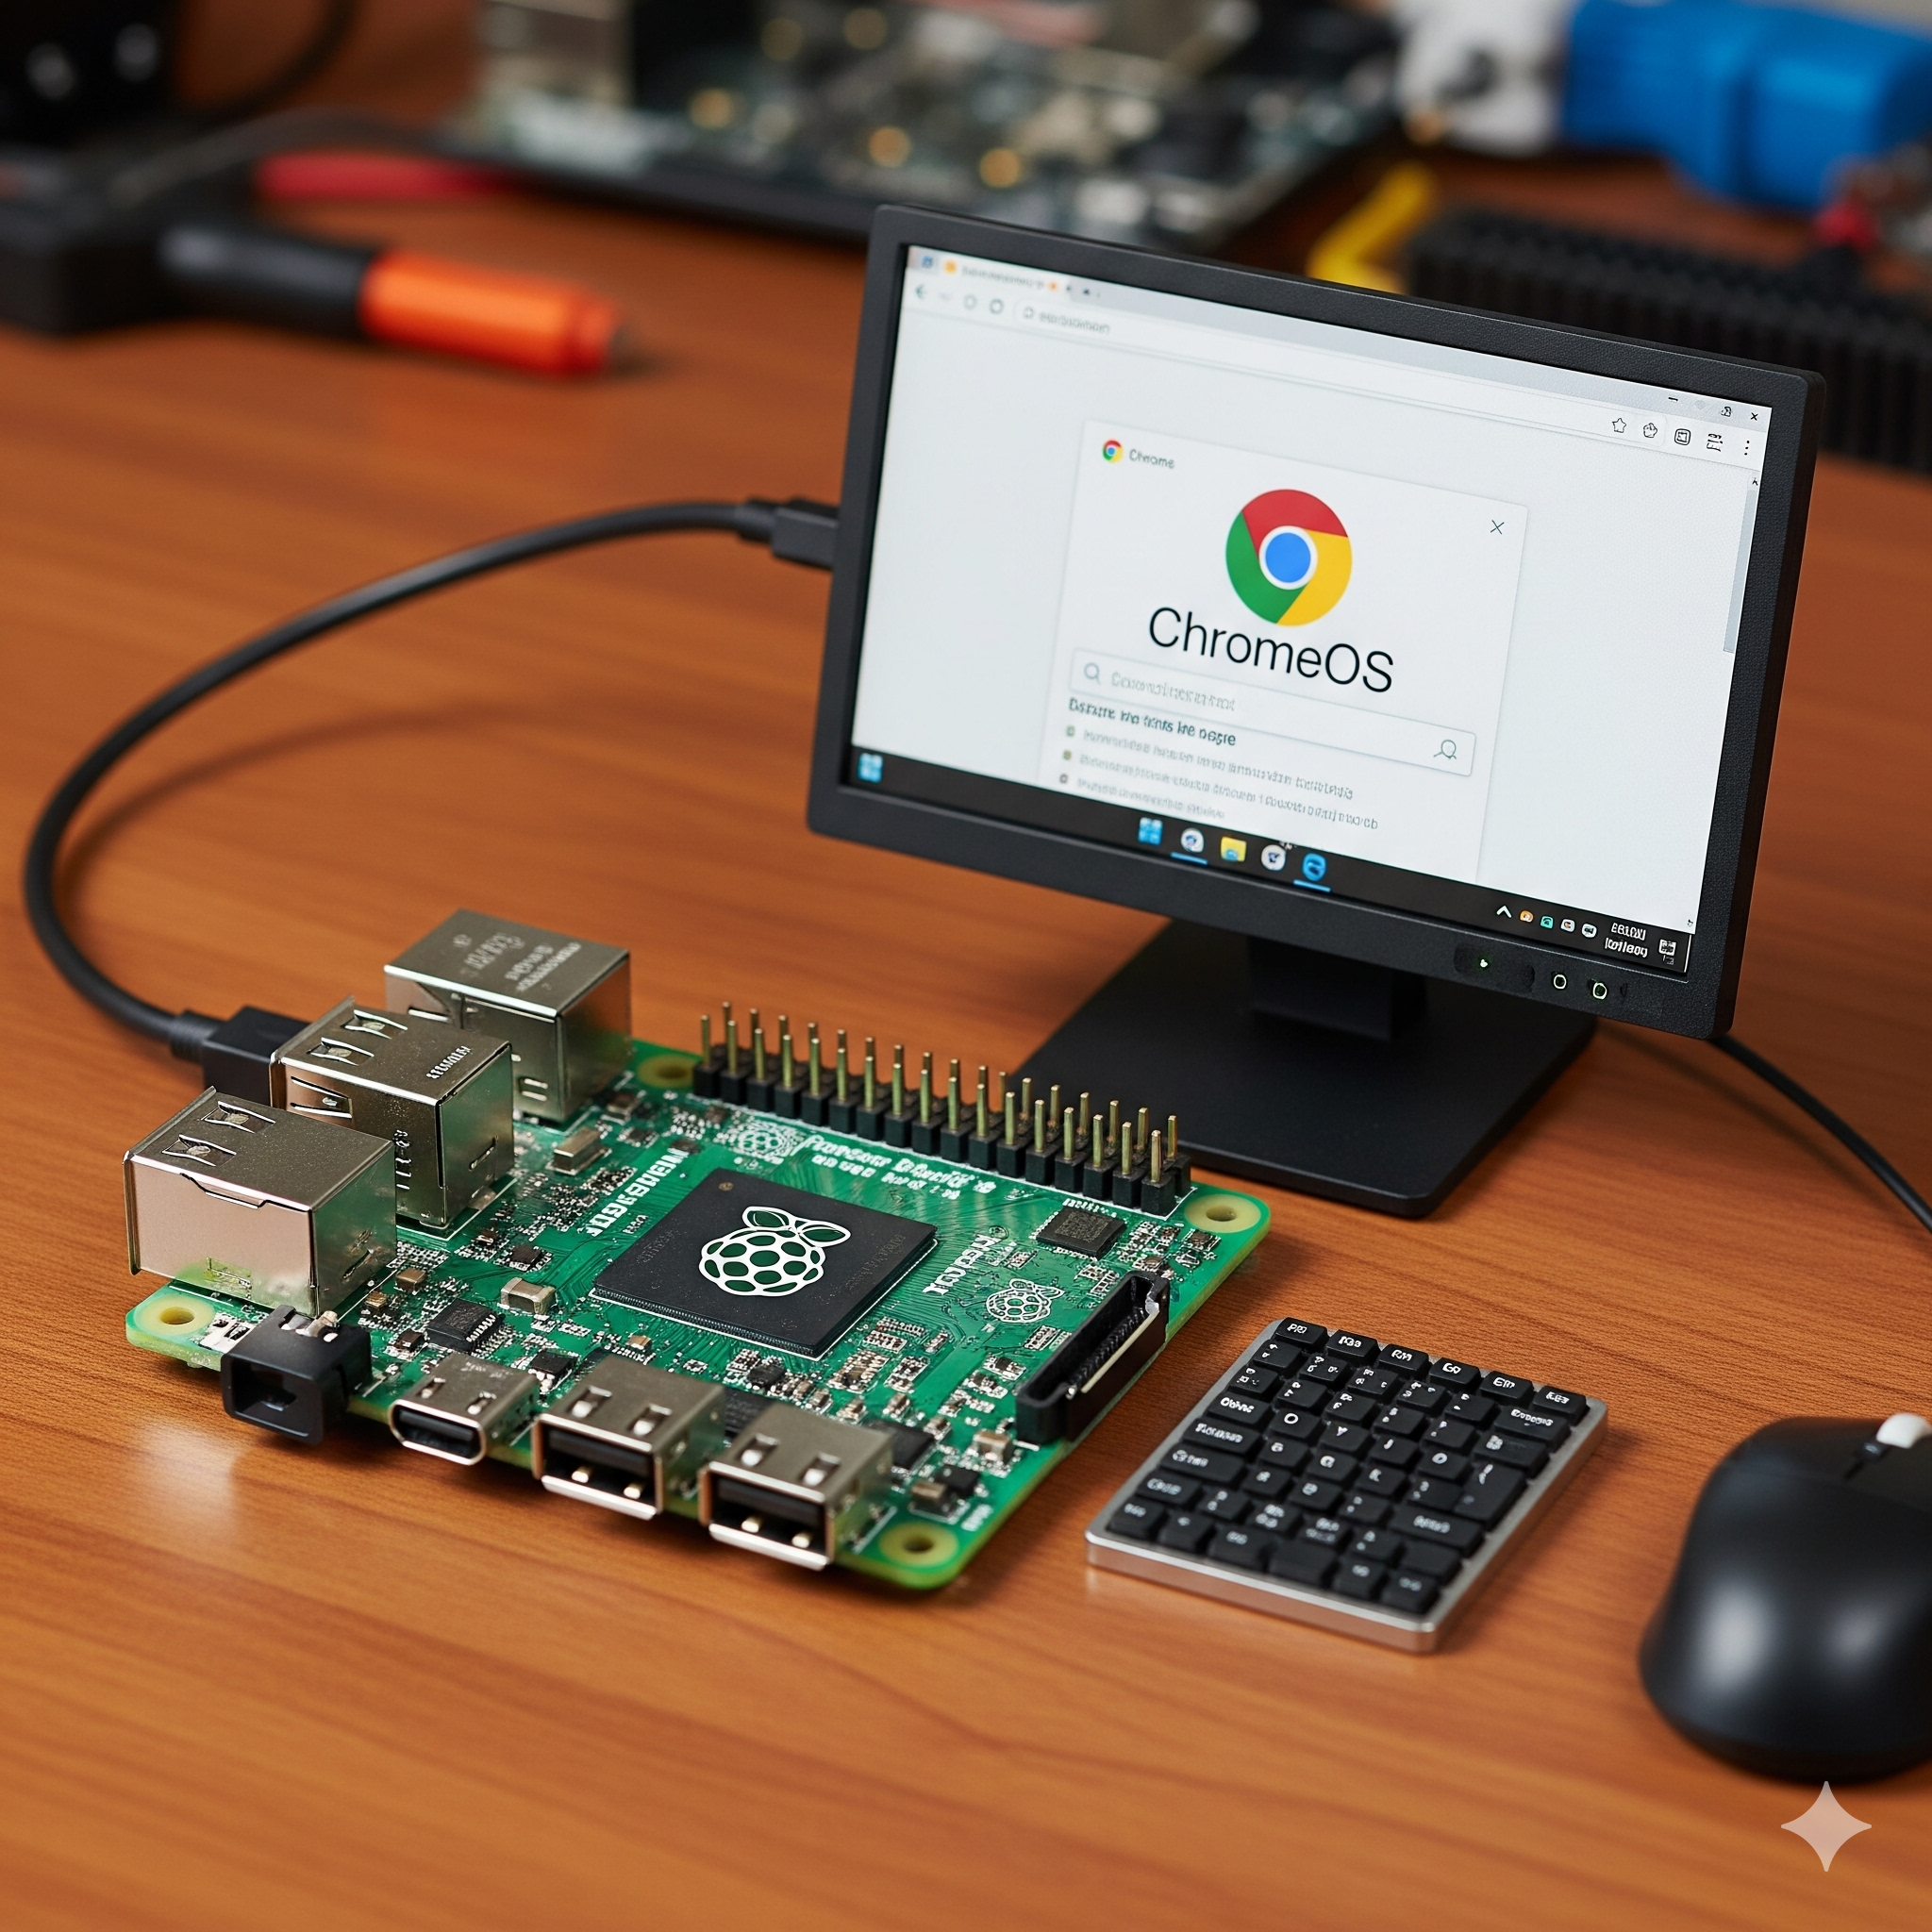
The Raspberry Pi 5 with ChromeOS for digital signage offers a compelling blend of performance and reliability, making it an ideal choice for larger signage setups. Leveraging the robust Raspberry Pi ChromeOS digital signage approach, it offers businesses a more stable and familiar user interface, suitable for high-visibility, high-traffic display environments.
5. Raspberry Pi 5 with Professional Digital Signage Software
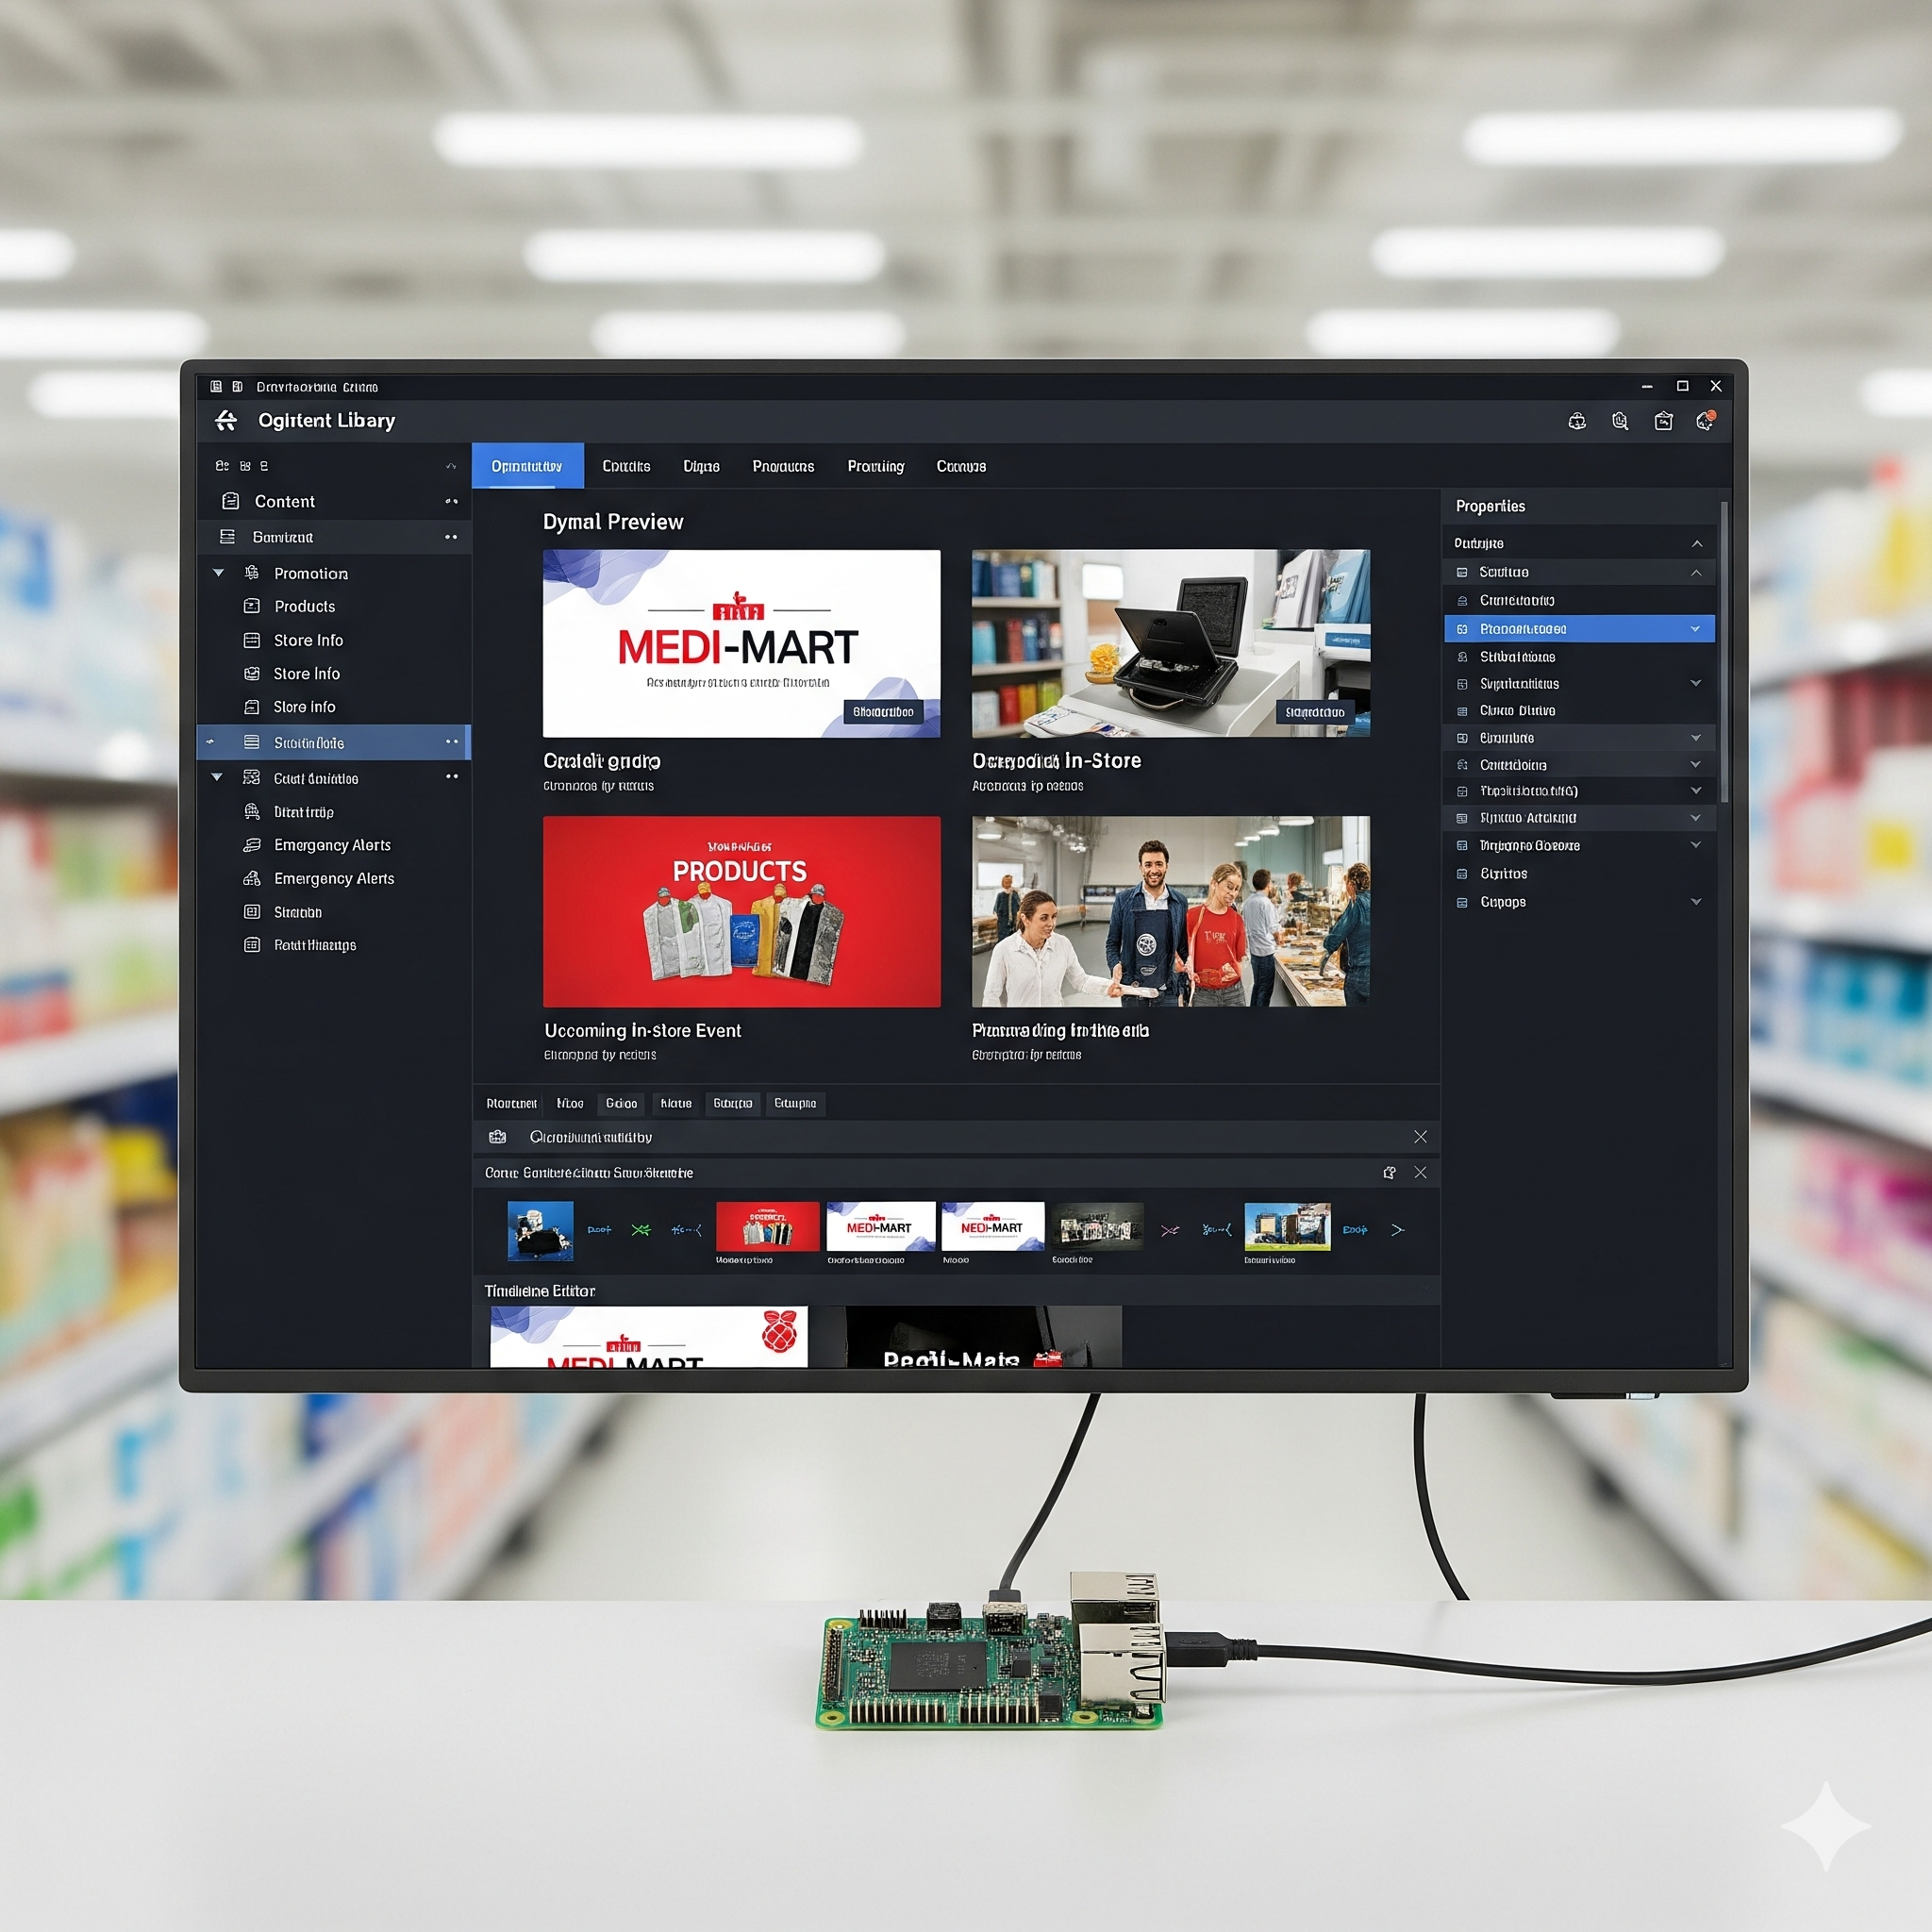
Raspberry Pi 5 with professional digital signage software, tailored for high-traffic areas that require advanced features, delivers enterprise-grade capability using a cost-effective single-board solution.
Why Choose Raspberry Pi for Your Digital Signage?
Choose Raspberry Pi for your digital signage due to its unique combination of affordability, scalability, and flexibility, qualities that make it stand out among modern display technologies. From small cafés and retail shops to large enterprises managing video walls software, Raspberry Pi digital signage benefits businesses by delivering professional results at a fraction of the cost. Its lightweight design, wide software support, and open-source ecosystem give organizations the freedom to build reliable and innovative info beamer digital signage solutions without the need for expensive proprietary hardware.
Key Raspberry Pi signage advantages:
- Cost-Effective Solution for Small to Medium-Sized Businesses: Raspberry Pi’s affordable hardware (ranging from $10 to $75, depending on the model) and ultra-low power consumption make it an ideal choice for SMBs.
- Versatility and Scalability for Different Signage Needs: From a single digital menu board to a large-scale video wall, Raspberry Pi signage adapts seamlessly.
- Easy Integration with Existing Display Systems: Raspberry Pi integrates easily with existing screens and media players, making it a great DIY solution.
- Energy Efficiency and Low Maintenance: With a power consumption of as little as 1–5 watts, Raspberry Pi devices are highly energy-efficient compared to traditional signage hardware acceleration.
- Open-Source Flexibility for Customization: The open-source ecosystem of Raspberry Pi enables businesses to customize software, templates designer, and workflows to meet their unique branding needs.
Digital signage boosts sales by up to 33% for 80% of other brands using it, according to Market.us.
How to Set Up Raspberry Pi 5 Digital Signage?
Setting up Raspberry Pi digital signage requires a few essential components, including a Raspberry Pi 5, HDMI-compatible display, microSD card (16GB–64GB recommended), power supply, and internet connectivity via Wi-Fi or Ethernet. For software, businesses can choose platforms like PiSignage, Screenly OSE, Yodeck, or AIScreen OS, which provide cloud-based content management, remote updates, scheduling, and multimedia playback.
Step 1: Download the Required Digital Signage Software
To start your Raspberry Pi 5 digital signage setup, download the required software and firmware files for seamless deployment with AIScreen.
1.1 Download Raspberry Pi Imager
- Visit the official Raspberry Pi website
- Download and install Raspberry Pi Imager on your computer
1.2 Download the AIScreen Firmware File
- Download the latest AIScreen firmware image (player-{version}.img.gz)
- Save the firmware file to your computer for flashing
Step 2: Flash the Firmware to the microSD Card
Flashing installs the digital signage operating system onto your microSD card, preparing the Raspberry Pi for content playback and remote management.
Requirements
- Computer or laptop
- microSD card
- USB-to-microSD adapter or card reader
2.1 Open Raspberry Pi Imager
- Launch Raspberry Pi Imager on your computer
2.2 Insert the microSD Card
- Connect the microSD card using a compatible card reader
2.3 Select the Raspberry Pi Device
- Choose “Raspberry Pi 5” as the target device
2.4 Choose the Operating System
- Click “Choose OS”
- Select “Use Custom”
- Locate and select the downloaded AIScreen firmware file
2.5 Select Storage
- Click “Choose Storage”
- Select the correct microSD card from the list
Important:
Selecting the wrong storage device may erase existing data.
2.6 Start Flashing the Firmware
- Click “Write” to begin flashing
- Confirm by selecting “Yes”
Warning:
This process permanently deletes all data stored on the selected microSD card.
Step 3: Complete the Raspberry Pi Digital Signage Setup
After the firmware installation is complete, connect and power on the Raspberry Pi device.
3.1 Eject the microSD Card
- Safely remove the microSD card from your computer
3.2 Insert the microSD Card into Raspberry Pi
- Insert the flashed microSD card into the Raspberry Pi 5
3.3 Power On the Device
- Connect the power adapter to boot the device
Step 4: Configure the Internet Connection
An active internet connection is required for cloud-based content updates, remote monitoring, and real-time synchronization with AIScreen.
4.1 Connect Using Ethernet
- Plug an Ethernet cable into the Raspberry Pi
- Recommended for stable and reliable connectivity
4.2 Configure Wi-Fi Connection
- Visit AIScreen Configurator
- Enter the required Wi-Fi credentials and configuration details
- Click “Generate Configuration”
- Download the “player_config.json” file
- Copy the file to the root directory of the flash drive
- Connect the flash drive to the Raspberry Pi
- Remove the flash drive after configuration completes
Complete Raspberry Pi Digital Signage Setup with AIScreen
By following these steps, you can successfully configure a Raspberry Pi 5 digital signage player for professional content management and remote screen control. Combining Raspberry Pi 5 with AIScreen enables businesses to run full-screen digital signage local advertising network, kiosk mode applications, real-time updates, and cloud-based display management across connected LED display and LCD screen networks.
How Does Best Raspberry Pi Digital Signage Support Directional Signage for Events?
The best Raspberry Pi digital signage solutions can be effectively used for directional signage for events, helping organizers manage crowd flow, provide real-time navigation, and display schedules across venues. By leveraging cloud-based content management, remote updates, and scalable display networks, businesses can turn Raspberry Pi-powered screens into dynamic wayfinding systems. Learn how to create effective digital directional signage for events to enhance attendee experience, reduce confusion, and ensure smooth event operations.
Need the Best Raspberry Pi Digital Signage Solution? Choose AIScreen!
Need the best Raspberry Pi digital signage solution? Choose AIScreen, the leading provider trusted by businesses worldwide. AIScreen is built to make Raspberry Pi signage simple, powerful, and reliable, offering easy-to-use features for web content management, real-time updates, and remote control.
Whether managing one screen or scaling to hundreds, AIScreen helps businesses unlock the full potential of Raspberry Pi with seamless scheduling, intuitive templates, and enterprise-ready performance. For anyone looking to turn a Raspberry Pi into a professional-grade player, AIScreen is the ideal software solution.
FAQs
What is the advantage of using Raspberry Pi for digital signage?
The advantage of using Raspberry Pi for digital signage is its cost-effectiveness, flexibility, and scalability. Businesses can deploy affordable hardware that consumes very little power while still supporting modern signage features such as scheduling, real-time updates, and cloud management.
How does Raspberry Pi compare to other digital signage solutions?
Raspberry Pi compares to other digital signage solutions because it provides professional results at a fraction of the cost. While high-end players may offer more processing power, Raspberry Pi balances affordability, energy efficiency, and customization, making it ideal for small to medium-sized businesses.
Can I run multiple displays with Raspberry Pi digital signage?
Yes, you can run multiple displays with Raspberry Pi digital signage using the Raspberry Pi 5 model, which supports dual micro-HDMI outputs. For larger multi-screen or video wall setups, professional signage software can be paired with Raspberry Pi players to synchronize content seamlessly.
Raspberry Pi suitable for large-scale digital signage?
Raspberry Pi is suitable for large-scale digital signage when paired with the right software and network configuration. Raspberry Pi 5 devices can handle 4K playback and multi-panel setups, making them reliable for use in malls, airports, and enterprise deployments while remaining budget-friendly.
How do I set up Raspberry Pi for digital signage?
To set up Raspberry Pi for digital signage, install a digital signage operating system or software on a micro SD card, connect the Raspberry Pi to a display via HDMI, and configure your network settings. Once connected, you can manage playlists, upload media, and schedule content remotely.
