
How Can You Add Digital Signage Video to Your Content?
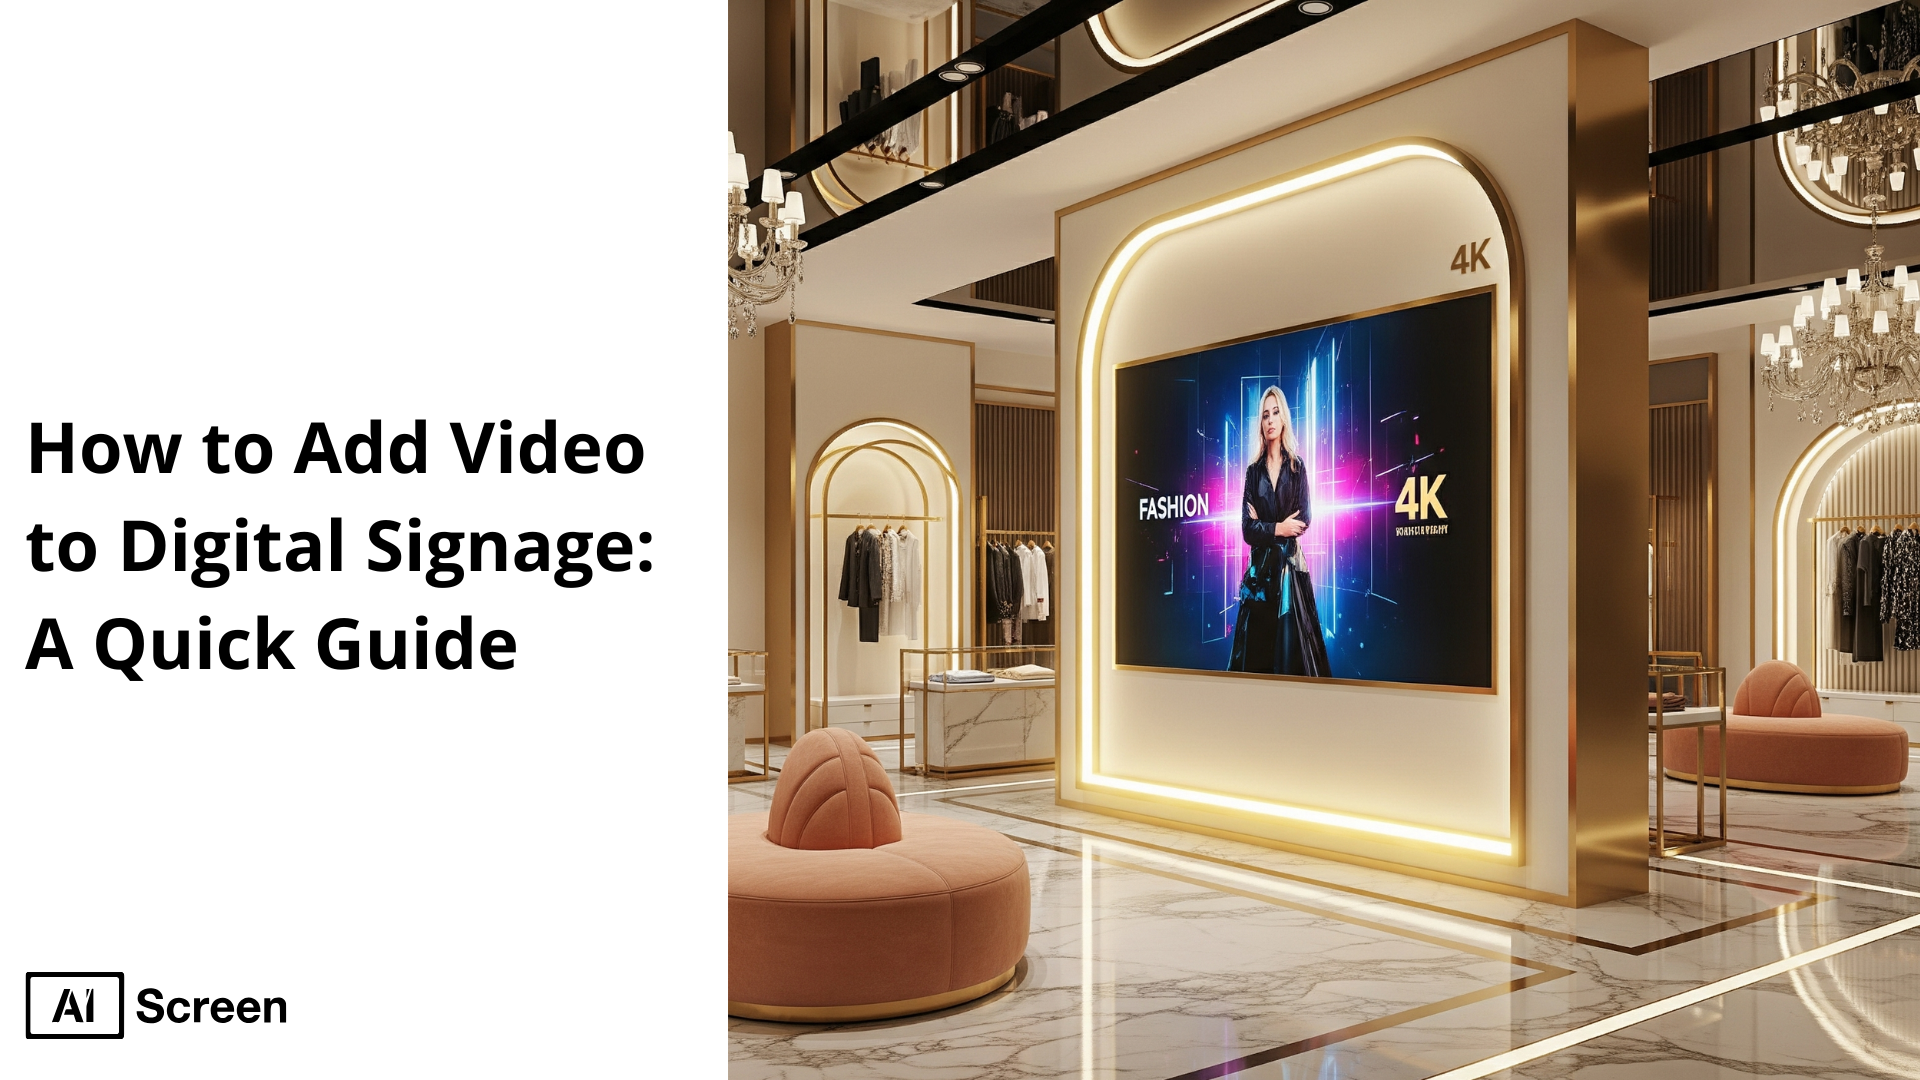
To add video to digital signage, you’ll typically upload your video file, often in MP4 format, to your digital signage platform’s content management system (CMS), and then assign it to a playlist or specific screen. The CMS will handle playback across your digital screens, whether you’re using uploaded files stored locally or streaming from the internet. According to Digital Signage Today, in-store digital video content increases customer engagement by 33% compared to static images, highlighting how impactful video content can be on digital signs.
In this blog, we’ll walk you through a quick guide on how to easily integrate video into digital signage, emphasizing how, with tools like AIScreen, you can upload media, create, and play video across multiple screens with smooth playback and powerful media features.
What Is Digital Signage Video Integration?
Digital signage video integration is the process of incorporating videos into your digital signage software so you can display dynamic content that stands out. It lets you mix in rich video ads, animations, or promotional clips to boost engagement.
Whether you’re running a video file on a digital display or using animated templates with brand logo overlays, this integration transforms traditional digital signs into attention-grabbing storytelling tools.
Video helps keep viewers focused longer. Digital signage videos have an average engagement rate of 77%, notably higher than static displays, according to Digital Signage Today. This shows how integrating videos into your signage content can drastically increase viewer attention and impact.
What Are Digital Signage Video Benefits?
The benefits of using video for digital signage displays are multiple. Video adds energy, clarity, and emotion to digital signage content. It captures attention instantly, helps messages stick better, and makes storytelling feel alive, especially helpful when your goal is to get foot traffic, share promotions, or simply make a screen start playing something that people will watch. You can also feed in live content such as social media boards digital signage to keep displays fresh and current.
Here are the key benefits:
Increases viewer engagement: Video commands attention far more effectively than static images. On digital signage screens, video content results in an average engagement rate of 77%, significantly higher than static content, even with a simple promotion or animated logo playing alongside other media items. People naturally stop to watch and absorb more.
Boosts message retention: Video ensures your message stays with your audience longer. With both visuals and audio, messages land deeper. According to Sprout Worth, images receive 94% more views than those without, while videos on landing pages can increase conversion rates by 80%, so your core message, whether it’s a sale, tutorial, or brand story, sticks much better.
Brings storytelling to life: Video helps you tell your story effortlessly. Whether it’s a how-to tutorial, a glimpse into your brand’s journey, or a short animation with your logo revealing the latest update, video builds emotional connections that still images just can’t match.
Enables dynamic content updates: With video, your content can stay fresh and relevant in real-time. Use pre-made templates or uploaded media items to highlight upcoming events, launch a flash sale, or share a new display location. Sending out a new video takes just a few clicks via your CMS.
Supports branding with multimedia: Video combines images, text, audio, and motion, strengthening your brand presence across every display. With AI video making tools, creating professional, on-brand content becomes easier than ever. To enhance this even further, many businesses explore how to integrate music into signage systems so their visual storytelling is supported by the right sound environment.
How Do You Add Video to Digital Signage?
To add video to your digital signage system, you’ll begin by uploading your video file (like an MP4 or MOV) to your digital signage content management software. Once uploaded, you assign it to a playlist or specific screen. The system then handles playback automatically across your network, so you can manage playlists, schedule content, and maintain consistent features across multiple screens without fuss. For teams with stricter data or network needs, you can also setup on premise software and keep every file hosted locally.
One of the studies from AIScreen shows that digital displays capture 400% more attention than static signs, making video a compelling way to stand out, and yes, that includes digital signs that start playing in busy high-traffic locations like retail stores, restaurants, and casino floors.
Step 1: Log In to Your Digital Signage Dashboard
Log in to your digital signage dashboard for content synchronization. Once signed up, log in to your manager account and explore your web-based dashboard for managing digital signs. This works perfectly even on new devices connected.
You can create your account in just two steps:
- Visit the login page on your laptop or computer.
- Sign up by entering your name, email, and password. For quick onboarding, sign up with a Google or Facebook account.
Step 2: Go to the Media Library
Go to the media library, where all uploaded media items, like videos, images, and audio, are stored. Once you’re in, you can easily manage, organize, and select the content you want to display. This is where you can upload videos, preview existing content, and edit playlists before scheduling.
- Click on the “Media Library” tab.
- Browse uploaded files (MP4, MOV, AVI).
- Use the preview feature to check visuals and sound.
- Ensure your core messaging and promotional visuals are ready to go.
Step 3: Upload Your Video File
Upload your video file to bring it to life on your signage, choose to upload a video (MP4, MOV, or AVI) from your computer. During upload, confirm the file format matches your system requirements and add a clear title or logo watermark if needed.
- Click “Upload” and select your video.
- Use a descriptive filename, e.g., “Promo_SummerSale.mov”.
- Add tags or notes like “promotion”, “tutorial”, or “flash sale”.
- Enable smooth playback by checking file size and format.
Step 4: Add Video to a Playlist
Add a video to a playlist, which determines its playback order. Your playlist could include your brand logo animation, promotional videos, or a mix with YouTube or web-based elements. Order them to reflect workflow, promotions, or daily themes.
- Open the “Playlists” section.
- Add your new video to an existing playlist, or create a new one.
- Arrange it within the roster of media items.
- This step maintains content flow and ease of editing later.
Step 5: Assign Playlist to a Schedule
Assign playlist to a schedule by telling the system when and where to show your content. Choose the screen or group of screens for playback, and customize different videos for various locations or playlist scheduling as well, which gives you flexibility for promotions, tutorials, or announcements.
- Open “Schedules” in your CMS.
- Assign a playlist to specific display screens or zones.
- Set start time, duration, and recurrence (e.g., daily lunch promo).
- Assigning properly ensures your content appears exactly when needed.
Step 6: Save and Launch
Save and launch to make your video go live, ensuring it starts playing on the assigned screens. Testing confirms a smooth rollout, and once launched, you can monitor playback, update content, or schedule on-the-fly changes.
- Click “Save” to commit changes.
- Hit “Launch” or “Publish”.
- Use a secondary screen or phone to confirm the video is playing.
- This step ensures your message is delivered exactly as intended.
What are the Best Practices for Digital Signage Video?
The best practices for adding video to digital signage help guarantee your video creates impact, keeps attention, and maintains smooth performance, no matter where or how often it’s shown. Following these tips ensures your video creation delivers messages clearly, looks professional, and is ready to play even with a limited internet connection.
- Keep videos under 30–60 seconds for higher retention: Shorter videos tend to keep people’s attention longer. According to Medium, videos under 60 seconds have an 80% retention, while the rate drops significantly beyond that. Starting with a lively hook or intriguing question helps grab attention right away, so even if someone is just passing by, your message hits fast and hard.
- Use subtitles for silent environments: Video sound may not always be heard, think busy retail stores or café digital displays. Adding captions or text overlays ensures your core message is accessible even without sound, and helps people who might not understand the language fully. This makes your content more inclusive and impactful.
- Optimize video resolution for the screen size: Match your video resolution to the display for clarity. For most digital signage screens, 1080p (Full HD) or 4K delivers crisp visuals. On smaller signage, 720p may be adequate. The goal is to avoid pixelation and keep your brand visuals sharp and professional across all locations.
- Test content load speed and compatibility: Before going live, test how quickly your video loads and plays. Ideally, videos should start within 2–3 seconds of being scheduled. This avoids awkward pauses and ensures your signage feels responsive and polished. Test across different hardware and internet conditions to maintain reliable performance.
- Rotate video content with other media for balance: Don’t just loop videos, mix in static images, text messages, or animations to give viewers visual variety. A content blend keeps things interesting and gives your audience breathing room. According to Fujisan Marketing, a good mix might be 70% video and 30% static content, helping balance engagement without causing motion fatigue.
Looking for ideas before you begin, browse these digital signage examples to see how video plays out on real screens.
Why Choose AIScreen for Video Signage?
Start using AIScreen’s video integration features for digital signage to make your screens more dynamic, engaging, and impactful. Videos capture attention faster than static images, giving your content the ability to connect with customers instantly. With AIScreen, you can create, edit, and position your videos with ease, ensuring quality playback across all displays.
From YouTube integration to custom uploads, the platform simplifies video management while giving you control over when and how your content plays. Start your free 14-day trial today and bring your digital signage to life with professional-grade video capabilities!


FAQs
What video formats work best with digital signage systems?
The video formats that work best with digital signage systems are typically MP4, AVI, and MOV, as they balance quality with compatibility across most displays. These formats ensure smooth playback and give you the ability to connect your content easily to different platforms.
Can I play videos without sound in digital signage?
Yes, you can play videos without sound in digital signage, and in fact, many businesses prefer it for environments where noise can be distracting. Muted videos with subtitles or bold visuals still create a strong position to attract customers’ attention.
How do I compress videos without losing quality?
The way to compress videos without losing quality is by using tools like HandBrake or Adobe Media Encoder, which optimize file size while maintaining sharp visuals. These tools enable you to edit and adjust the resolution, bitrate, and codecs to achieve a balance.
Can I schedule different videos for different times of the day?
Yes, you can schedule different videos for different times of the day to align with customer traffic and engagement patterns. AIScreen’s scheduling features enable you to create playlists, edit timings, and connect campaigns to specific screens.
What’s the ideal video length for digital signage?
The ideal video length for digital signage is between 10 and 30 seconds, as this duration keeps customers’ attention without overwhelming them. Short videos deliver information quickly while maintaining quality and the ability to connect with viewers.
