
What Are The 7 Easy ADA Sign Height Tips and How to Install?
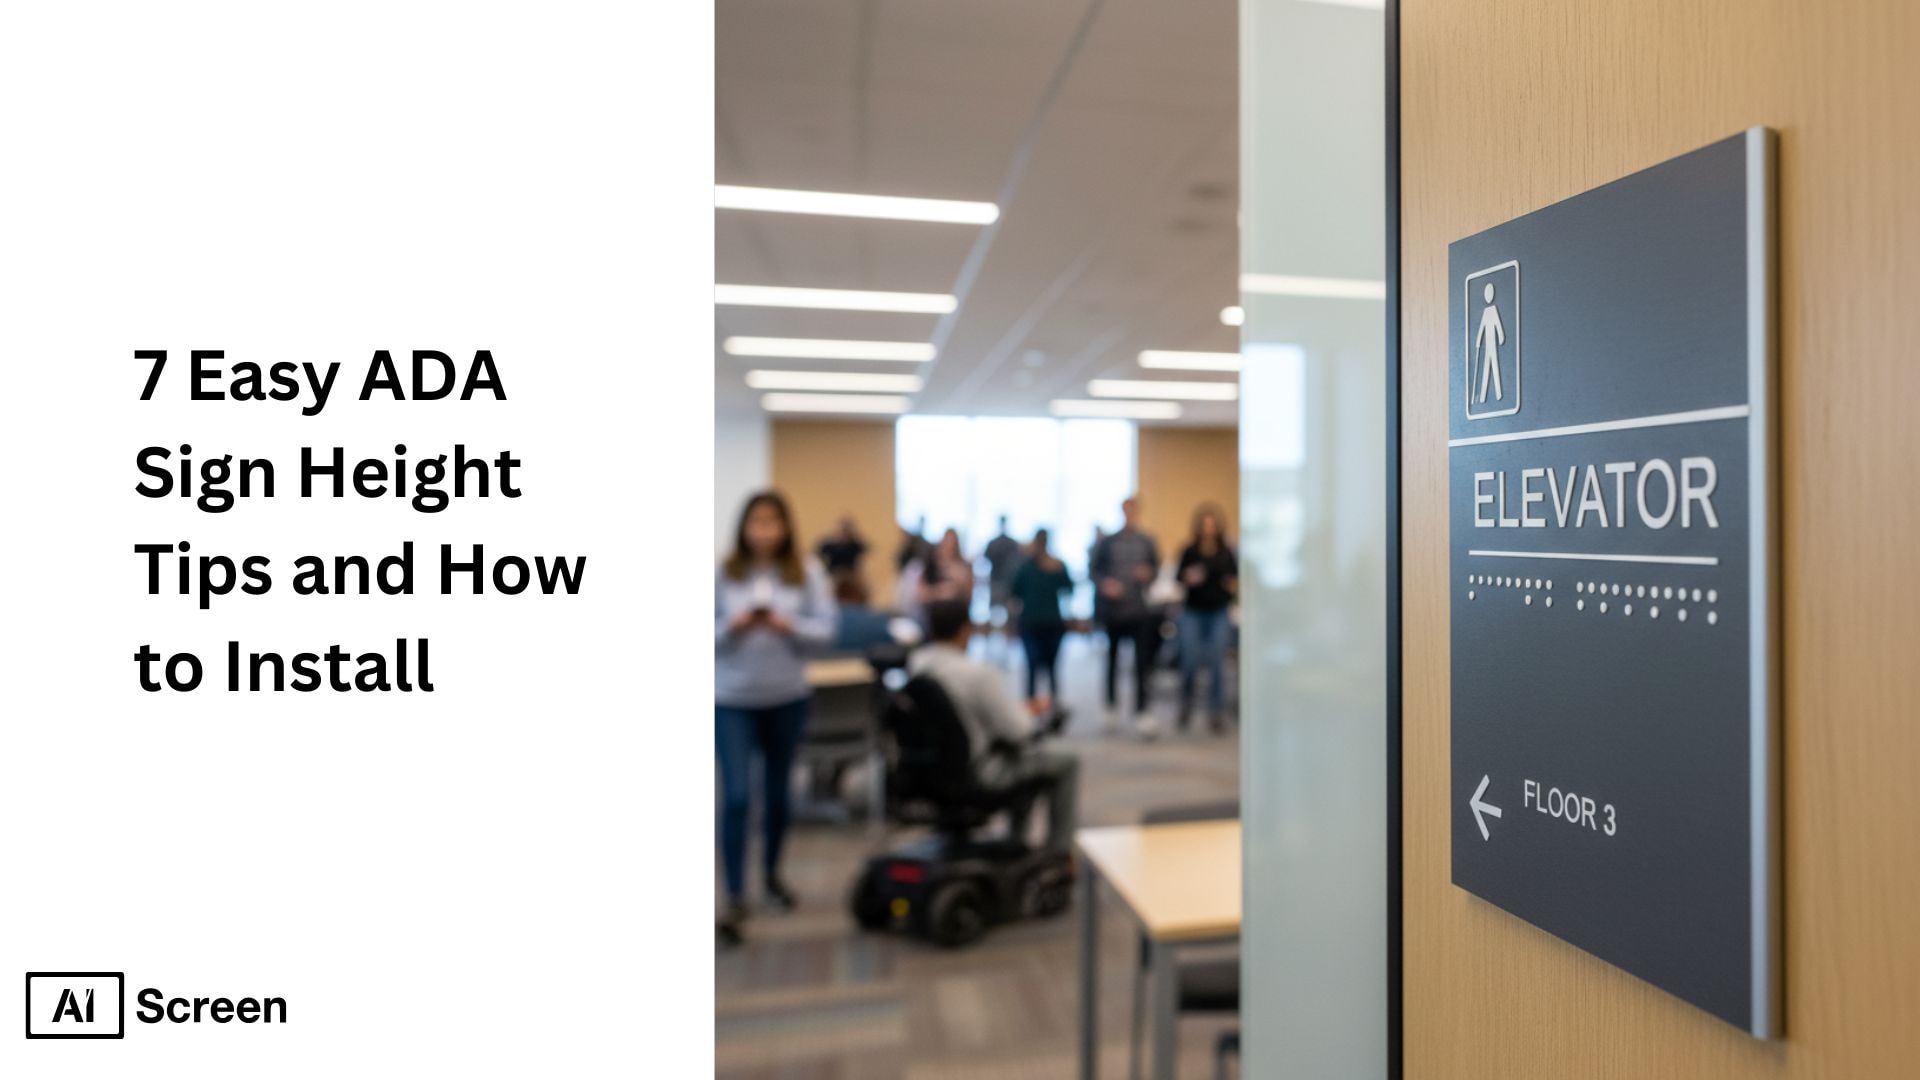
Did you know that the required ADA sign height for projecting signs is something you notice the moment you move through a building? When ADA signs, tactile signs, directional signs, and raised-character Braille signs are mounted at the correct height, navigation feels effortless, and the space becomes instantly more welcoming. But when the height is off, everything shifts; you sense confusion, accessibility barriers, and a higher risk of ADA violations that affect people with disabilities every day, highlighting the importance of ADA-compliant signage. It’s worth noting that according to Digital Signage Today, digital displays can boost customer attention by up to 47% compared to static signage.
In this article, you’ll walk through 7 easy ADA sign height tips and how to install them, along with a clear breakdown of the full installation process. You’ll explore how permanent room signs, directional signs, informational signs, tactile characters, Braille dots, and clear floor space all work together to meet ADA guidelines. As you follow these steps, you’ll see how proper mounting heights create safer, more inclusive spaces for everyone. Each rule, from placing signs on the latch side to using the nearest adjacent wall and keeping every ADA-compliant sign within the 48–60 inch range, shapes the way people experience a building.
What Are the 7 ADA Signage Height Tips?
When you start learning the rhythm of ADA sign placement, you realize how these simple height and visibility rules shape the way people move through commercial buildings, schools, and public spaces. Facilities that manage many signs often coordinate them through digital signage software so height and content updates stay consistent across locations.
You see how ADA signage, Braille signs, and raised characters tactile signs become more meaningful when mounted consistently at the right level, especially for individuals with vision impairment. According to QSR Magazine, 60% of fast-food customers say digital menus make ordering faster and easier.
These 7 ADA signage height tips give you a clear path, helping you create a space where every user feels guided instead of lost by considering the sign location. Keeping every compliant sign current across locations is far simpler when you organize your signage from one place. And as you apply them, you begin to understand how something as small as sign height can transform someone’s entire experience.
1. What Are the ADA Sign Placement Guidelines?
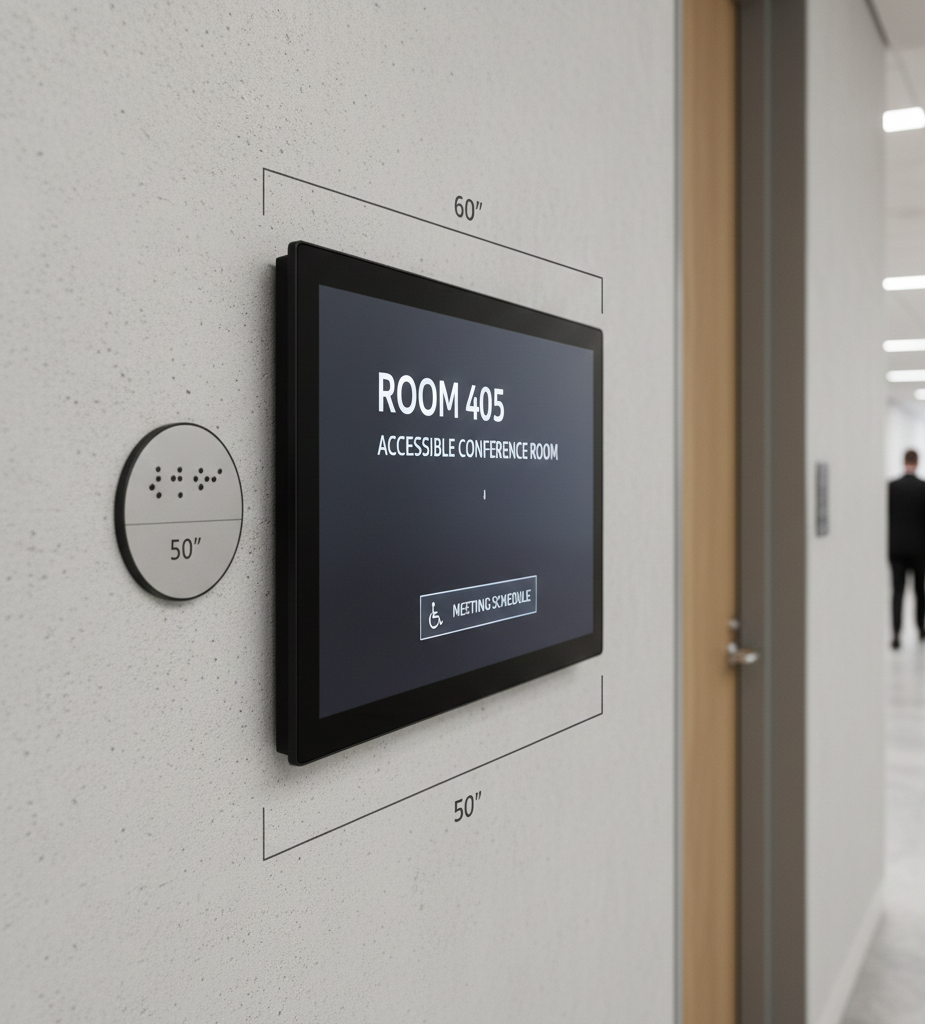
The ADA sign placement guidelines recommended mounting height, between 48 and 60 inches from the floor, comes from real, practical observation of how people interact with tactile signage.
This range puts the highest tactile character sign and the lowest tactile character within a comfortable reach zone, ensuring compliance with the required ADA-compliant signage, whether someone is standing or using a wheelchair.
It also keeps the tactile baseline predictable, which is a huge help for blind and low-vision users who rely on touch and muscle memory.
Placing signs on the latch side of the door adds even more clarity because visitors instinctively look toward the push side, the side their hand reaches to open, particularly when there is one active leaf.
Keeping the clear floor space beneath clear allows everyone to approach without barriers, especially when there is an inactive leaf similar to an office corridor, where every sign sits at 52 inches on the latch side because signs must be installed at 52 inches to make navigation effortless for both employees and visitors.
2. When to Use Adjacent Wall ADA Sign Placement?
Use the adjacent wall when needed because sometimes the latch-side wall simply isn’t usable, maybe the door is all glass, maybe there’s a window, or maybe the space is too tight for a safe approach.
In those situations, the adjacent wall becomes the most logical solution when accounting for door swing, as long as it keeps the sign close to the door and within the familiar height range. This ensures the message still feels connected to the doorway it belongs to.
The key is clarity: visitors should be able to approach, reach, and understand the sign without guessing. You see this working well in spaces with glass office doors, where the room ID is mounted just a few inches away on the adjacent wall at 54 inches, and people naturally recognize it as belonging to that room because it remains within their line of travel.
3. How Do You Handle Double-Door ADA Sign Mounting?
Double doors introduce a bit of uncertainty for visitors unless signage is placed with intention. The ADA recommends double door ADA sign mounting on the right-hand wall when only one side of the door is active. This creates a repeated pattern throughout the building so users always know where to look, even in high-traffic entryways.
When both doors operate, the right-hand wall placement still offers the clearest orientation since people tend to drift toward that side as they approach. You’ll notice how effective this feels in places like a convention center, where every double-door room has its single sign consistently mounted for clarity. on the right wall, helping crowds move smoothly without stopping to search.
4. How Do You Choose Durable ADA Sign?
Choosing durable ADA signage materials isn’t only about appearance; it also ensures that lowercase characters and tactile lettering remain sharp and readable for years. It’s about ensuring the raised letters, raised characters, tactile lettering, and Braille remain sharp and readable for years, especially in locker rooms.
Materials like acrylic, aluminum, and photopolymer hold their texture well and resist surface wear, which is essential for environments where signs are touched every day. A non-glare, UV-resistant finish also protects against fading and scratching.
These details matter even more in areas with strong sunlight, constant cleaning, or heavy use. A good example is a hospital wing that installs photopolymer signs with a matte UV coating; years later, the tactile characters still feel crisp under the fingertips because the material withstands disinfecting routines and daily contact.
5. When to Mount ADA Sign on Doors?
Mounting the ADA symbol on doors work only in specific situations, and ADA rules help prevent confusion or unsafe reach angles because they are based on established legal requirements.
A sign can be mounted on a door only if it stays open more than 180 degrees, or if the door is rarely used, or if a hold-open device is utilized. This prevents the sign from becoming obstructed or inaccessible to people who need tactile reading from the ground surface.
Keeping the height consistent with wall-mounted signage is still important, even when placing it on the door. In many libraries, you’ll find signs mounted on permanently propped-open doors at the same 48–60 inch range, allowing tactile readers to easily locate the information without worrying about the door shifting or closing unexpectedly.


6. What Are the General ADA Sign Hanging Requirements?
Beyond height, General ADA sign hanging guidelines emphasize stability, lighting, clear floor space, and surface quality as essential components of ADA-compliant signage. Signs must be mounted on a flat, stable surface so tactile characters don’t distort over time.
Even lighting ensures both sighted and low-vision users can read the sign without shadows or glare, especially in long hallways or busy corridors found in commercial facilities.
Larger spaces require directional and informational signs, such as arrows pointing toward elevators, exits, or reception areas. Non-glare materials are just as important, since glossy surfaces can make tactile or printed letters harder to see. Many schools follow this practice by installing matte-finish corridor signs at uniform heights, allowing students to walk the hall without harsh reflections or visual strain.
7. Where to Find ADA Sign Resources?
Even with clear guidelines, additional ADA signage requirement resources become essential when complex layouts or unique building structures raise questions. Referring to trusted resources such as ADA.gov, the 2010 ADA Standards for Accessible Design, and local building codes ensures you’re following the most accurate and current rules. These sources break down the specifics that many installers rely on.
For more complicated projects, consulting a certified ADA signage specialist can help identify permanent rooms, save time, and prevent costly mistakes.
You’ll often see large facilities, like medical campuses, bring in experts to verify placement, installing ADA signs to ensure every sign, from restrooms to emergency exits, meets height, tactile, and visibility requirements according to ADA rules the first time, while also covering all you need to know about ADA parking space signage requirements as part of a fully compliant wayfinding system.
How Do You Install ADA Compliant Sign?
You’ll feel the process of installing exterior signs becoming more intentional the moment you slow down, just like when installing a restroom sign. and follow each step with care. Every movement you make, measuring, marking, and leveling, adds up to install ADA comppliant signage that someone with a visual or mobility disability will rely on without even thinking twice.
According to Forbes, brands using digital menu boards see nearly a 30% increase in customer attention. And as you move through the installation, you start realizing that you’re not just hanging a tactile sign or a Braille panel on doors with one active; you’re shaping someone’s ability to navigate a space confidently.
- Measure height range (48–60 inches): This ensures the tactile characters sit exactly where ADA guidelines require, making every sign predictable no matter where someone enters your building. That simple measurement becomes the starting point for both accessibility and long-term consistency.
- Mark placement spots: This gives you a clear visual guide before attaching anything to the wall. Those small marks prevent crooked mounting and help you maintain the same height across multiple rooms, hallways, or doors.
- Ensure the wall surface is level: Take a moment to check for bumps, uneven textures, or leftover adhesive from old signs. A clean, even surface keeps the sign stable and prevents tactile letters or Braille dots from shifting or loosening over time.
- Use approved adhesive or mounting hardware: Choose an option that matches both the wall type and the material of your ADA sign. This keeps the sign secure, even in busy areas where people frequently touch or read it by hand.
- Double-check alignment and readability: Step back and look at the sign the same way a visitor or customer would. Confirming the alignment, tactile depth, non-glare finish, and letter spacing ensures a smooth and accessible reading experience for everyone.
After completing each step, you notice how easy it becomes to install a restroom sign in a hotel hallway with absolute confidence. The height feels right, the alignment is clean, and guests instinctively move toward the correct door, proof that your careful installation truly improves their experience.
How Is Technology Transforming ADA Signage?
You start noticing how much smoother such signs feel the moment technology is transforming ADA signage. Touchscreen displays, voice navigation, and sensor-based wayfinding create an entirely different experience, especially for people who rely on clarity and predictability to move confidently through a space, especially for individuals with visual impairments. These tools don’t replace tactile signs or Braille dots that require Braille; they enhance them, giving you a layered system where digital cues support physical requirements.
Most modern buildings now blend both, creating an environment where someone can follow a tactile sign on the wall and then receive audio guidance from a nearby kiosk without missing a step.
According to ResearchGate, digital signage can improve information recall by more than 80%. As technology evolves, adaptive interfaces, visual contrast optimization, and AI-driven assistance are pushing ADA compliance into a more personalized, intuitive future.
You see interfaces automatically adjusting brightness for someone with light sensitivity or changing text size for someone with low vision, often featuring the international symbol of accessibility to reinforce clarity. AI tools can even guide a visually impaired person through a lobby in the same way based on real-time movement patterns, especially when located alongside tactile signage.
It feels less like “technology” and more like a silent partner helping people navigate independently, making the entire environment feel more human, more supportive, and more aligned with the heart of ADA standards.
How Can ADA Sign Height and Storefront Sign Ideas Work Together?
Getting ADA sign height right at every entrance keeps your space welcoming, accessible, and easier for customers to navigate. Correct sign placement helps ensure important information is positioned where visitors can find and read it comfortably, while also supporting accessibility requirements for entrances, rooms, and directional signage.
At the same time, creative storefront sign ideas can help businesses turn necessary signage into an attractive part of their overall brand design. Coordinating accessible signs with storefront colors, typography, lighting, and materials creates a more consistent appearance without sacrificing functionality.
By considering ADA sign height and storefront sign ideas together during the design process, businesses can create entrances that are both practical and visually appealing. Thoughtful placement keeps signs noticeable without cluttering doors or walkways, while branded design elements help make the storefront more recognizable and inviting.
What Role Does AIScreen Digital Sign Play in ADA Compliance?
The role that digital signage plays in ADA compliance is that it adds a supportive layer to ADA compliance by delivering information in ways traditional signs can’t, especially when you need dynamic updates or auditory cues in retail stores. You feel the difference instantly when a screen announces directions, displays high-contrast visuals, or adjusts content in real time for someone with low vision. These tools work alongside tactile signs, not in place of them, giving every visitor multiple ways to absorb information without feeling lost or overwhelmed. According to McKinsey, businesses using real-time digital updates reduce operational inefficiencies by nearly 25%.
The biggest advantage appears when you manage everything remotely through digital signage software like AIScreen, where you can update messages, modify contrast, or trigger voice assistance for projecting signs with just a click. Screen-reader compatibility, customizable layouts, and flexible brightness settings make each display easier to understand for people with visual or cognitive disabilities. The whole system becomes a living extension of ADA standards, responsive, accessible, and able to adapt as the needs of your space evolve.
Frequently Asked Questions
What does the ADA say about mounting height for wall signs?
The ADA says a lot about mounting height for wall signs, especially when it comes to keeping tactile characters on the right-hand door between 48 and 60 inches from the ground. This range helps everyone, whether standing or using a wheelchair, reach and read the sign comfortably, including essential informational signs that meet ada requirements . It also creates a predictable pattern across hallways so visitors never have to search for information. By following this standard, your building feels safer, clearer, and far more inclusive.
How do you measure the correct ADA sign mounting height on a wall?
You can measure the correct ADA sign mounting height on a wall by starting at the finished floor and marking where the tactile baseline should land within the 48–60 inch range. This simple step makes every other part of installation easier and more consistent. Once the line is marked, you align the center of the tactile characters and check that the placement matches nearby signs. With this method, you create a smooth, predictable experience for anyone navigating the space.
Why should installers follow ADA height rules for consistency and safety?
Installers should follow ADA height rules for consistency and safety because these rules protect people with visual or mobility impairments, especially those who may struggle with uppercase letter as outlined in the disabilities act, from confusion and physical barriers. When signs sit at the same height throughout a building, visitors instantly know where to look. This reduces hesitation at doors, improves traffic flow, and prevents missteps or accidents. Every correctly mounted compliant signs becomes a small but meaningful step toward safer accessibility.
Is there a difference in ADA sign height for single-door vs. double-door entries?
Yes, there is a difference in ADA sign height for single-door and double-door entries, mostly because the placement location, not the height, changes depending on how the doors function. A single permanent room sign usually gets its sign on the latch side wall, while double doors with two active leaves use the right-hand wall unless both leaves are active. This keeps orientation simple and consistent for visitors approaching from different angles. By following these rules, you help everyone find information without stopping or second-guessing.
How often should ADA signage placement and height be inspected for compliance?
The ADA signage placement and height should be inspected for compliance regularly, especially during renovations, remodels, or changes in room use, ensuring that the sign surface remains appropriate and effectiv . Even minor wall repairs or repaints can shift sign alignment without you noticing. A routine check ensures tactile characters, Braille dots, and non-glare finishes remain effective at the correct installation height . Keeping inspections consistent protects your space from violations and keeps your building welcoming and ada compliant signs for every visitor.
