

From Ordering to Content Playback
Quick Overview
This guide will help you go through every stage — from placing your order to displaying your first playlist on-screen.
Average setup time: 5 – 10 minutes (if Wi-Fi was preconfigured during checkout).
Stage 1 — Placing Your Order
Visit
👉 manager.aiscreen.io/payment/screens/
At the top right of the page, you’ll always see Order Details — your selected plan, quantity, and total cost.
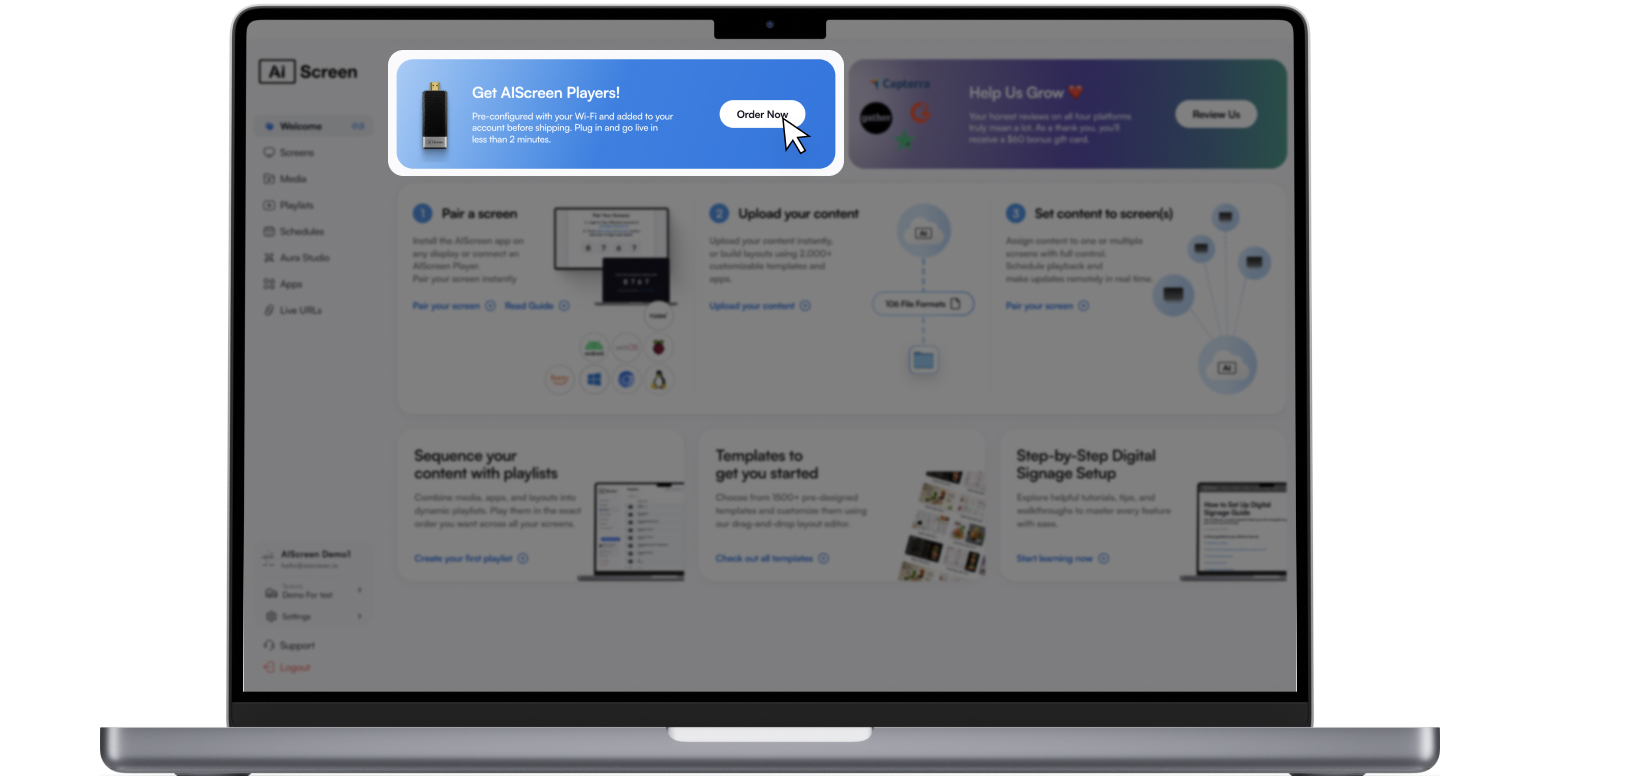
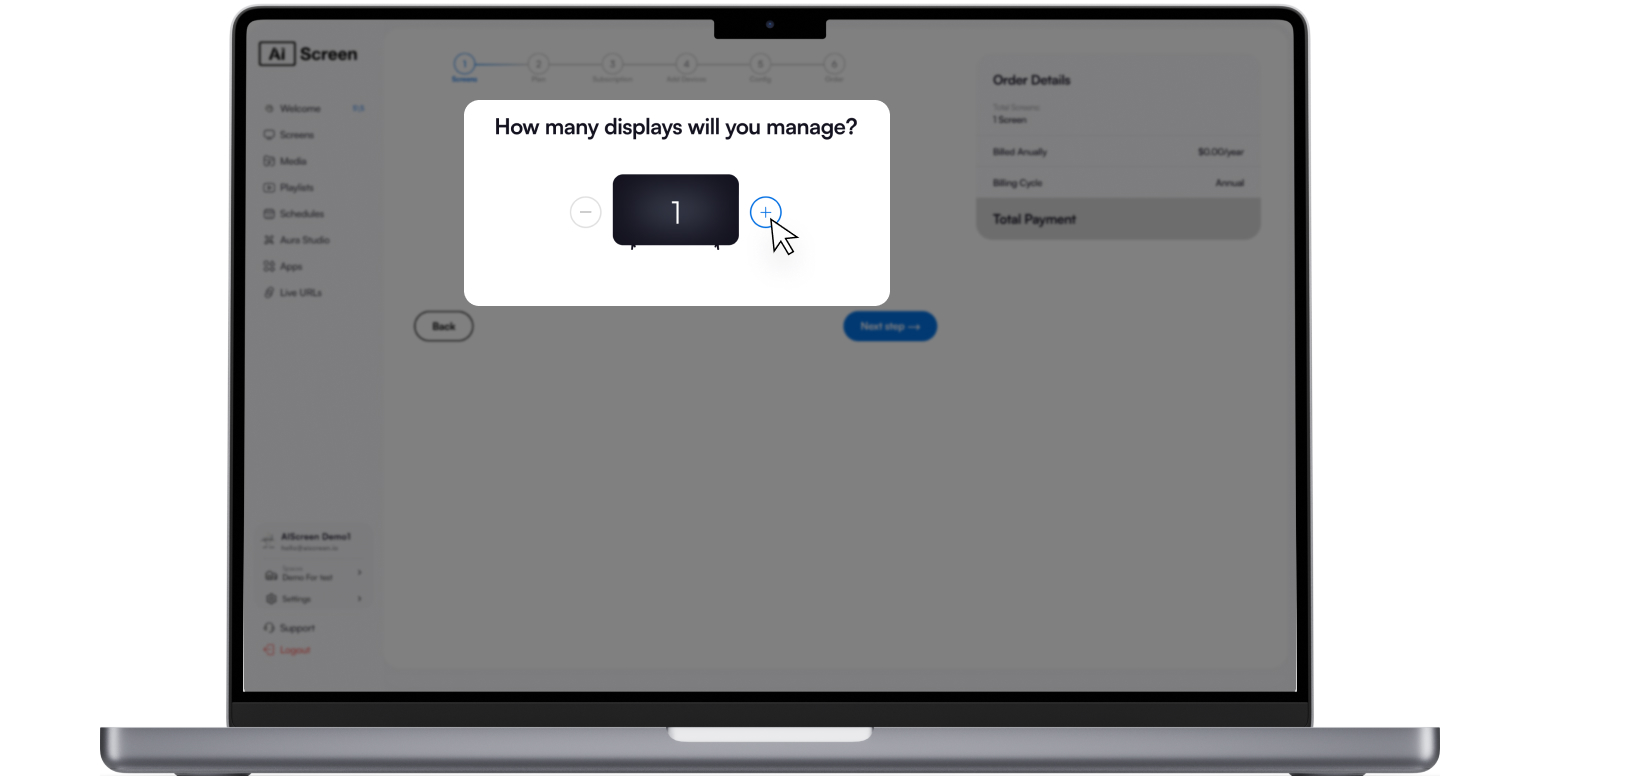
Step 1 — Choose the Number of Screens
Select how many screens you want to subscribe to.
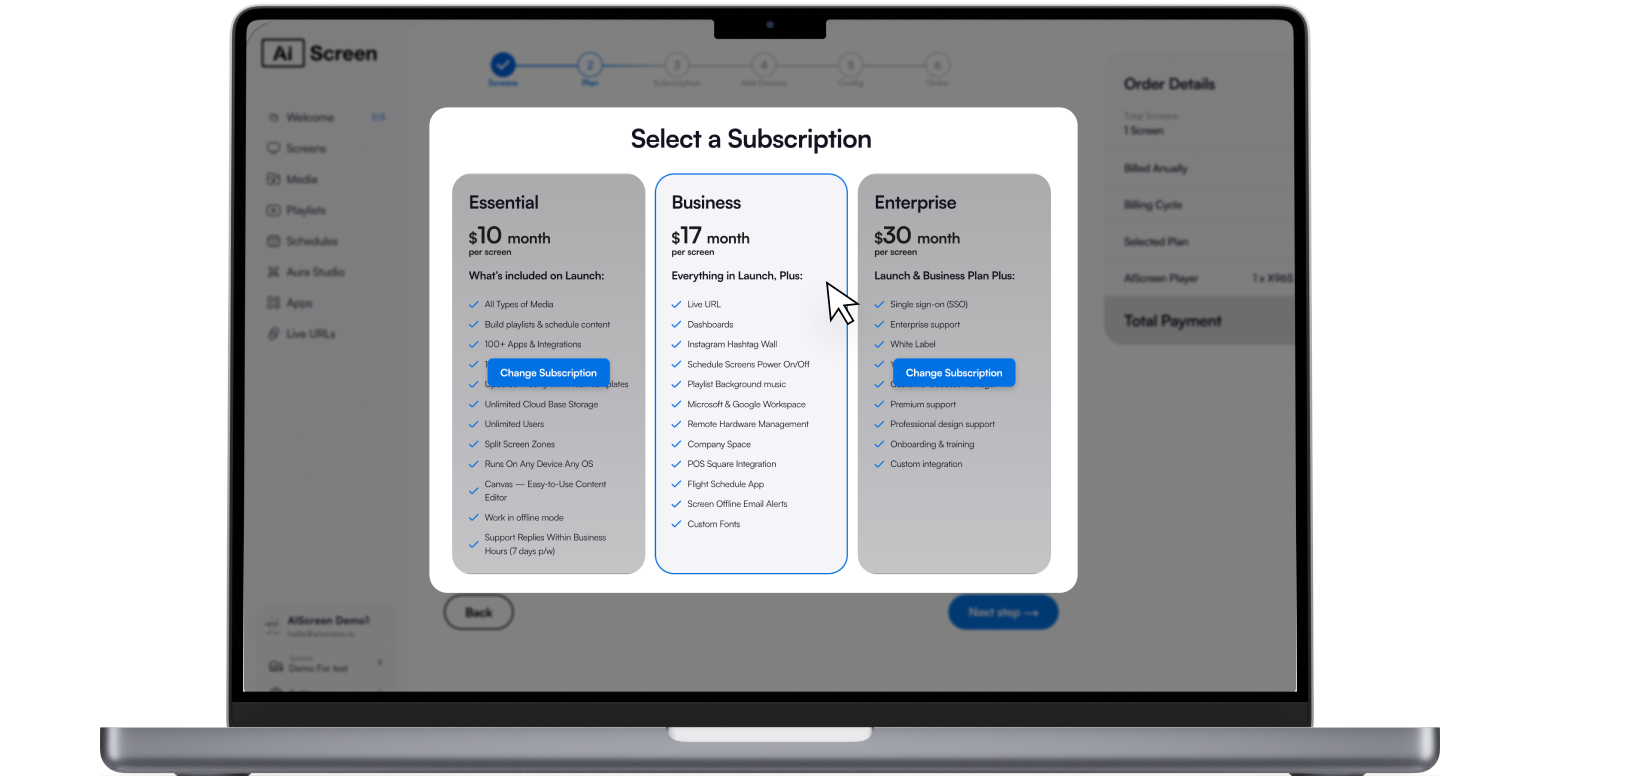
Step 2 — Select Your Plan
Pick the plan that fits your business:
- Essential — basic digital signage features.
- Business — integrations and advanced management.
- Enterprise — premium support, custom branding (White Label).
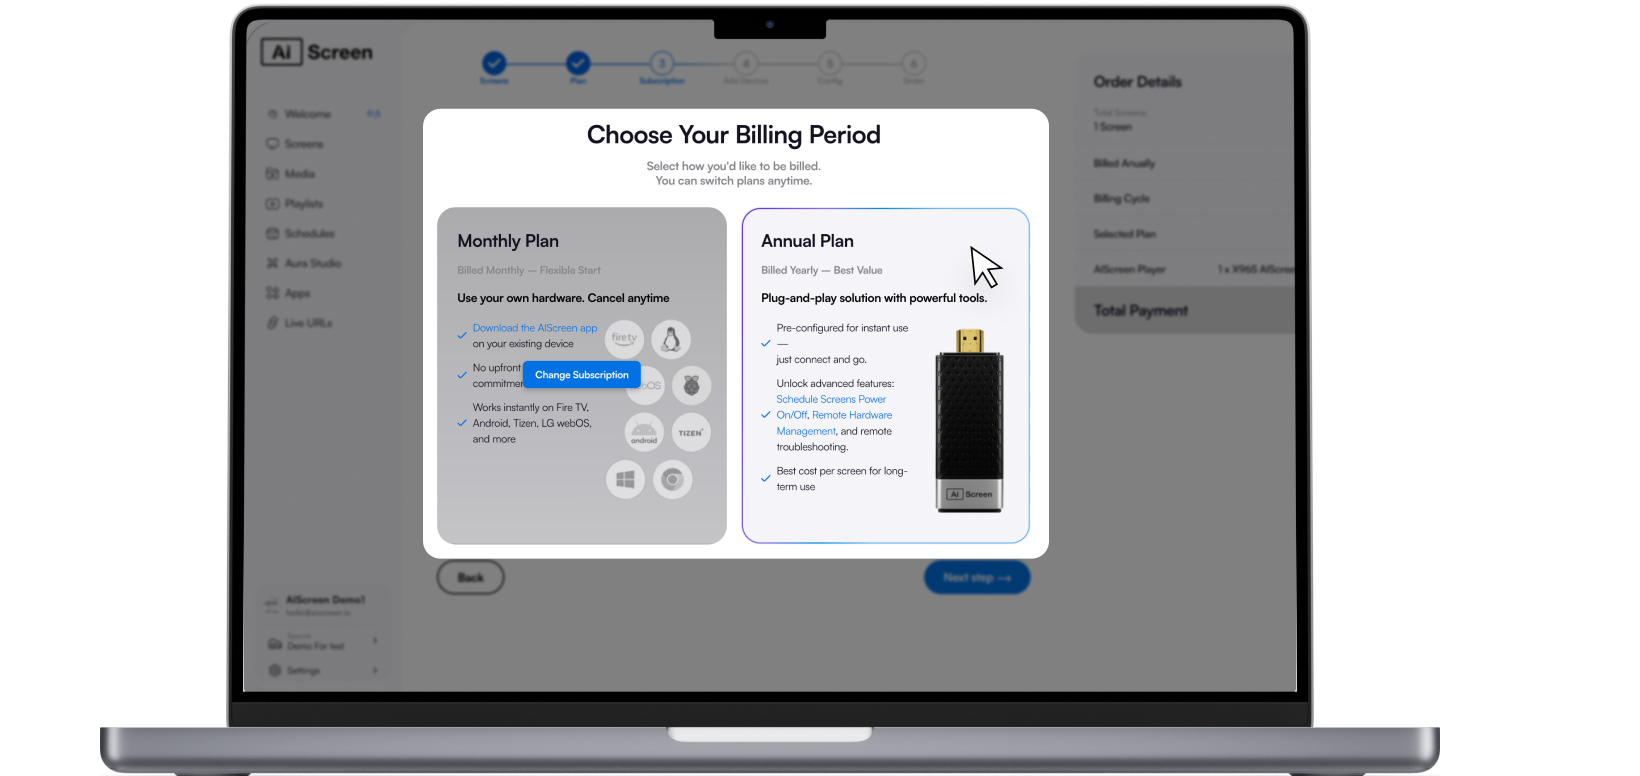
Step 3 — Choose Subscription Duration
- Monthly — billed every month.
- Annual — billed once per year.
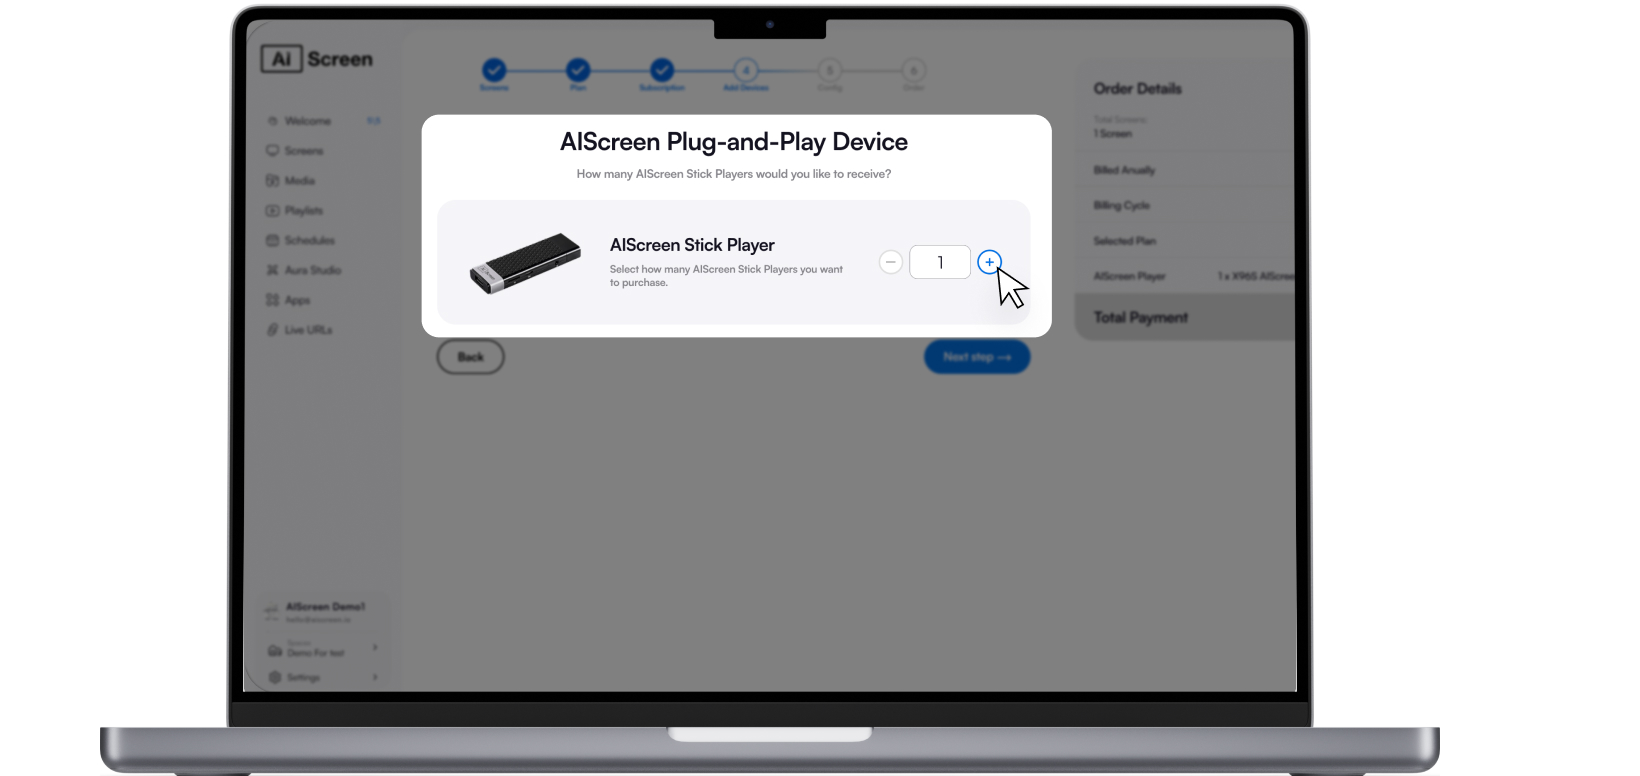
Step 4 — Choose Number of AIScreen Sticks
Select how many AIScreen Stick devices you’d like to order.
The total price updates automatically in the Order Details panel.
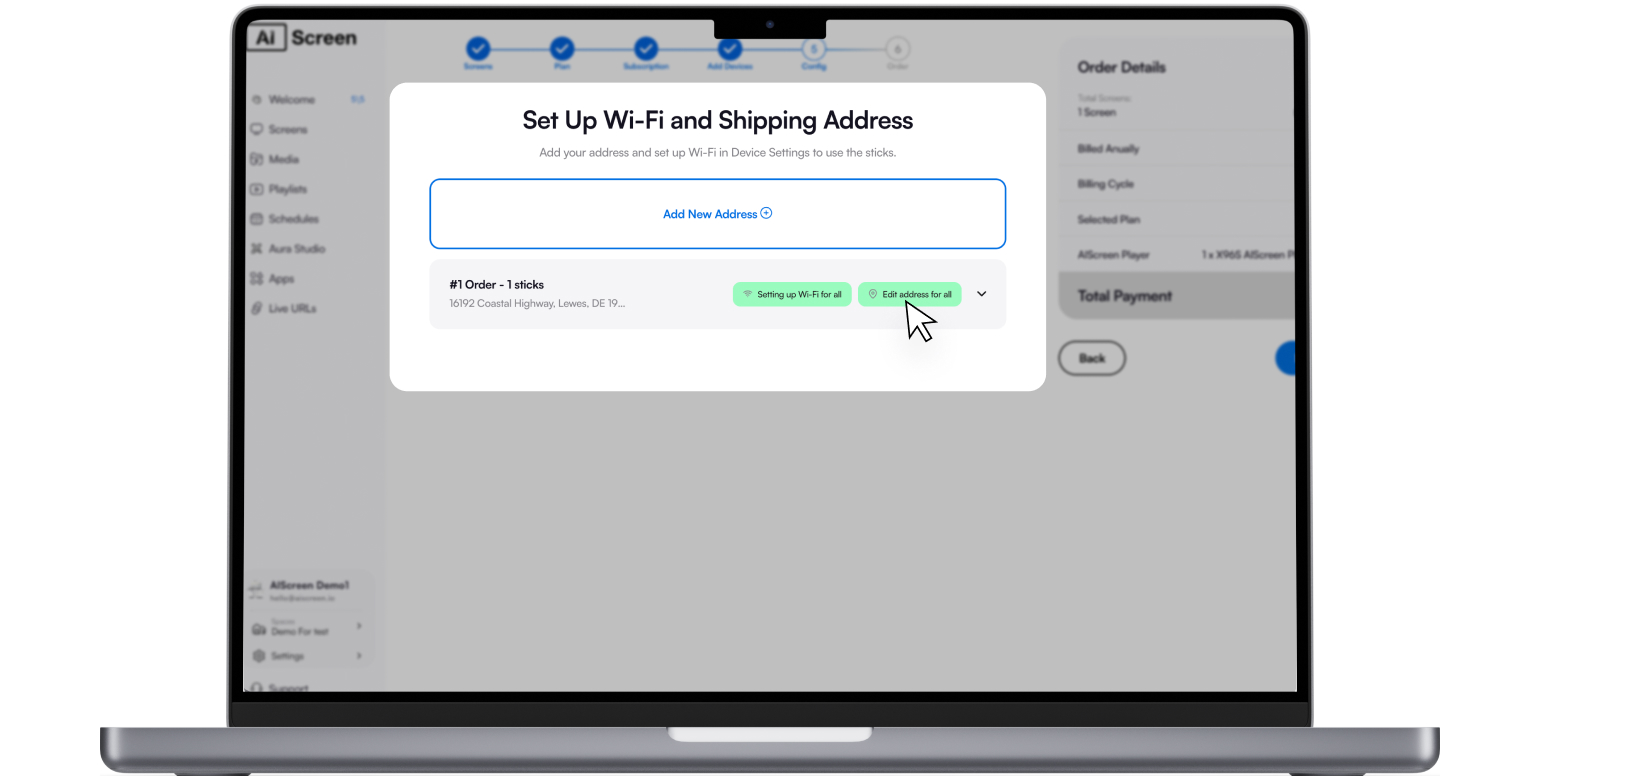
Step 5 — Configure Wi-Fi and Shipping Addresses
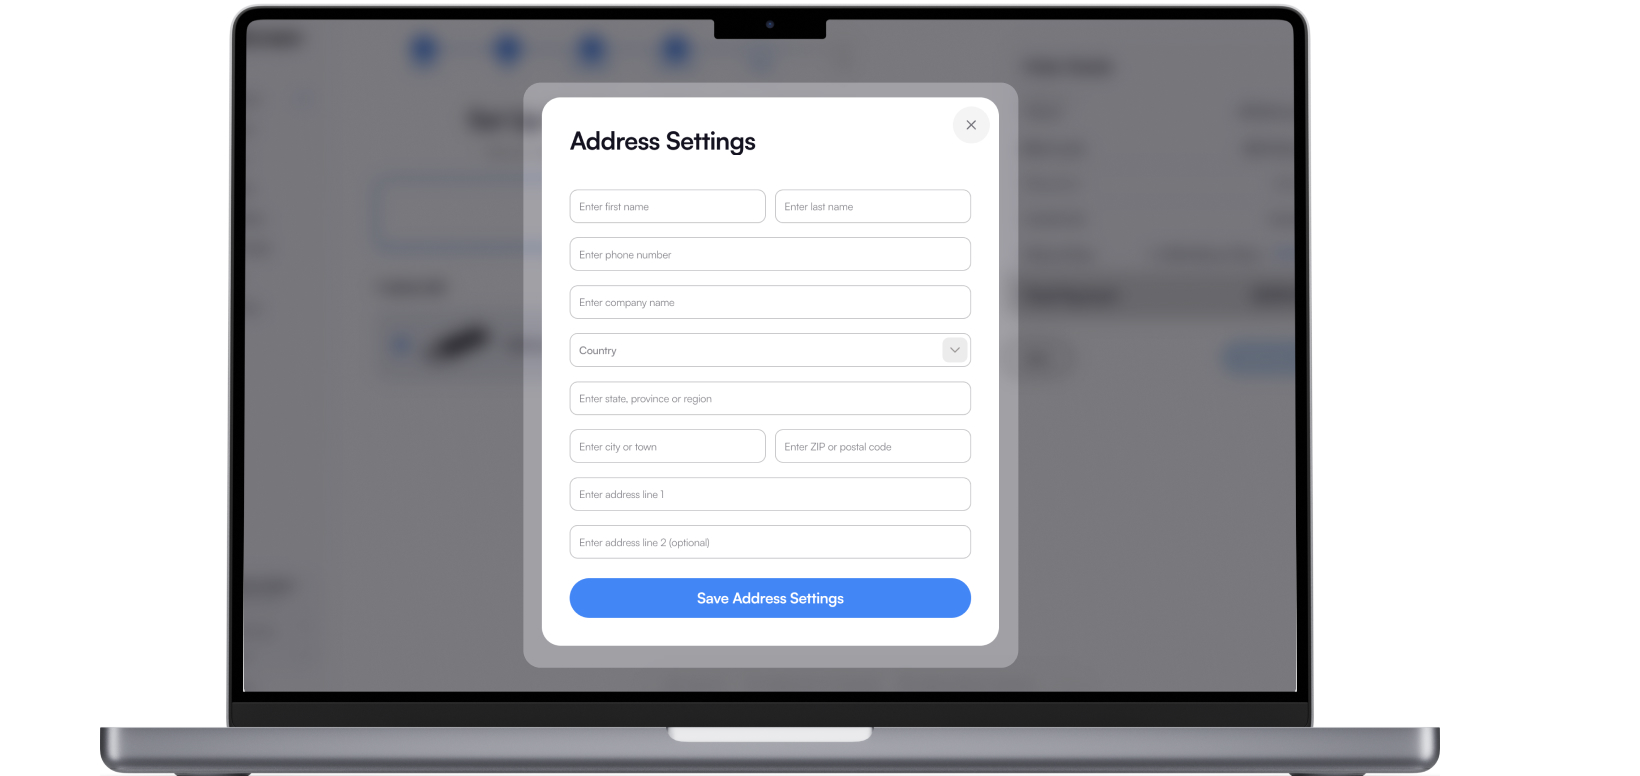
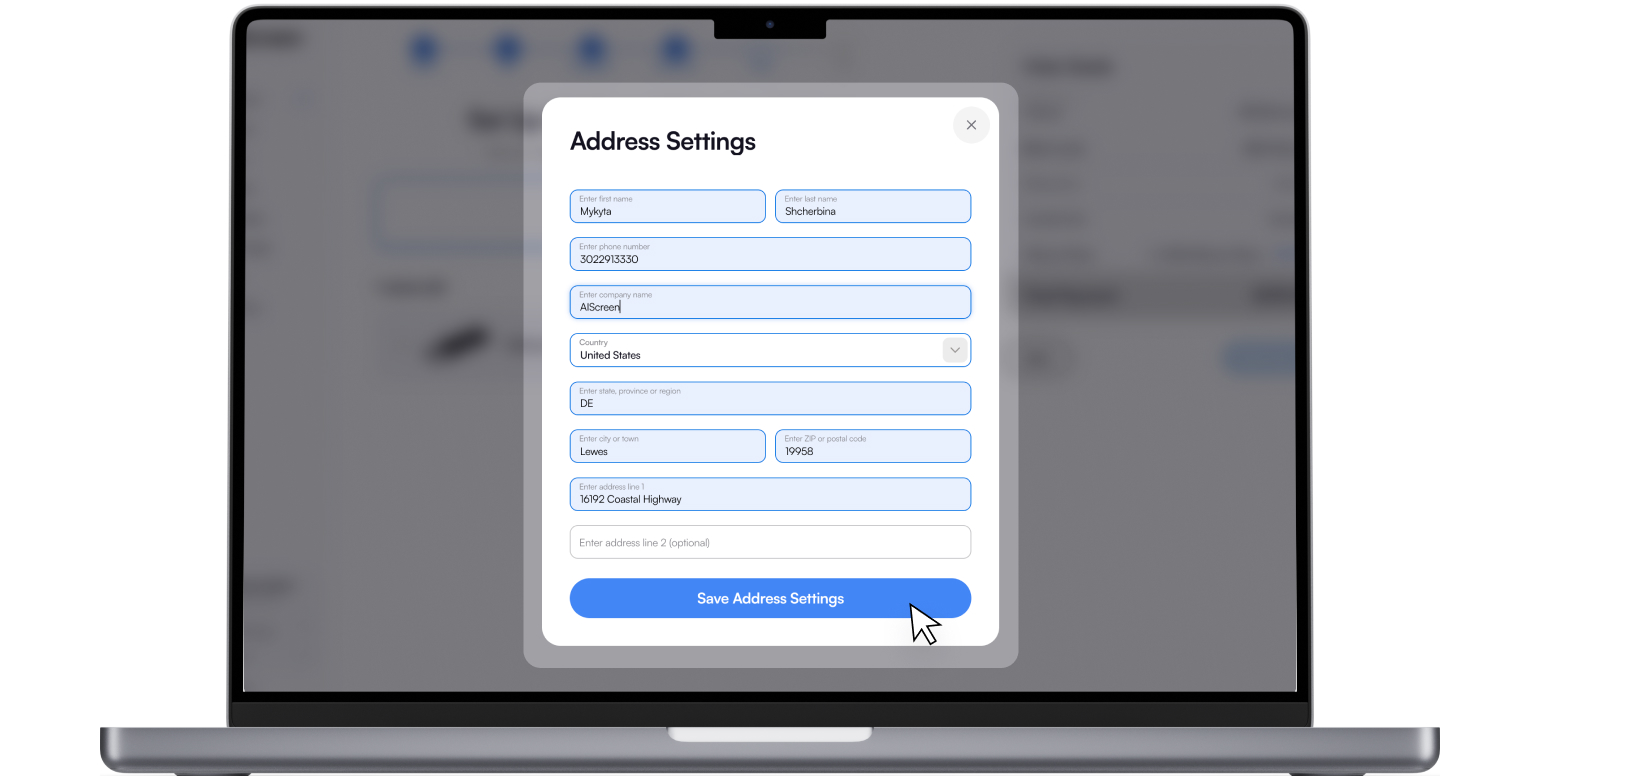
At this step, you can set up everything before your devices even arrive:
- Add shipping addresses (Add New Address).
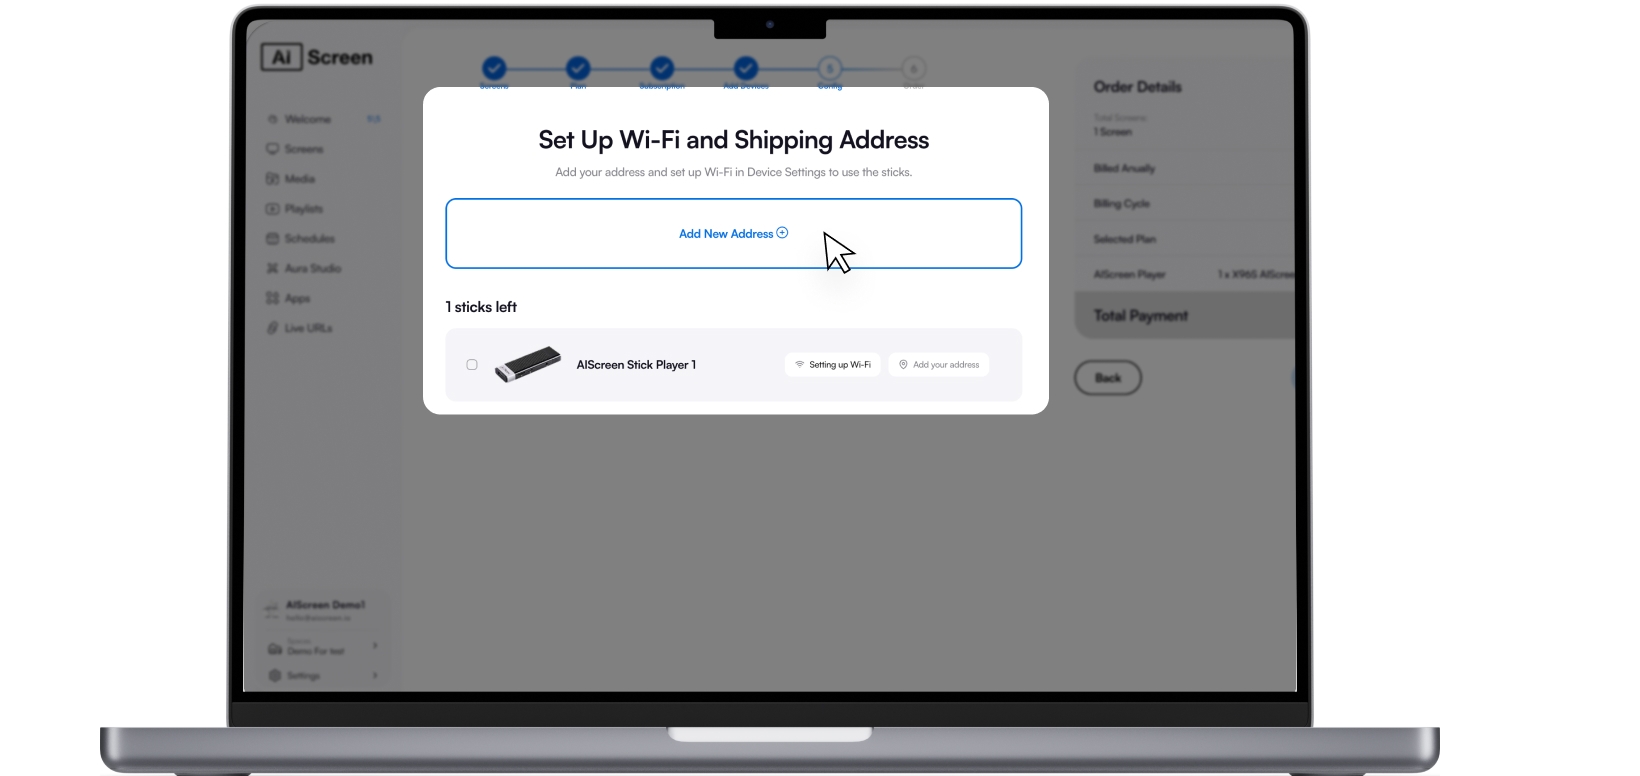
- Assign clear names to each stick (e.g., Lobby Display, Office Screen).
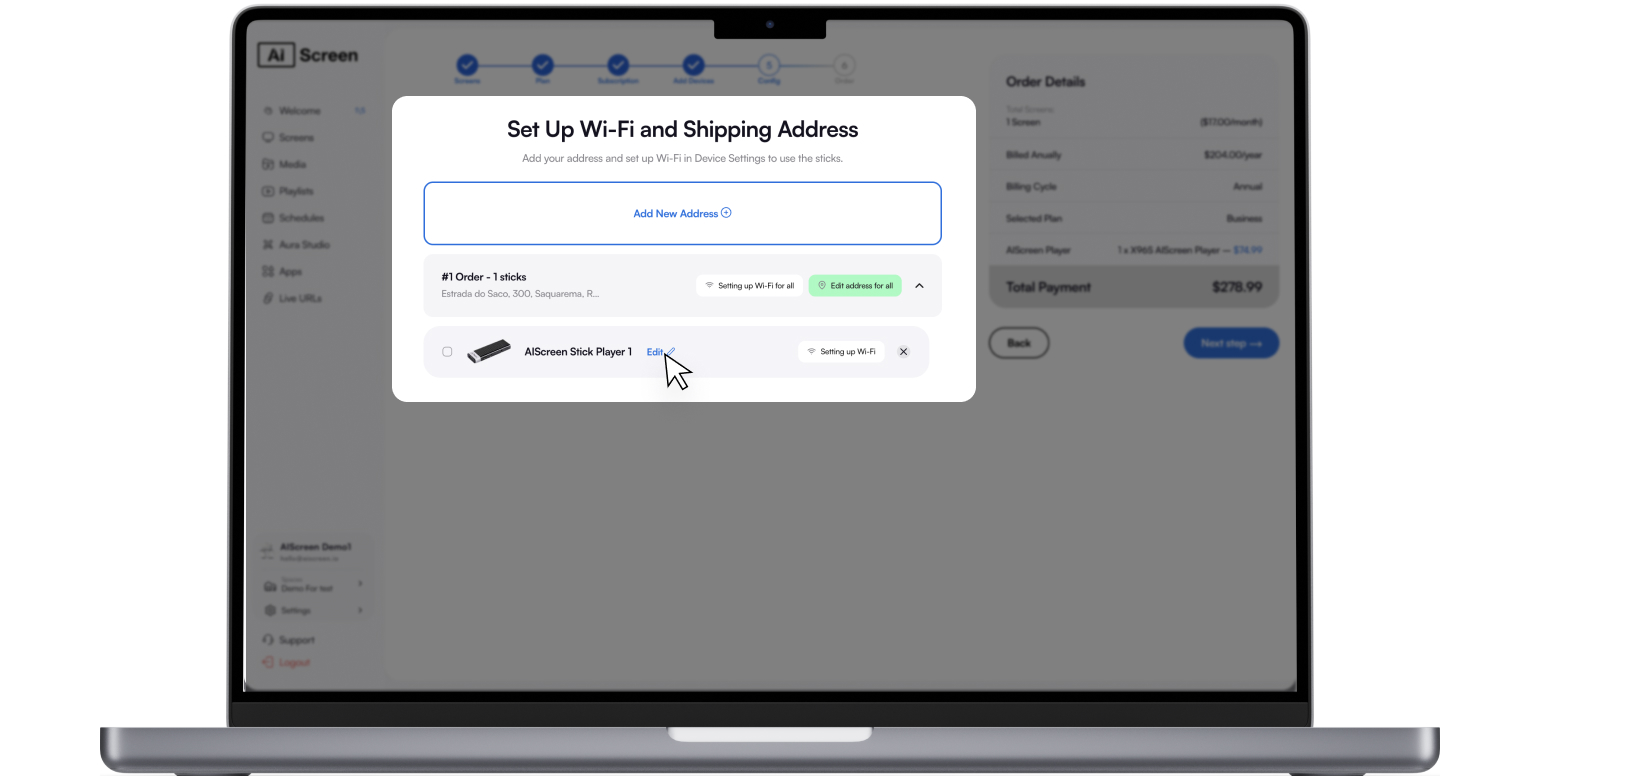
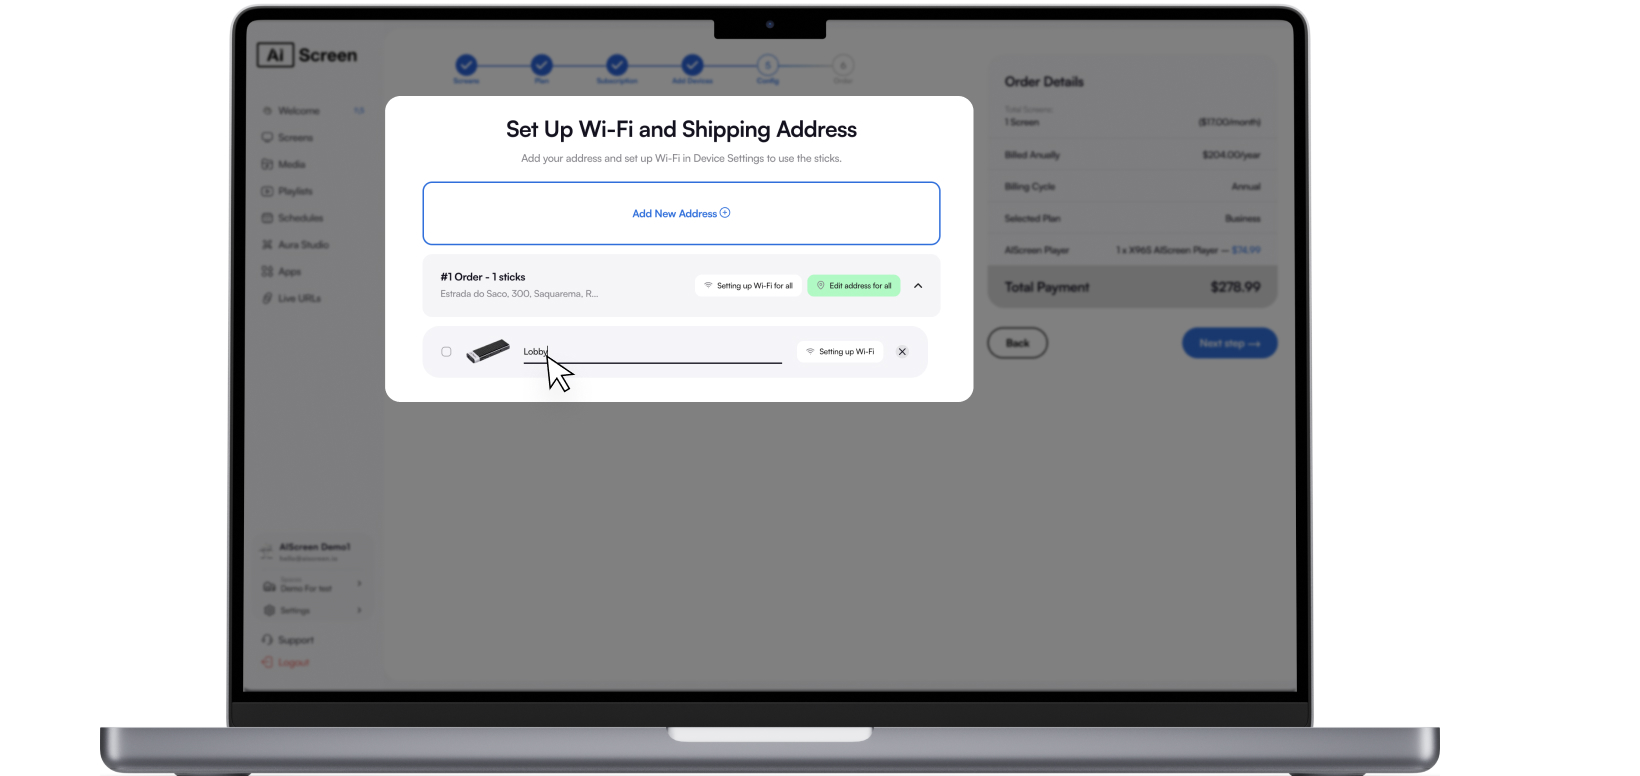
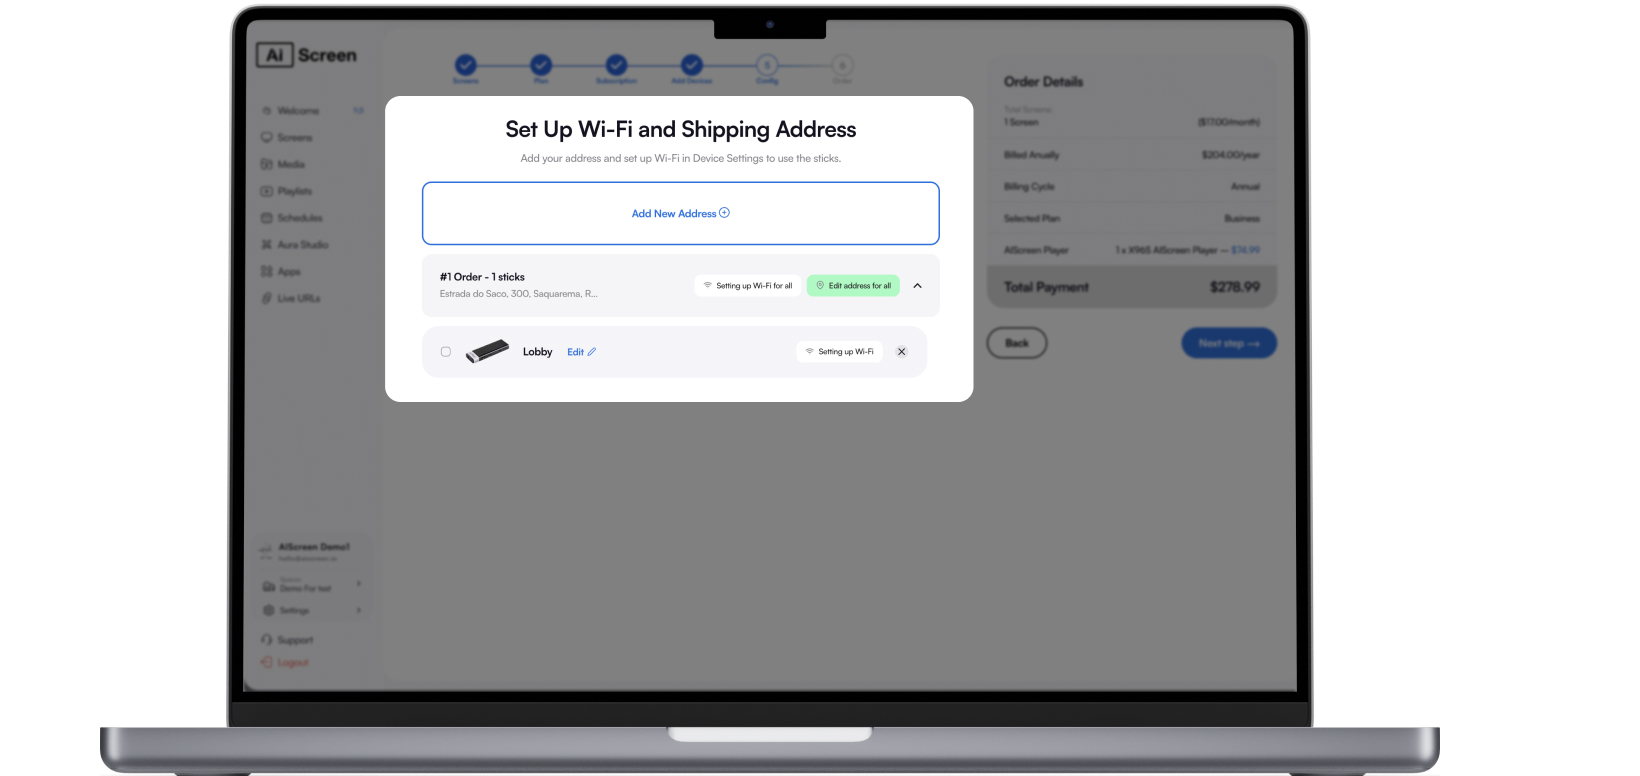
- Preconfigure Wi-Fi (SSID + password).
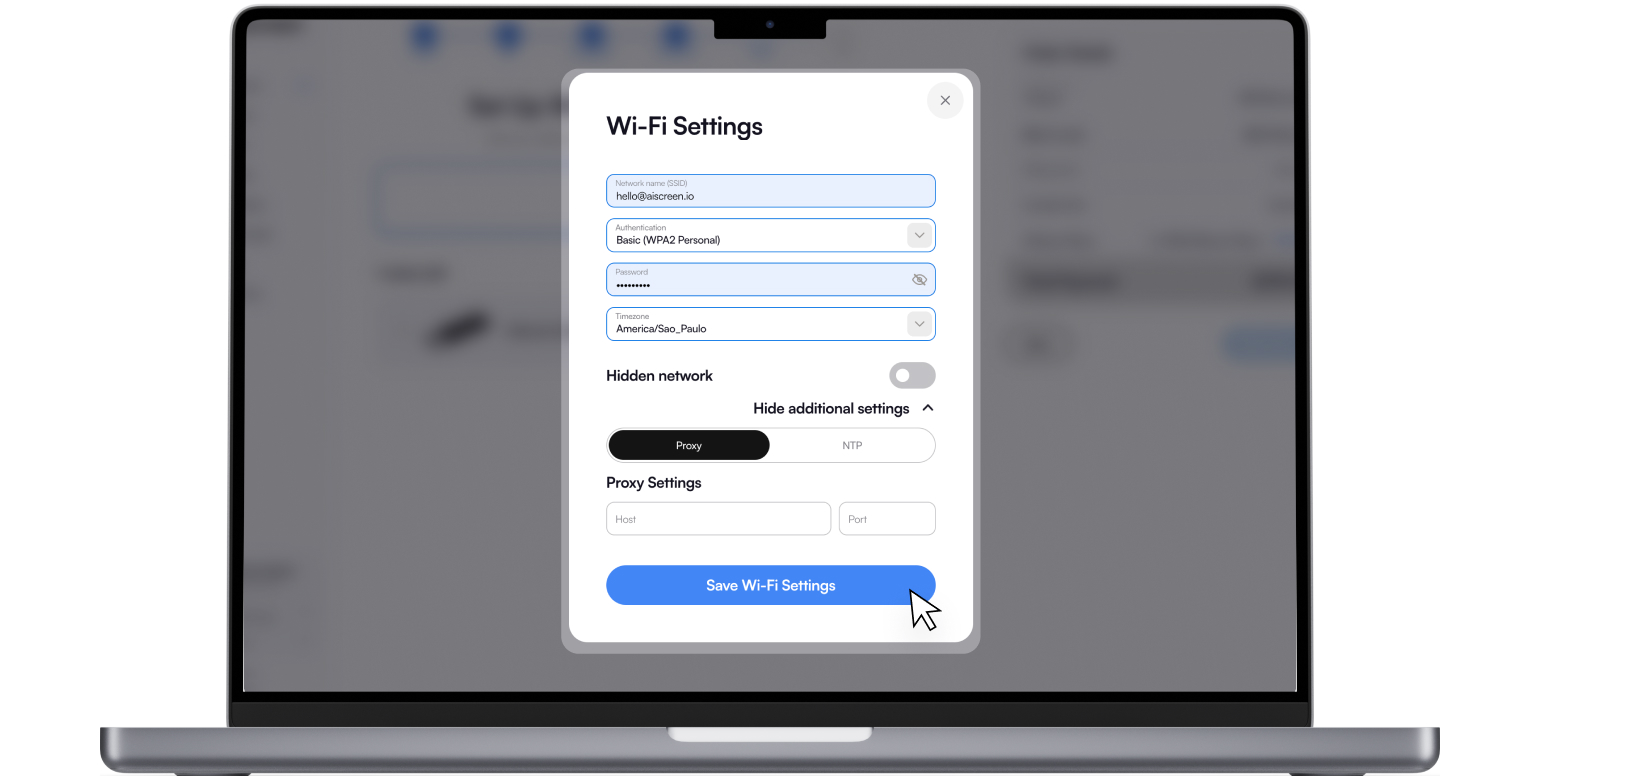
💡 If you don’t assign names, your sticks will be automatically numbered.
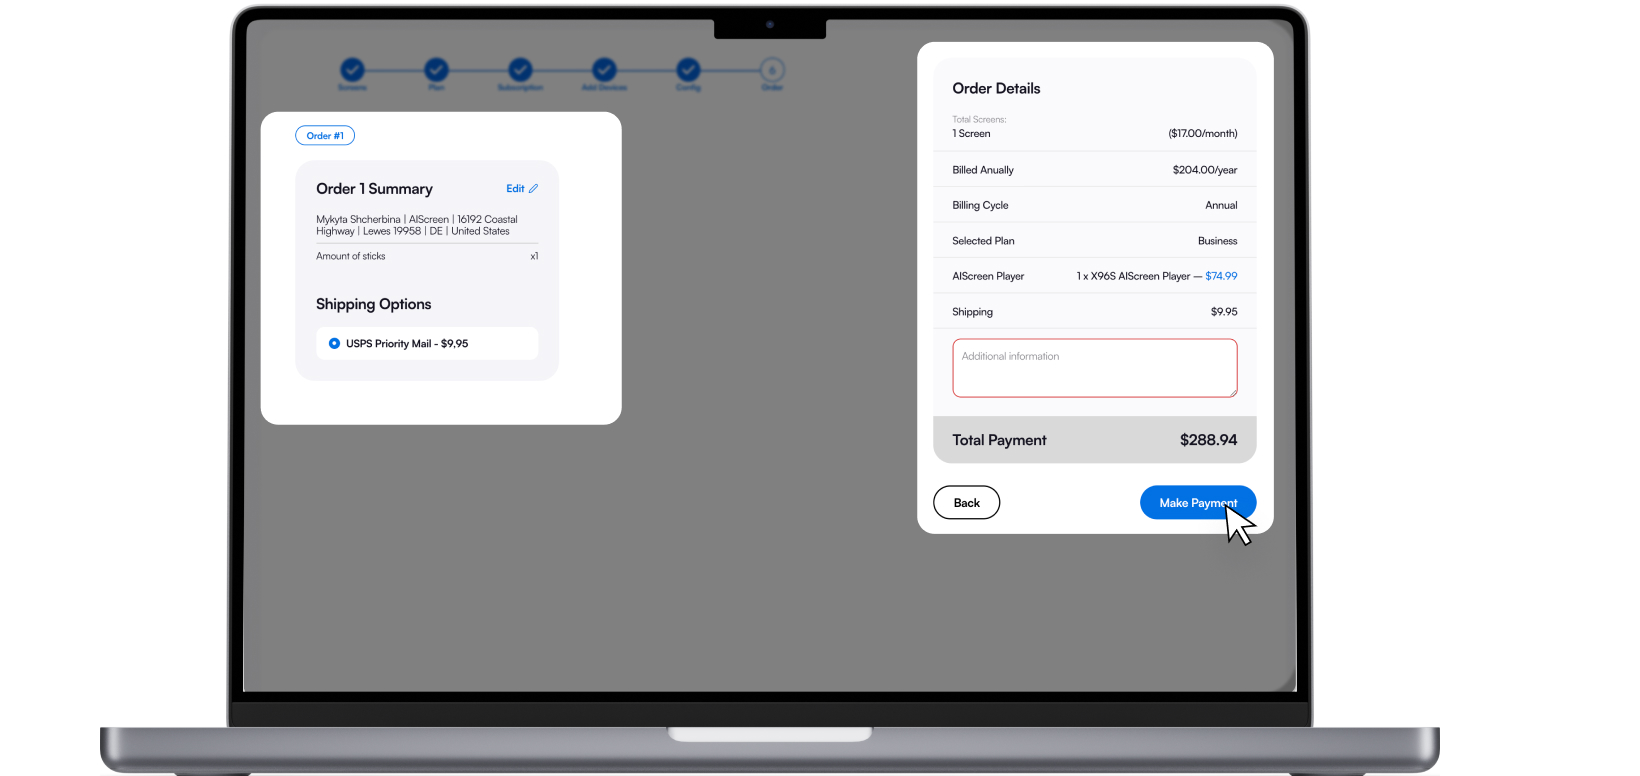
Step 6 — Review and Payment
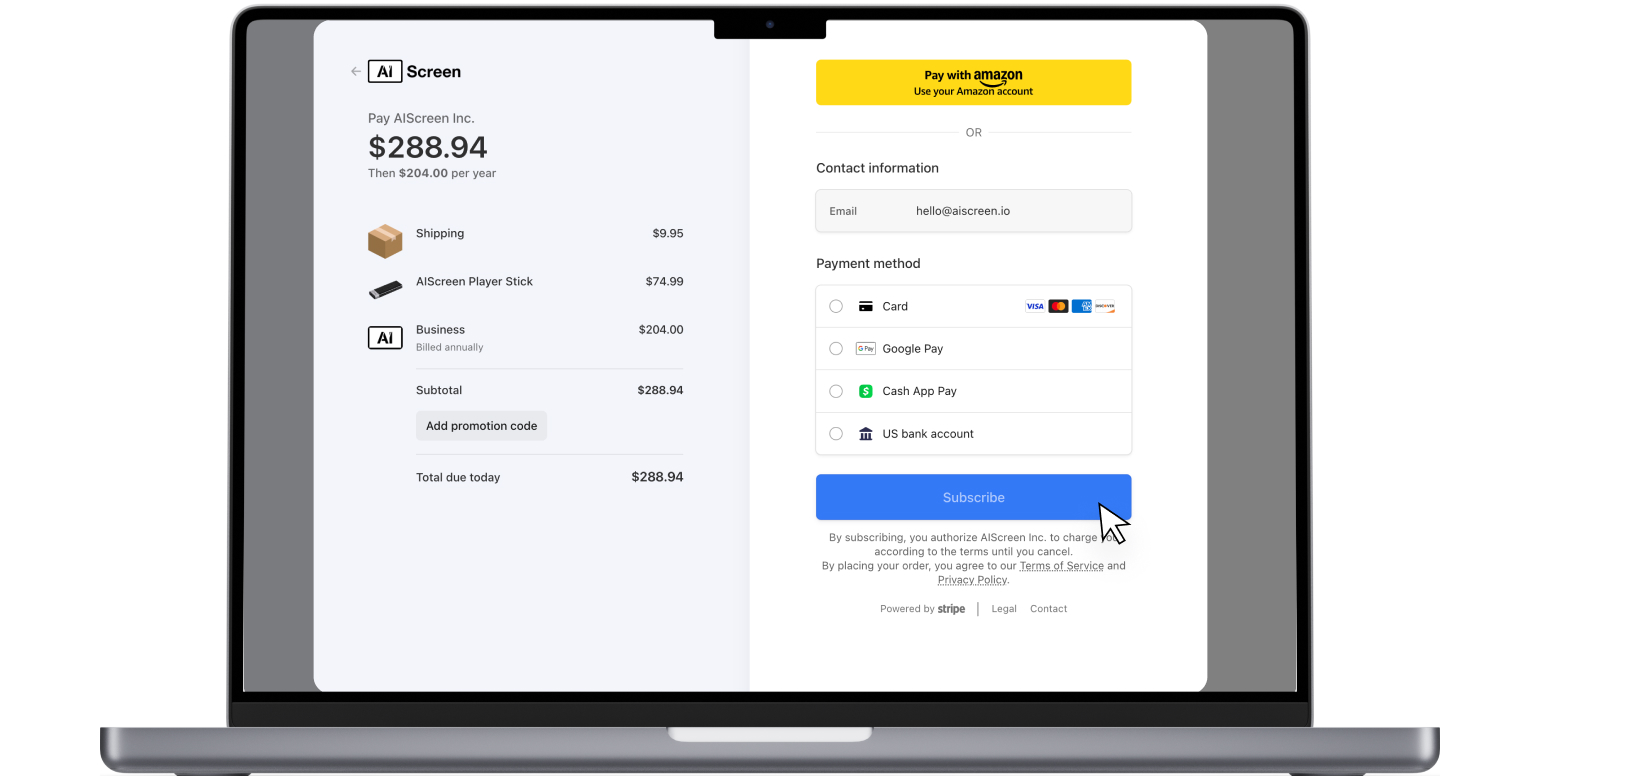
Double-check all details — addresses, devices, delivery type — and click Make Payment.
Stage 2 — Unboxing Your AIScreen Stick
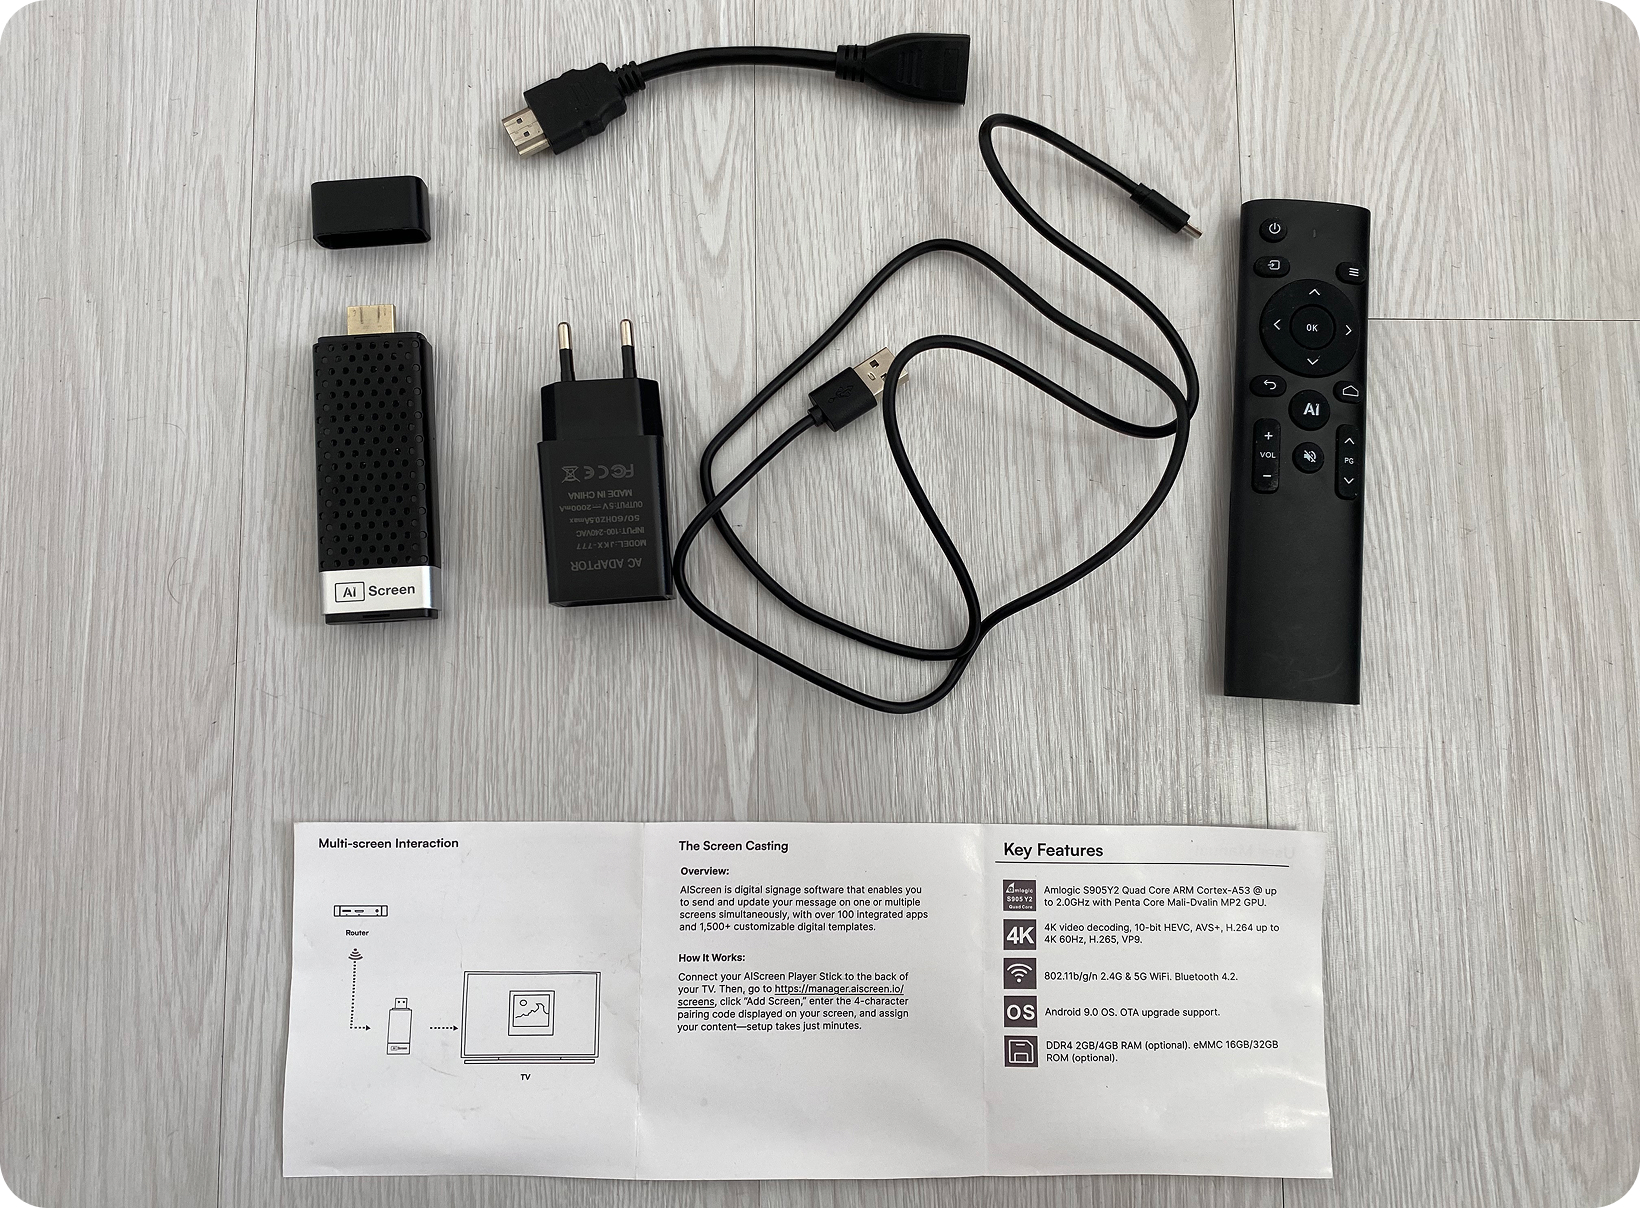
When your delivery arrives, open the box and verify that all items are included:
✅ AIScreen Stick — the mini player for displaying content.
✅ Remote Control — for manual setup and system menu.
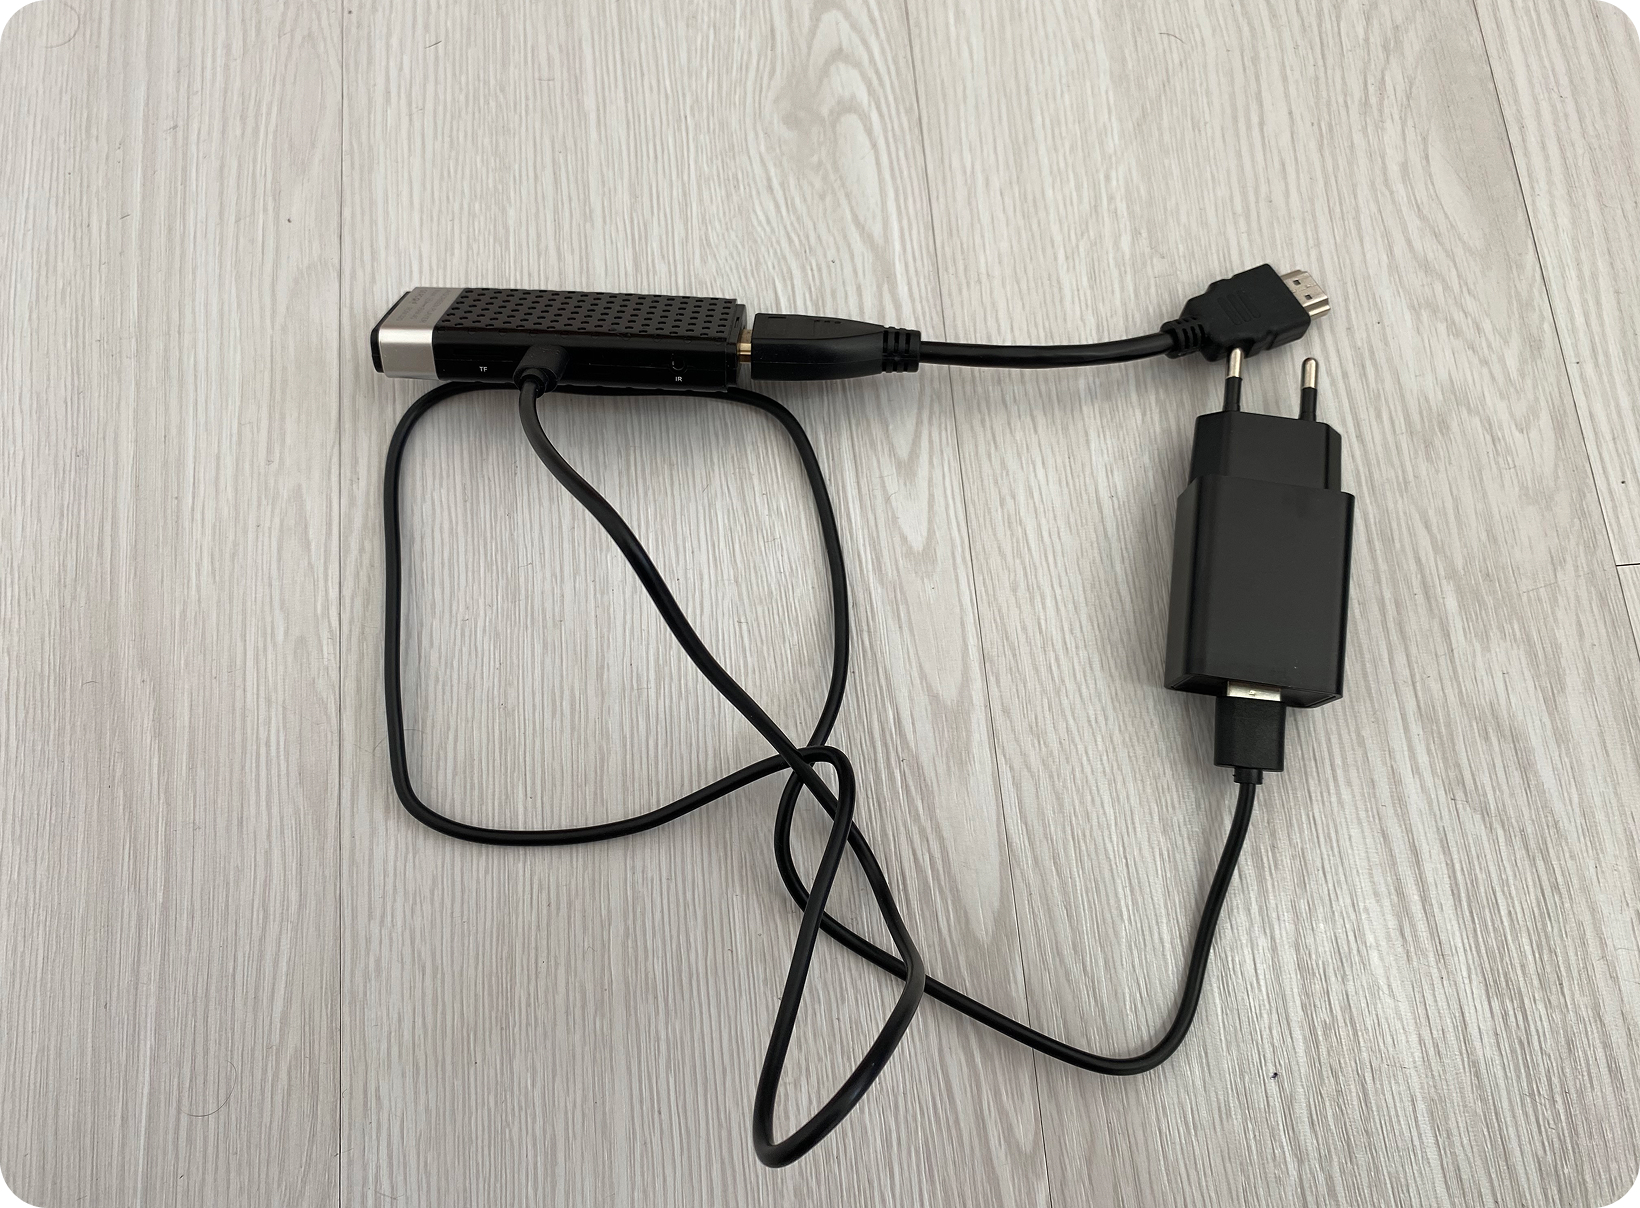
✅ Power Adapter with Cable — use the included one only.
✅ HDMI Extender — for hard-to-reach HDMI ports.
✅ Quick Start Guide — short printed version with a QR link to this full guide.
⚠️ Power note: Do not power the stick from your TV’s USB port — always use the provided adapter for stable performance.
Stage 3 — Assembly and Connection
- Connect the power cable to your AIScreen Stick.
- Use the HDMI extender if the TV’s HDMI port is hard to access.
- Plug the stick into a free HDMI port.
- Connect the power adapter to an outlet.
- Turn on the TV and select the correct HDMI input (Input/Source).
- Wait for the indicator light on the stick to turn on — it’s now powered.
Stage 4 — On-Screen Setup
1️⃣ Select Language
Choose your preferred language for the player interface.
2️⃣ Network Connection
If you preconfigured Wi-Fi during checkout, your stick will automatically connect.
If not — use the remote to open the menu, select your Wi-Fi network, and connect manually.
Once connected, you’ll see a pairing (registration) code displayed on the TV screen.
3️⃣ Link to Your AIScreen Manager Account
- Go to manager.aiscreen.io.
- Click Add Screen.
- Enter the pairing code from your TV screen.
- Assign a playlist or media file.
- Within seconds, your content will appear on the display.
Remote Control Functions
Your remote helps you control basic device operations.
Press the ☰ (three lines) button to open the Quick Menu.
From here you can:
- Reconnect to a different Wi-Fi network.
- Change your Bluetooth connection.
- Restart the AIScreen Stick.
💡 The remote is mainly for backup control — most users won’t need it once the device is preconfigured.
Stage 5 — Start Playing Content
- Open your manager.aiscreen.io dashboard.
- Select the screen that was just added.
- Assign a playlist, media file, or schedule.
- Wait a few seconds — your content will start playing automatically.
💡 Best Practices
- Naming convention:
Location-Area-Number(e.g.,Store-LA-Front). - Wi-Fi: Prefer 5 GHz networks for better speed and stability.
- TV settings: Disable sleep mode and screensaver for uninterrupted playback.
- Cable management: Secure all cables and leave space for cooling.
- Bulk orders: Use Groups during checkout to configure multiple sticks at once.
✅ You’re Ready!
You’ve:
- Ordered and configured your AIScreen Stick,
- Unboxed and connected it,
- Linked it to your AIScreen Manager,
- Started streaming your content!
Now you can manage playlists, groups, and schedules right from your dashboard at
👉 manager.aiscreen.io.


